<SM-436126-A>
5
3-1.Piping
1)
Install so as an air flow coindides with the directional arrows on the cover.
2)
Flush air into the pipe to blow out foregh substances and metal chips before piping.
3)
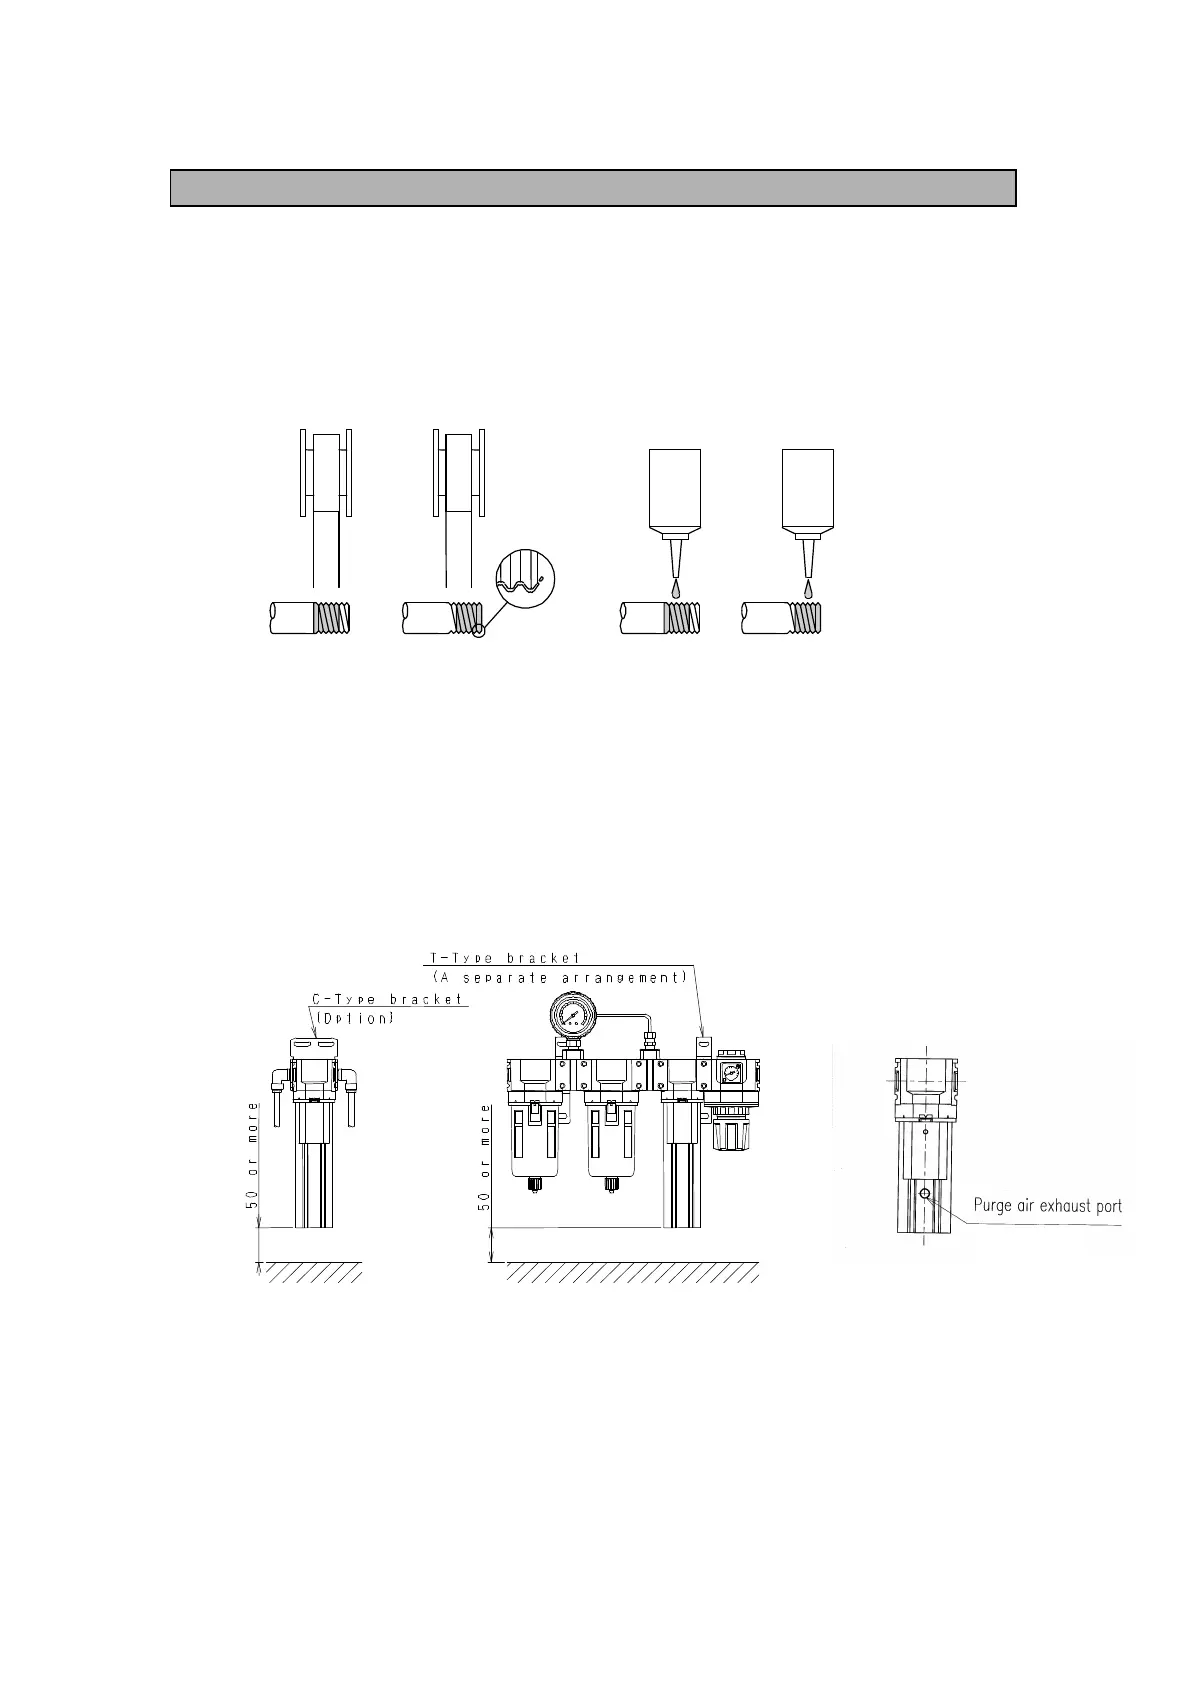
Leave at least two thread pitches prior to the end of pipe before apllying sealant or
sealing tape to reduce the possibility of contamination or fowling.
●Seal Tape ●Sealant (Paste)
(Correct) (Incorrect) (Correct) (Incorrect)
Fig.2
3-2.Installation
1)
By using C-type bracket of an option, a main part can be directly attached in a
panel etc. In this case, please pipe after inserting C-type bracket in a main
part.(Refer to Fig. 3)
2)
When connecting module of a filter or a regulator before and behind a super drier,
attachment by C-type bracket cannot be performed. Please attach using T-type
bracket. (Refer to Fig. 4)
3)
Please take a maintenance space 50mm or more in the lower part of a super drier.
Fig.3 Fig.4 Fig.5
4)
In case of the option E of SD300-W series, piping of exhaust air should use the
hose or piping material of I.D.5.7 mm or more, and give length as less than 3m.
(Refer to Fig. 5)
5)
In case of the option E of SD400-W series, piping of exhaust air should use the
hose or piping material of I.D.7.2 mm or more, and give length as less than 3m.
(Refer to Fig. 5)
INSTALLATION
INSTALLATIONINSTALLATION
INSTALLATION
(Option E )