SON
Mo&
0
•WDI
®
READ THIS BOOK
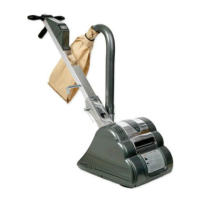
Models DUB
& Super 7
Sander & Edger
A
A
�
RC
#
5080-0000 Sander 7" Floor Edger and
RC
#
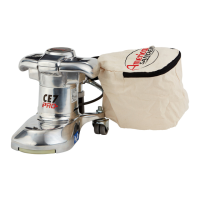
5079-0000 Sander Floor 8' Drum