10
The volume can only be changed if either or or is switched on.
PTT Mode:
Push and hold key to switch the microphone on.
Switching on PTT Mode:
Switch the intercom system o
Push and hold key (approx. 5 sec.) unl LED above ashes.
Switching o PTT Mode:
Switch the intercom system o
Push and hold key (approx. 5 sec) unl LED above ashes.
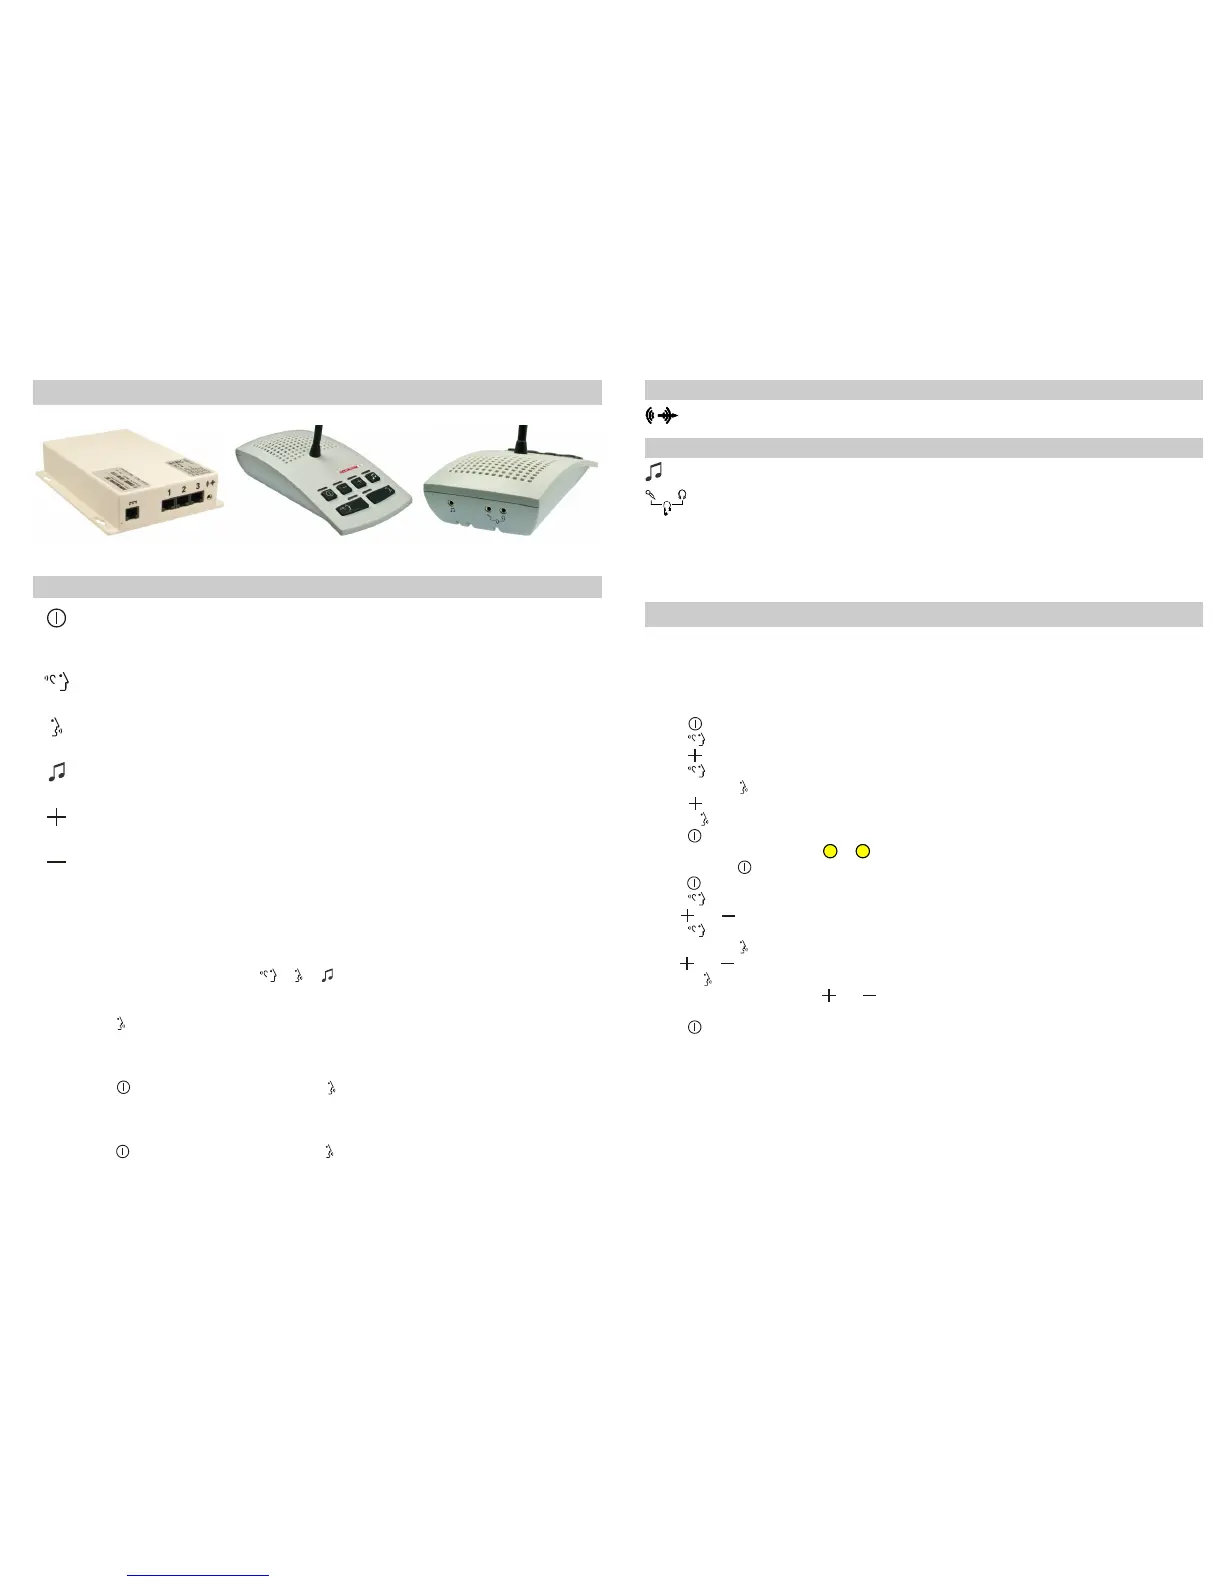
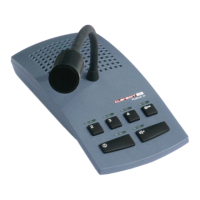
Central Unit Intercom Console
The corresponding LEDs indicate the operang state of the intercom system. Should external distur-
bances such as prolonged voltage drops change the operang status, the original state can be restored
via control panel.
11
Connecon for audio recorder
(5)
Connecon for audio player
(5)
Connecon for headset
(6)
Aer switching on the intercom system the intercom console is acvated, regardless of whether the
headset microphone is plugged in or not.
Switchover to headset operaon is made by removing and re-inserng the headset microphone plug
(wait approx. 2 sec).
(5)
Not included in scope of supply
(6)
Contact Clarson directly for suitable headsets
(7)
Unplug or plug in patch cable only in power-free state
Operaonal Start-up/Service
(7)
External Connecons Intercom Console
External Connecons Central Unit
Key Funcons, External Connecons and LED Signalling
Key Funcon LED State System Operang Status
Intercom System ON/OFF on ready for use
o switched o
ashes set-up mode
Loudspeaker ON/OFF on loudspeaker ON
o loudspeaker OFF
Microphone ON/OFF on microphone ON
o microphone OFF
Audio IN ON/OFF on Audio IN ON
o Audio IN OFF
Increase volume led brightens
ashes maximum volume
Reduce volume led darkens
ashes minimum volume
To avoid poor sound quality and feedback, it may be necessary to adjust the volume range sengs to
accomodate the acousc condions on site.
Maximum volume for both the Control Room and the Paent´s Room is set as follows:
Firstly, PTT turned on (state of delivey), ensure all doors between Control Room and Paent´s Room
are open.
Press key to turn system ON
Press key (LED above key illuminates)
Press key to set maximum volume (LED above key ashes)
Press key (LED above key exnguishes)
Press and hold key (LED above key illuminates)
Press key to set maximum volume (LED above key ashes)
Release key (LED above key turns o)
Press key to turn system OFF
Disconnect power supply (plug or )
Press and hold key while reconnecng power supply
Keep key depressed for approx. 5 sec unl LED above key ashes
Press key (LED above key illuminates)
Use and keys to set volume of the Control Room to opmal sound quality
Press key (LED above key exnguishes)
Press and hold key (LED above key illuminates)
Use and key to set volume of Paent´s Room to opmal sound quality
Release key (LED above key exnguishes)
Simultaneously press and hold and keys for approx. 5 sec to save the sengs
(LEDs above the keys will ash)
Press key (LED above key exnguishes)
Trouble shoong:
In case of interference, intercom components should be relocated to increase the distance from
sources of strong electromagnec radiaon.
1
1a