4
GLOW UP
U
NPACKING AND PREPARATION
P
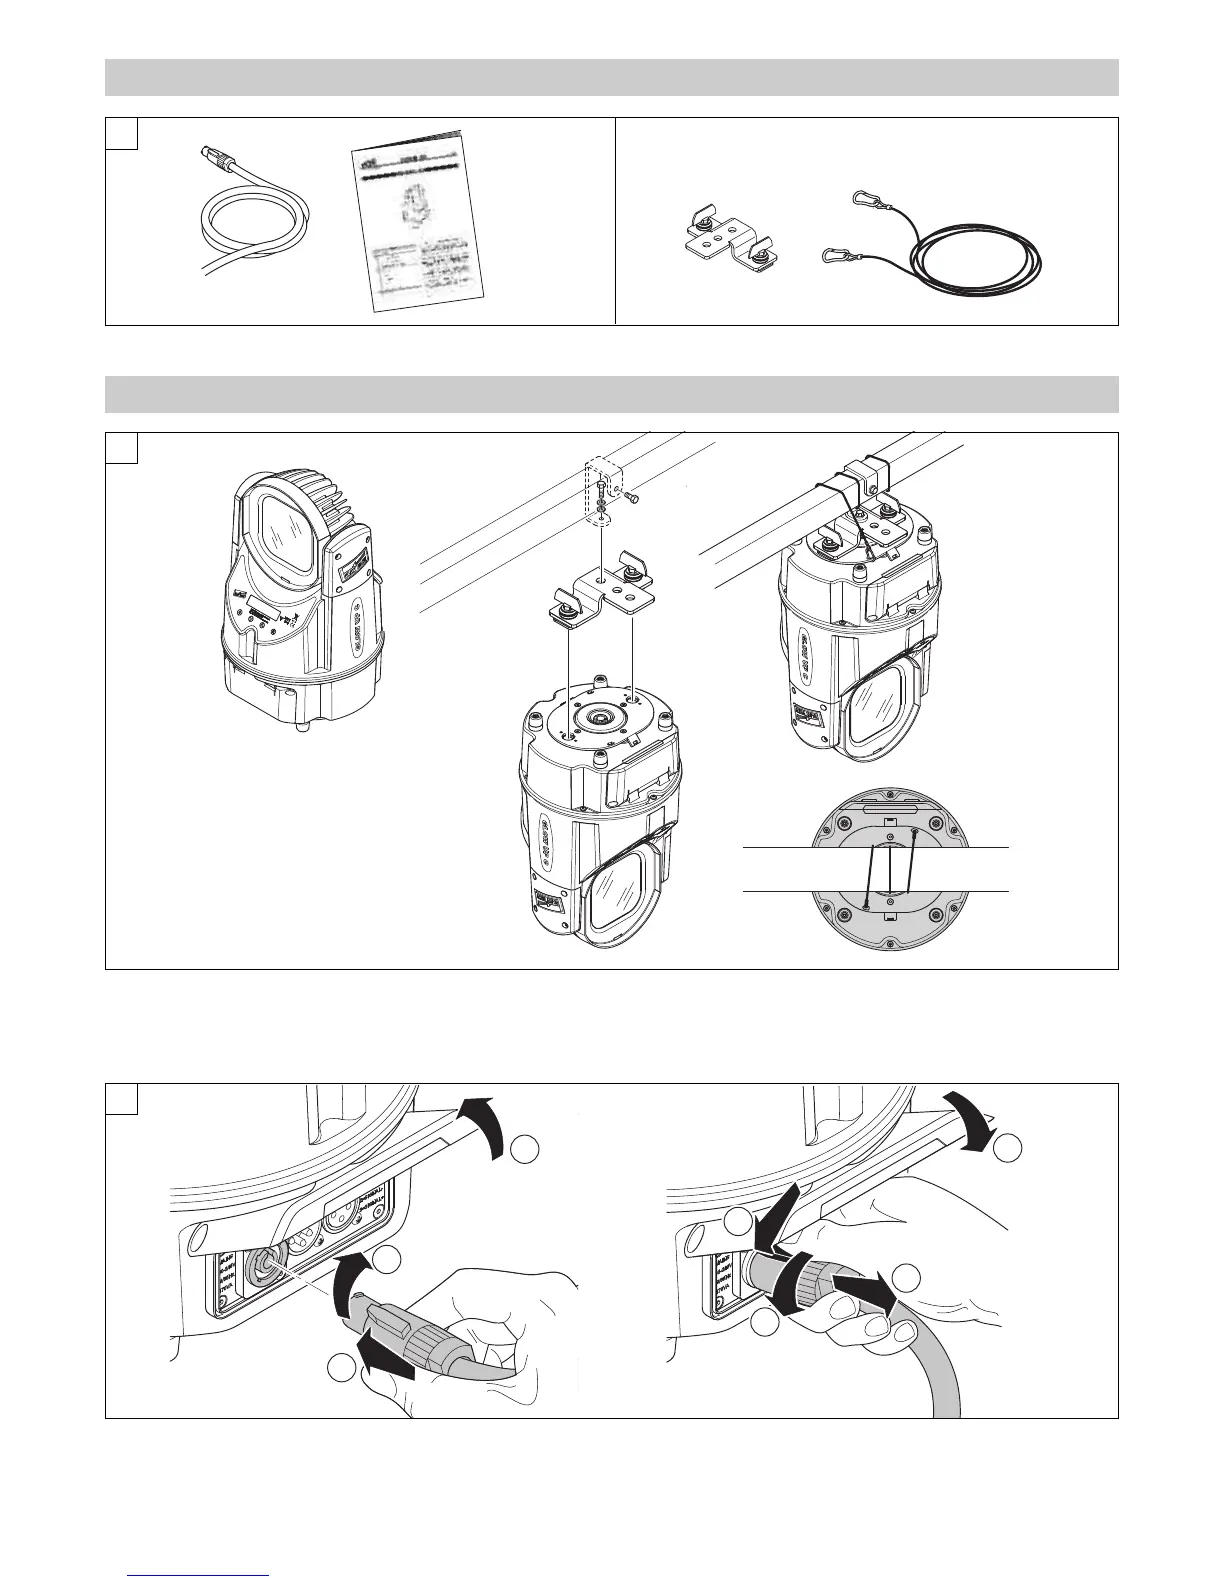
acking content - Fig. 1
2
Projector installation - Fig. 2
The projector can be installed on the floor resting on specific rubber feet, on a truss, on the ceiling or wall.
WARNING: the safety chain must be installed except when the projector rests on the floor. (Code 105015/801 available upon request). This
must be secured to the projector support structure and then hooked to the fastening point at the centre of the base.
3
Connecting and disconnecting the power cord - Fig. 3
When connecting the power cord the user can choose whether to use the GlowUp in one of the following ways:
1) Power cord connected for battery charge.
2) Power cord connected for projector power (thus bypassing battery operations).
The GlowUp cannot work in both ways simultaneously.
INSTALLATION AND START-UP
099114
OPTIONAL ACCESSORY C71110
1