23 EN
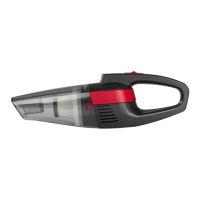
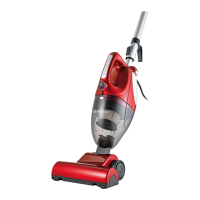
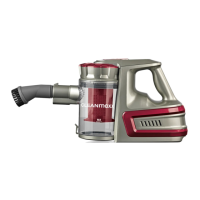
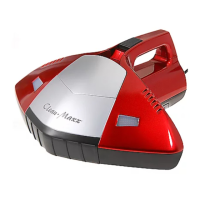
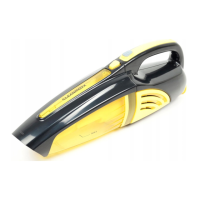
Handheld Vacuum Cleaner
1. Remove the cordless vacuum cleaner from the frame (6). To do this, press the release
button (2) on the side of the handle (3) and pull out the cordless vacuum cleaner.
2. Plug the crevice or brush nozzle (19) into the suction opening (11). The cordless
vacuum cleaner can also be used without a nozzle.
3. To switch it on and off, press the switch (14) next to the handle (17).
Cleaning the Device and Accessories
PLEASE NOTE!
■ Make sure that the device is switched off before cleaning it!
■ Only reassemble the device once all of the parts are completely dry!
■ The fi lter is neither machine-washable, dishwasher-safe nor suitable for tumble drying.
Never clean the fi lter with soap or other cleaning agents to prevent damage to the fi lter.
■ Only ever dry the fi lter in the air, and never use a hair dryer to do so.
■ Do not use any sharp or abrasive cleaning agents or cleaning pads to clean the de-
vice and accessories. These could damage the surfaces.
• To ensure optimum performance of the device, you should empty the dust contain-
er (12) (see "Emptying the Dust Container and Cleaning the Filter" below) after every
use.
• If necessary, wipe down the device and accessories with a soft, damp cloth and then
wipe them dry.
• Remove hair and fl uff from the nozzles.
• Check the mains adapter (21) and the mains cable for damage at regular intervals.
• Keep the device ready for operation and charge up the battery after each use (see
the "Charging Up the Battery" chapter).
Emptying the Dust Container and Cleaning the Filter
1. Detach the motor unit (5) from the dust container (12): Hold the device with the dust
container (12) at the bottom. Grip the dust container (12), press the release but-
ton (13) and remove the motor unit (5) (see the “Assembly” chapter, “Inserting / Re-
moving the Dust Container” section).
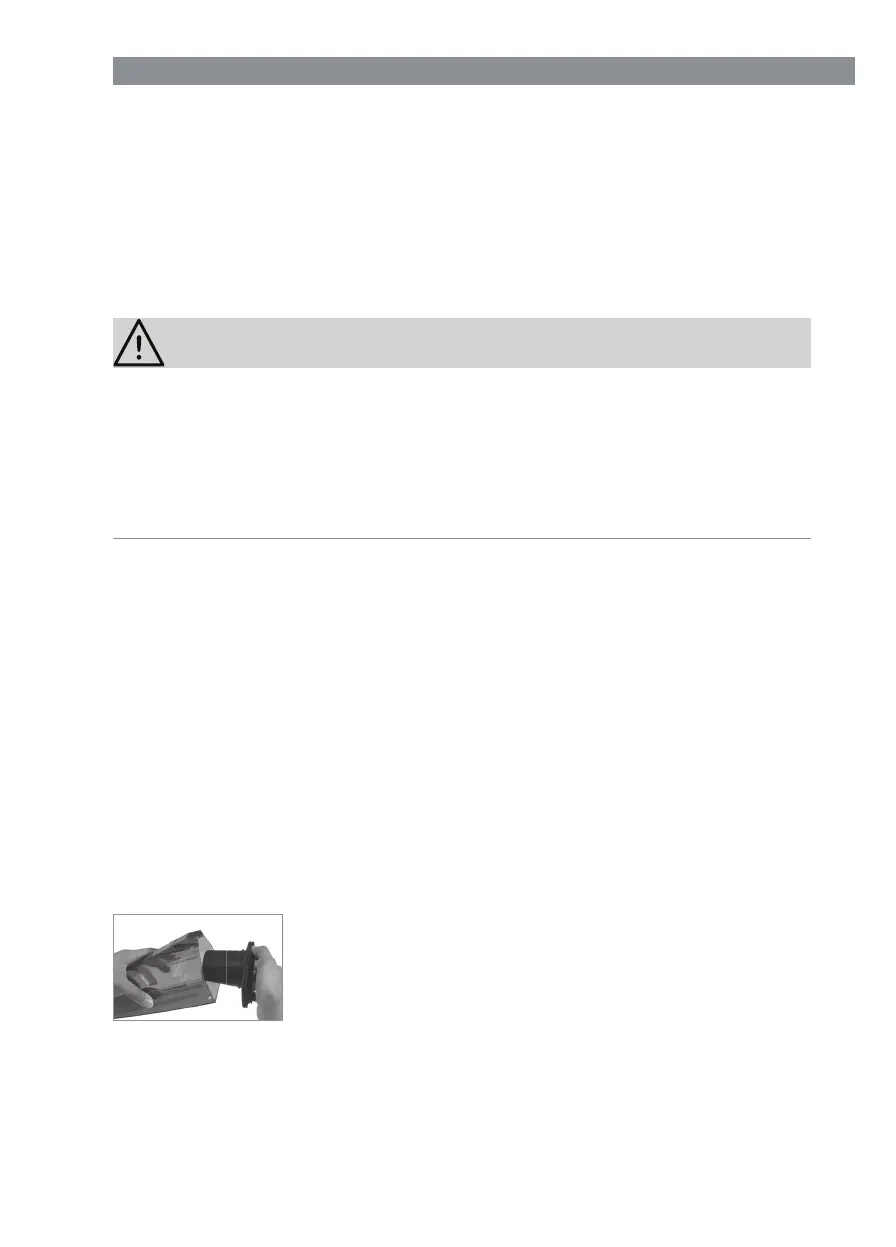
2. Hold the dust container (12) over a dustbin.
3. Pull the fi lter mount out of the dust container (12) (see
picture).
4. Empty the dust container (12).
5. The fi lter mount contains a small basket that protects the
HEPA fi lter. Twist the small basket a little bit and remove it.
6. Tap out both parts and clean them with a soft brush if necessary.
7. The fi lter and the plastic parts can also be rinsed with clear, lukewarm water.
CAUTION: Do not use any cleaning agents!
8. Let all parts dry completely in the air before you reassemble them. CAUTION: Never
assemble wet or damp components or attach them to the motor unit (5)! The
device is assembled in the reverse order.