1. Turn faucet to cold water.
2. Open the faucet enough so that water flows through the hose.
3. Fill the pitcher to the MAX line. Do not overfill.
4. Discard the first 3 pitchers of filtered water to flush the system and purge the air.
This will remove any fine, black carbon particles left over from the manufacturing
process. Drinking or cooking with this discard water is not recommended, but it can be
used to water plants. This flushing procedure must be repeated every time a new
replacement filter is installed.
5. Once the pitcher is filled with desired amount of water, again push down outer ring
and then pull down connector to disconnect from the faucet.
IMPORTANT: To avoid damage to the connector, you must fully pull down the outer ring to
release the connector before removing.
6. Wipe the connector surface to dry.
7. When finished, insert quick-connect hose and connector into handle storage
compartment.
8. Keep new faucet adapter attached in place, but can be removed for cleaning, if desired.
9. Store pitcher with filtered water in refrigerator for use. If water is to be stored outside of
refrigerator, it is recommended to store out of direct sunlight and to change water daily.
10. For best results, the filter should be replaced after 50 gallons of consumed water. Unlike
some other product filters that estimate filter life based on time, the intelligent filter
indicator measures the amount of water you use, resulting in a better value for your
money. You will not replace the filter unless you really have reached the recommended
filter capacity.
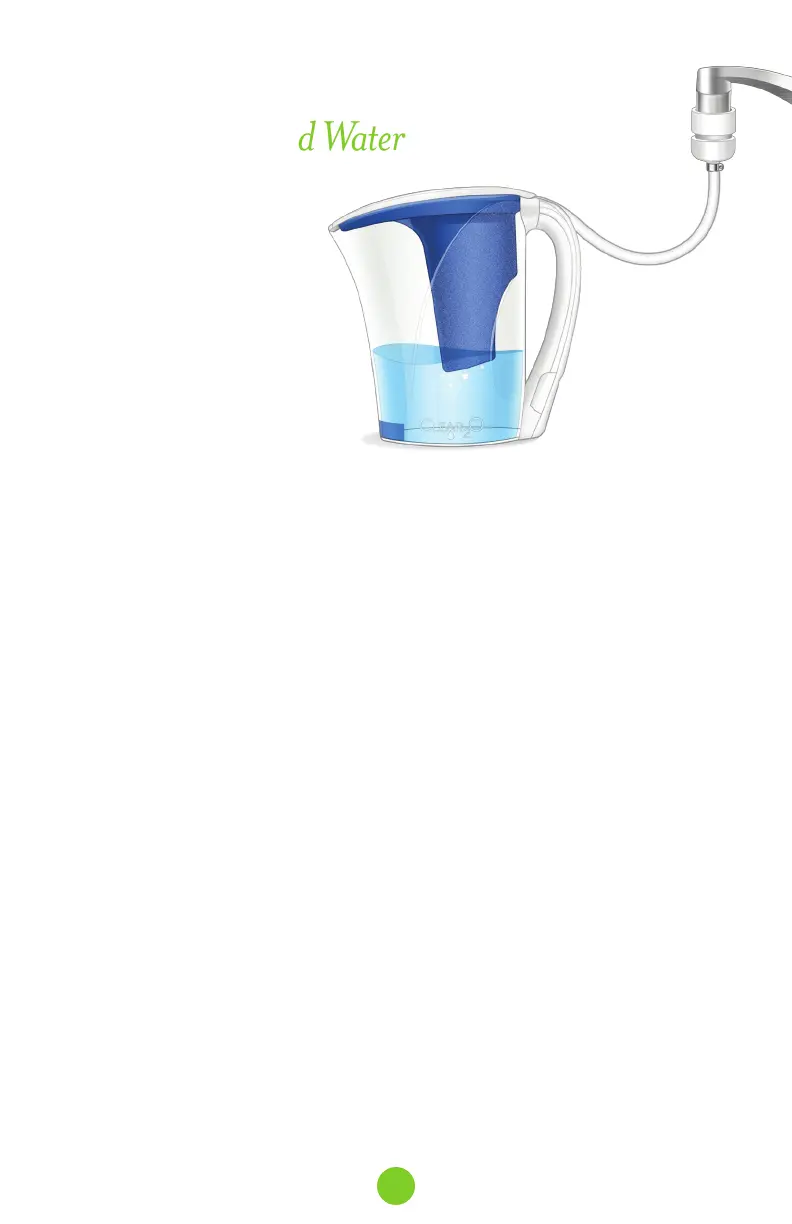
Ready For Filtered Water
IMPORTANT:
• Designed for use on
municipally treated/private
well, potable water
(e.g. tap water).
• NEVER use hot water
(above 85°F/29°C).
8