Disassembly
2 - 8 Removing the Hard Disk Drive
2.Disassembly
8. Remove screws - from the hard disk assembly (Figure 4f).
9. Separate the hard disk from the bracket and mylar cover (
Figure 4g).
10. Reverse the process to install a new hard disk (do not forget to insert the mylar cover between the bracket and
hard disk as shown before replacing the screws).
f.
28
30
26 2927
32
31
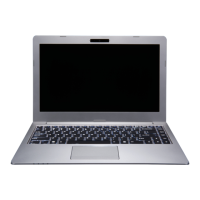
Installing 9.5mm or 7mm HDD
Note that the hard disks pictured on the following pages
are all 9.5mm(h) hard disk drive.
In some cases, a 7.0mm(h) hard disk drive will be in-
stalled. Do pay attention on the alignment of the hard
disk and bracket when tightening the screws.
For more information, contact your distributor/supplier,
and bear in mind your warranty terms.
25
g.