18
Installation
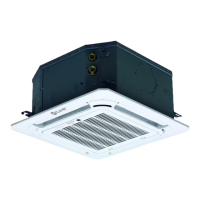
– If two air ducts are connected:
for 5.6~8.0 kW models, the volume of air in the
duct is about 200~260 m
3
/h.
for 9.0~14.0 kW models, the volume of air in the
duct is about 300~500 m
3
/h.
The air duct must not be longer than 1.5 metres.
l
WARNING
If a duct is connected, the corresponding
louver on the panel must be plugged.
If the capacity of the unit is less than 5.6 kW,
no air duct can be connected.
2.4.4 Preparation for connection pipes
It is necessary to make a hole in the wall where the
refrigerant piping, drainage pipe and electrical cables
that will connect the indoor unit to the outdoor unit will
pass through.
1 Determine hole position in the wall according to the
position of the outdoor unit.
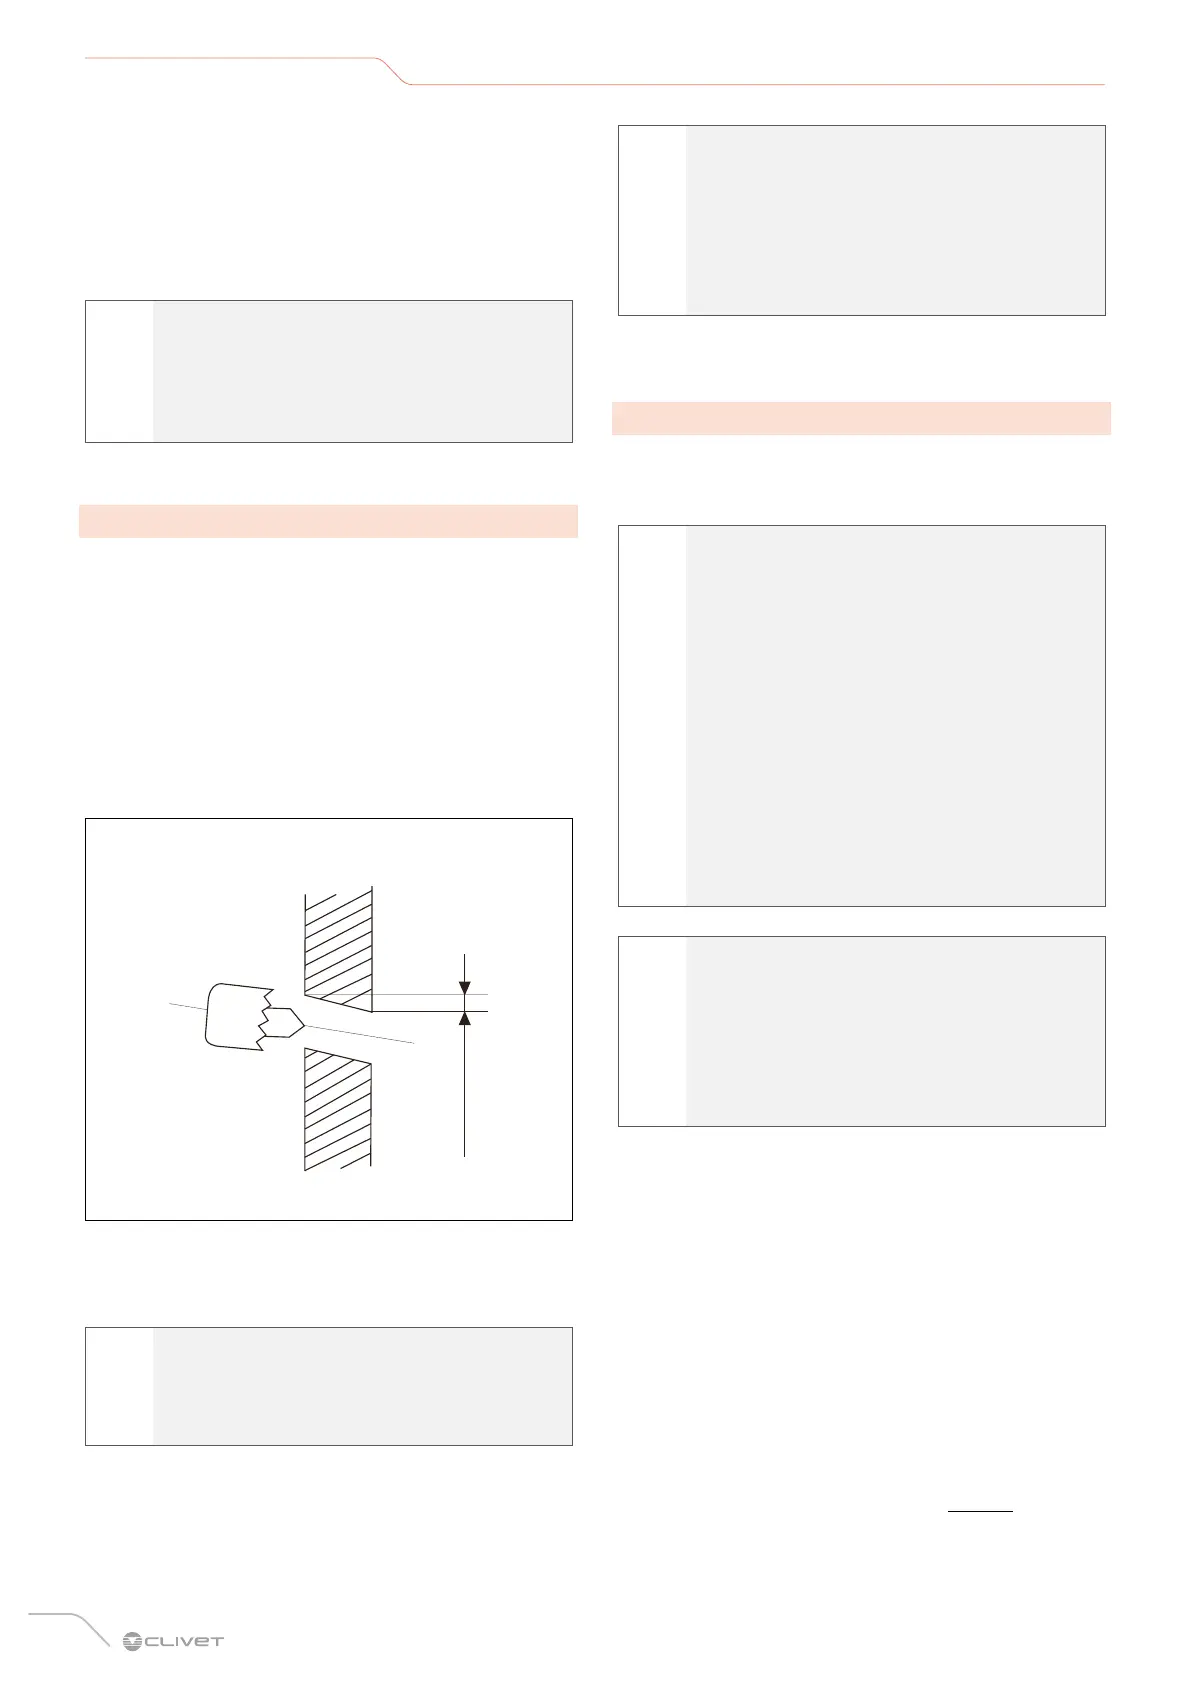
2 Drill the hole in the wall using a 65 mm drill bit.
The hole should have a slight inclination, so that the
outer end is lower than the inner one by about 12 mm.
This will facilitate water drainage.
Inside Outside
12 mm
Wall
Fig. 22
3 Insert the protective sleeve into the wall, which will
protect the edges of the hole and improve the seal
after installation.
a
CAUTION DANGER
When drilling holes, pay attention to avoid
electrical wires, hydraulic hoses and other
delicate components.
m
CAUTION
The drain pipe outlet must be at least 5 cm
from the floor. If it touches the ground, the unit
can block and not work properly. If the water
is discharged directly into the sewer system,
use a U- or S-shaped drain pipe to block odours
which would otherwise flow back inside.
2.4.5 Drainage pipe
The drainage pipe is used to drain the water from the
unit. Incorrect installation can cause damage to the unit
and other material damage.
a
CAUTION DANGER
– Insulate all of the pipes to prevent
condensate from forming, which could
cause water damage.
– If the drainage pipe is bent or not installed
properly, the water can escape and cause
the float switch to malfunction.
– In HEAT mode, the unit discharges water.
Make sure that the drainage pipe is in a
suitable area to avoid water damage and
slipping hazards caused by the discharge
water freezing.
– DO NOT pull the drainage pipe, as this could
detach it.
l
WARNING
This installation requires a polyethylene pipe
(outer diameter = 37-39 mm, inner diameter
= 32 mm). Depending on actual installation
requirements, users can buy suitably sized
pipes from their local dealer, from an after-
sales service centre or directly off the market.
1 Insert the water drain pipe into the unit’s water intake
connection pipe and use a clamping ring to securely
close the insulated water drain pipes.
2 Use the water drain pipe insulation to tie the
indoor unit’s water intake and drain pipes together
(particularly for the indoor part) and use water drain
pipe cable ties to tie them securely and ensure that
the air does not enter and condense.
3 In order to prevent water from flowing back into the air
conditioner after the operation has been completed,
the water drain pipe should be inclined outwards with
a slope (drainage part) greater than 1/100. Ensure that
the water drain pipe does not bulge or retain water.
If it does, then it will be noisy. See “Fig. 23”.
4 When connecting the water drain pipe, do not pull the
intake pipes with force so that the connections do not
come loose. At the same time, fit a support bracket
 Loading...