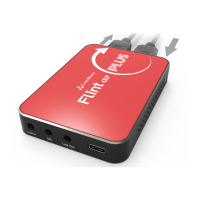
ClonerAlliance Box Pro User Manual
2.2 Record/Capture
1. The default signal selection is HDMI. If you are trying to record from an HDMI video source, skip to the next step. If
you are trying to record from AV/VGA/YPbPr sources, press the “Source”button to switch signals until it’s set to the
correct one, or press the “VGA”“YPbPr”or “AV”buttons on the remote control. Note: DO NOT connect HDMI video
source to the “MMI In”port and DO NOT connect MMI cable to HDMI “In”port.
2. Once a signal is coming from your video source to ClonerAlliance Box Pro then to your TV, you should see a live
preview of your video source on your TV screen. (If not, please check section of “FAQ”. Also, check your signal and
make sure your TV is set to the correct HDMI input.)
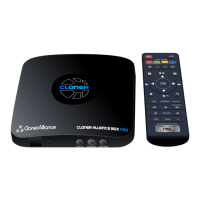
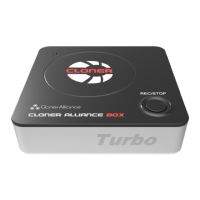
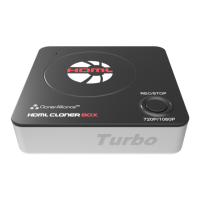
3. To start recording, press the “REC/STOP”button on ClonerAlliance Box Pro, or press the “REC”button on the
remote control. The top LED light will flash while the unit is recording or saving a file.
4. To stop recording, press the “REC/STOP”button again on ClonerAlliance Box Pro, or press the “STOP”button on
the remote control.
5. To play back recordings on your ClonerAlliance Box Pro, press the “PLAYBACK”button on the remote control (be
sure to load batteries in it first). For more details on the playback feature, check section of “Playback”.
6. If you want to play back recordings on your computer, please transfer recordings to your PC or Mac, remove the USB
drive from your ClonerAlliance Box Pro after stopping and saving the recordings. Then plug it into your computer. Browse
the drive and go to the “video”folder.
Note: DO NOT remove the USB storage drive from ClonerAlliance Box Pro in the process of recording (Flashing Blue/Green
LED indicates it’s still in the process of recording.)
2.2. Record/Capture 8