PART IDENTIFICATION IDENTIFICATION DES PIÈCES IDENTIFICACIÓN DE LAS PIE-
ZAS
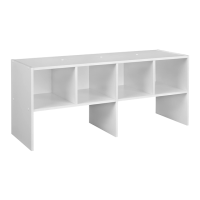
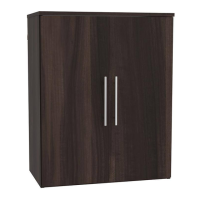
ADJUSTABLE SHELF
BACK PANEL
LEFT AND RIGHT PANELS
• Count and locate holes in each part.
• Compter et localiser les trous de
chaque pièce.
• Cuente y ubique los agujeros de cada
pieza.
• Note overall shape of part.
• Remarquer la forme générale de
chaque pièce.
• Vea la forma de las piezas en general.
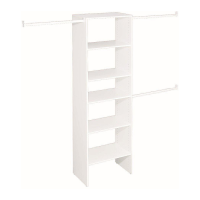
INSTALLING CAM LOCKS INSTALLER LES BOULONS À
VERROU
INSTALACIÓN DEL CIERRE DE
LEVA
• Identify arrow
on head. Look
closely.
• Identifier la flè-
cha sur la tête.
Examiner
attentivement.
• Identifique la
flecha en la ca-
beza.
Búsquela
detenidamente.
• Arrow MUST point
toward hole in edge
of panel.
• Le flèche DOIT
pointer vers le trou
de la bordure du
panneau.
• La flecha DEBE
apuntar hacia el
agujero en el borde
del panel.
• Push cam lock all
the way down into
hole.
• Pousser le boulon à
verrou entièrement
dans le trou.
• Empuje hasta el
fondo el cierre de
leva en el agujero.
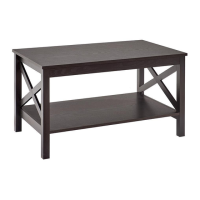
TIGHTENING CAM LOCKS RESSERRER LES BOULONS À
VERROU
APRETAR EL CIERRE DE LEVA
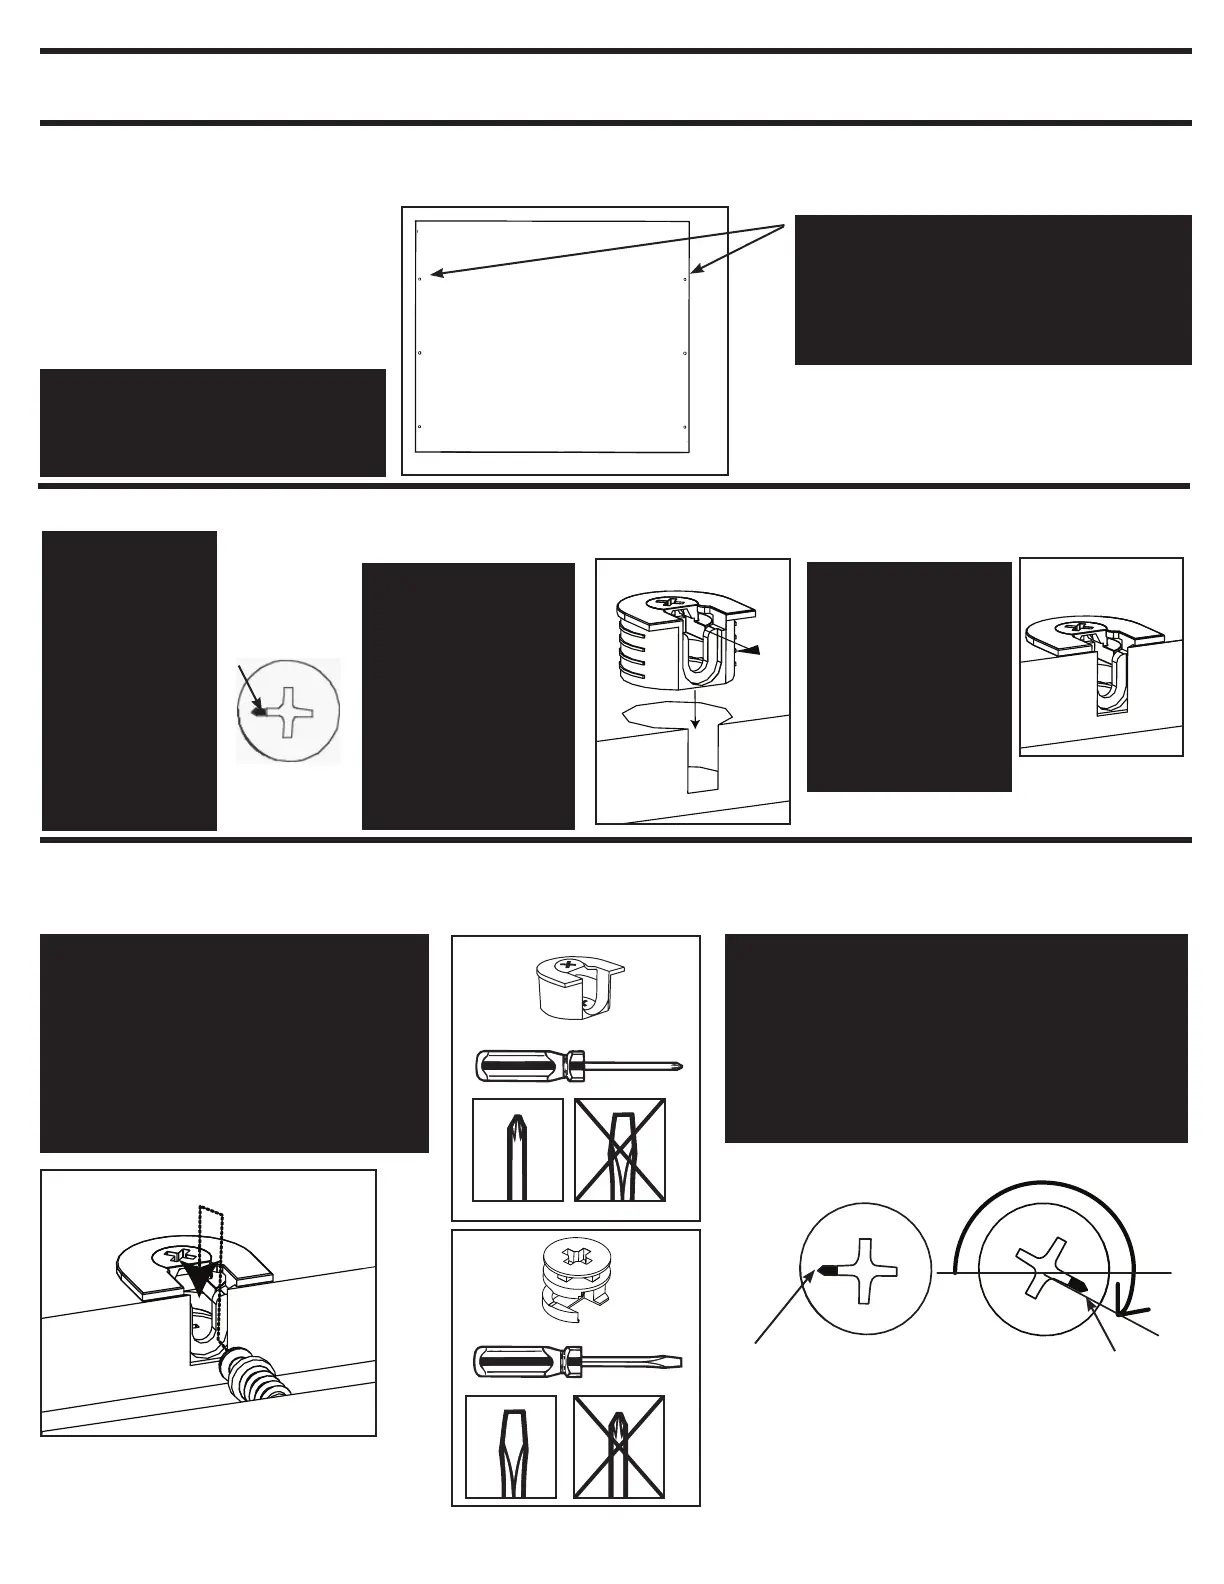
• Turn cam lock until fully tightened (slightly OVER
half way around).
• Tourner le boulon à verrou jusqu’à ce qu’il soit
entièrement resserré (un peu PLUS d’un demi-tour).
• Gire el cierre de leva hasta que quede
completamente apretado (un poco MÁS de media
vuelta).
ARROW
FLÈCHE
FLECHA
ARROW
FLÈCHE
FLECHA
ARROW
FLÈCHE
FLECHA
HELPFUL HINTS | CONSEILS UTILES | CONSEJOS PRÁCTICOS
Use “PART IDENTIFICATION” and
exploded view (on previous page) to
identify parts!
Utiliser l’ « IDENTFICATION DES PIÈCES »
et le schéma éclaté (à la page précédente)
pour identifier les pièces!
¡Use la “IDENTIFICACIÓN DE LAS PIEZAS”
y la perspectiva ampliada (en la página
anterior) para identificar las piezas!
4
• Assure cam lock arrow points to hole
and insert cam post into hole.
• S’assurer que le boulon à verrou
pointe vers le trou et insérer le boulon à
tige dans le trou.
• Asegúrese de que la flecha del cierre
de leva apunte al agujero e inserte el
poste de leva en el agujero.