Do you have a question about the ClosetMaid Style+ and is the answer not in the manual?
Review instructions, familiarize with parts, and follow safety precautions before starting.
Critical safety warnings for assembly and use, including choking hazards and unit stability.
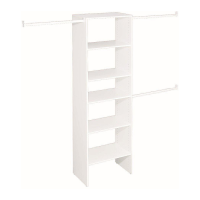
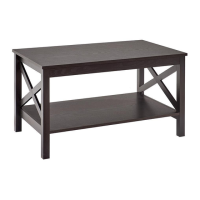
Detailed list and visual identification of all components and hardware for the base unit.
Provides useful tips, guidance on part identification, and instructions for using cam locks.
Instructions for installing cam posts into the top shelf of the base unit.
Instructions for attaching the hang track to the wall, including drilling and using toggle bolts.
Securing the unit to the wall using L-brackets and screws for stability.
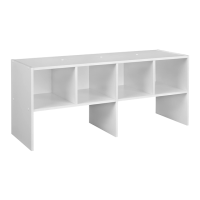
Installing adjustable shelves and covering unused cam lock holes with plugs.
Review instructions, familiarize with parts, and follow safety precautions before starting door assembly.
Critical safety warnings relevant to the door installation and handling.
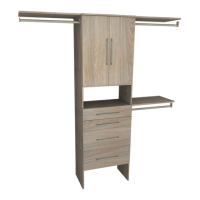
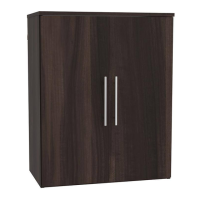
Detailed list and visual identification of all components and hardware for the doors.
Instructions for separating hinges and attaching them, along with handles, to the door panels.
Steps for attaching the door hinges to the base unit and adjusting the door alignment.
Guidance on installing the door stop and rubber bumpers for proper door function.
| Brand | ClosetMaid |
|---|---|
| Model | Style+ |
| Category | Indoor Furnishing |
| Language | English |