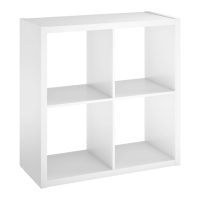
Do you have a question about the ClosetMaid Cube Storage Table and is the answer not in the manual?
Details for obtaining replacement parts for manufacturer defects within one year of purchase.
Secure unit to wall studs to prevent tipping; avoid overloading or climbing.
Contains small parts posing a choking hazard; adult supervision is mandatory.
Do not use as a TV stand, attach items, stack units, or hang on walls.
Use part identification and exploded views to correctly identify all components.
Ensure cam lock arrow aligns with the hole and tighten fully for a secure connection.
Assemble on a soft surface to protect the unit and your work area from damage.
Hand-tighten screws; exercise caution with power tools to prevent overtightening.
Identify parts using stickers or stamps on unfinished edges for accurate assembly.
Shaded patterns indicate unfinished edges to aid in following assembly steps.
Locate wall studs and determine the proper mounting height for the unit.
Use L-brackets and screws to firmly anchor the unit to the wall as illustrated.
Anchor can be applied to the top of the unit or concealed beneath the top panel.
| Brand | ClosetMaid |
|---|---|
| Model | Cube Storage Table |
| Category | Indoor Furnishing |
| Language | English |

 Loading...