Do you have a question about the ClosetMaid Custom Closet Organizer and is the answer not in the manual?
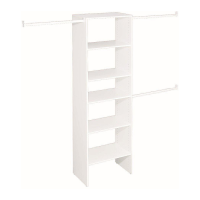
| Adjustable Shelves | Yes |
|---|---|
| Hanging Rod Included | Yes |
| Drawers Included | Optional |
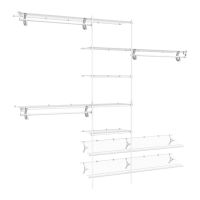
| Modular Design | Yes |
| Material | Laminate |
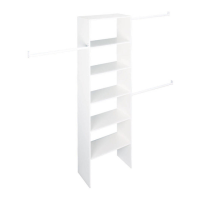
| Mounting Location | Wall Mounted |
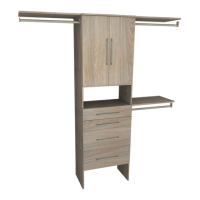
| Color | Espresso |
General instructions and advice to read before starting the closet organizer assembly process.
List of necessary tools, including screwdrivers, drill, tape measure, and safety equipment.
Essential safety warnings regarding small parts, unit stability, overloading, climbing, and tool usage.
Visual guide and list of all parts and hardware required for assembly.
Tips on identifying parts, installing and tightening cam locks, and hand-tightening screws.
Insert cam locks into the designated holes on each bottom shelf.
Screw cam posts into the corner holes of each top shelf.
Push cam locks into the appropriate holes on each side panel.
Screw cam posts into specific holes on each side panel, counting from the bottom.
Insert bottom nuts and thread leveling feet into the bottom of two side panels.
Connect the bottom shelf to the assembled side panels using cam locks.
Connect the top panel to the base and top units using cam locks and dowels.
Attach gussets to the back of the units for stability and squaring.
Secure the base unit to the wall using L-brackets, anchors, and screws.
Attach the top unit to the base unit and secure it to the wall.
Insert shelf supports and adjustable shelves, then add hole covers.
Mount rod brackets and install closet rods for hanging clothes.