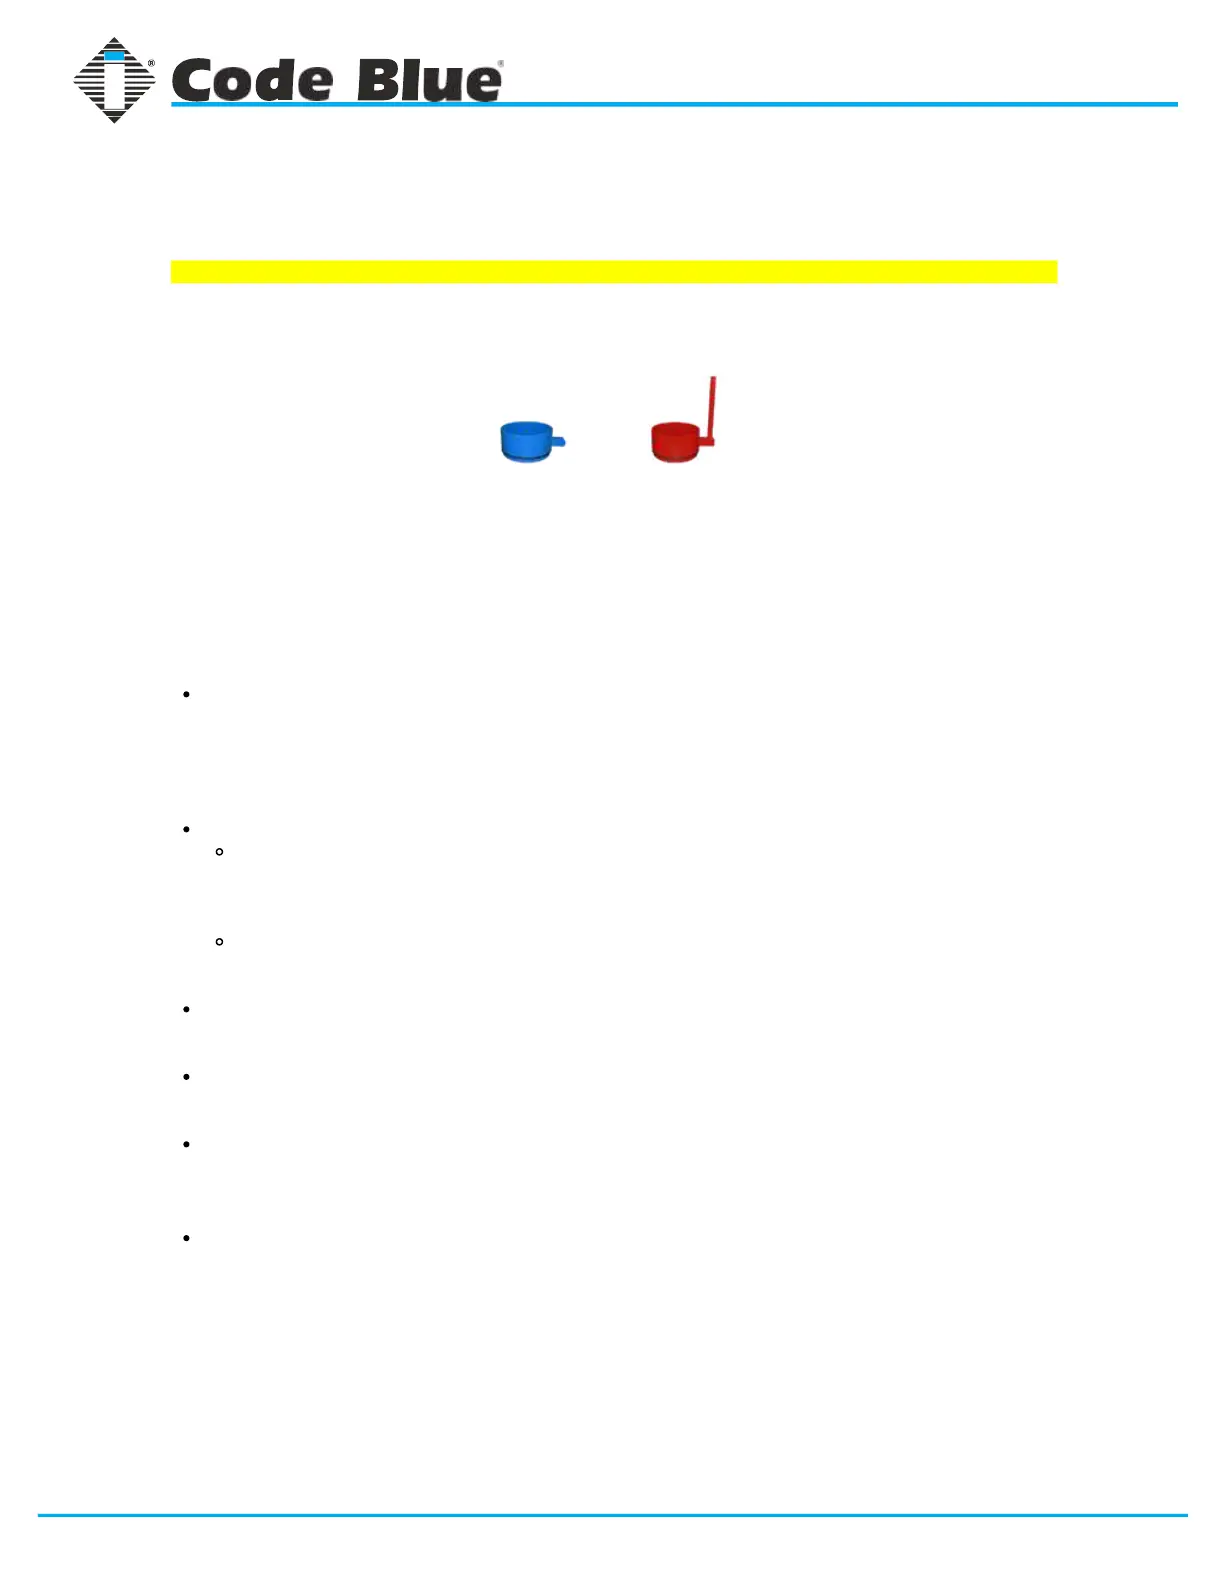
5.25” Mounting
Ring
5.25" Mounting
Ring w/ Antenna
Post
• Allen wrenches
All Rings: CB 1-e and CB 1-s
• Security bit • Ladder(if retrofitting)
The 1 Series power configuration is only intended to support the electronics Code Blue
installs as standard equipment.
• Mounting Ring with screws
Code Blue has blank Mounting Rings as optional features for its 1 Series Pedestal Help
Points®. De- signed in three varieties, these rings allow a customer to internally and
externally mount third party communication and security equipment to their unit to
enhance connectivity and functionality.
Equipment Ring Accessory
SKIP if installation does not include an Equipment Ring accessory.
POWER:
INSTRUCTIONS:
TOOLS REQUIRED:
INSTALLATION FOR:
*IF A CUSTOMER INSTALLS THEIR OWN POWER SOURCE, IT WILL VOID THE ENCLOSURE’S
UL LISTING.
CB 1 Series
Administrator Guide
GU-157-FF
If applicable, remove dome top assembly using security bit prior to installation. New style
dome top assembly (part #40259) is required to access installation screws on Mounting
Ring. Locate and install the three ½ x 1-inch hex Allen screws from the inside of the
Mounting Ring using the Allen wrench. Be sure the Allen screws do not extend beyond
the outside of the ring.
Install the mounting ring on top of the unit. Rotate to desired position.
NOTE: If retrofitting existing unit with three countersunk holes near the top of the unit,
the Mounting Ring may be rotated to align the clearance holes with holes in the unit.
The three countersunk screws and nuts provided may be used to cover these holes.
The three Allen screws MUST be used to secure the mounting ring to the unit.
NOTE: If installed on a unit with an Overhead Camera Mount, the Mounting Ring should
be mounted on top of the Overhead Camera Mount ring.
Verify Mounting Ring is evenly positioned to ensure gasket deal is seated appropriately
360 degrees.
Apply downward pressure while simultaneously tightening the three 1/2" set screws until
Mounting Ring is snug against the inside of the unit.
Install Beacon/Strobe dome top assembly.
page 13 of 31
Code Blue
• 259 Hedcor Street • Holland, MI 49423 USA • 800.205.7186 • www.codeblue.com