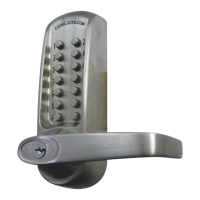
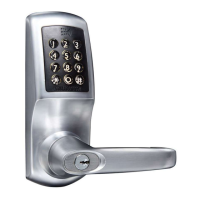
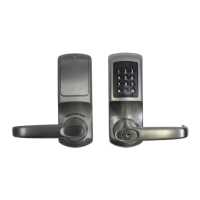
Generally codes are set in the range of 4 to 7 digits, and the total number of codes in this range is 5434.
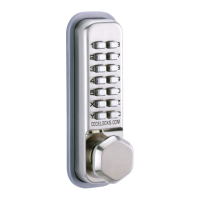
The lock is factory set with a randomly selected 6 digit code starting with the ‘C’ button. The code is not
recorded by the factory. The code can be changed as often as required to any other 6 digit code. Every new
code must start with the ‘C’ button. Using the spare tumblers, the code length can be changed to 5 or 7
digits. Shorter codes are not recommended.
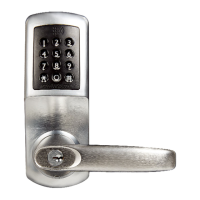
Code Change Instructions
1. Remove the CL100 or CL200 lock from the door by unscrewing the 2 screws in the back plate.
2. Press the ‘C’ button to reset the chamber and place the lock case on a flat surface with the buttons
down.
3. Remove the 2 red screws and carefully lift off the code chamber plate. Check that all 14 springs are held
in place on the plate.
4. Note that thecoloured code tumblers correspond in position to the existing code. The silver non-code
tumblers fill the other positions. The C tumbler is not coloured.
5. Hold the lock in your hand and depress the ‘C’ button. Keeping the ‘C’ button depressed, use tweezers
to re-position the tumblers to correspond with your new code. The square notches of ALL tumblers MUST
face outwards, with the coloured tips ON TOP: See diagram below. DO NOT force the tumblers in.
Note: Holding the ‘C’ button depressed whilst re-positioning the tumblers is ESSENTIAL to avoid
damaging the internal mechanism. DO NOT attempt to reposition the ‘C’ tumbler.