Getting Started
Step Using SensorView Teach Pendant Using a PC
1: Review system
requirements
SensorView Teach Pendant v 2.4 or newer•
24 VDC power supply, 525 mA (250 mA for Checker 3G, 275 •
mA for SensorView Teach Pendant)
USB cable•
A PC with:
Microsoft•
®
Windows
®
2000™ SP4, Windows XP™, or Windows Vista™
128 MB RAM•
USB 1.1 (2.0 recommended for best performance)•
1024 x 768 (96 DPI) or 1280 x 1024 (120 DPI) display•
and
24 VDC power supply, 250 mA •
USB cable•
2. Install SensorView Teach
Pendant or Checker PC
software
Install SensorView Teach Pendant by following instructions in
SensorView Teach Pendant User Manual.
Insert CD-ROM.1.
If installer does not start automatically, double-click 2. setup.exe.
Follow installer prompts.3.
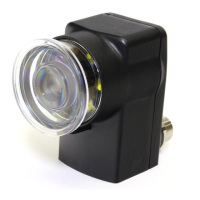
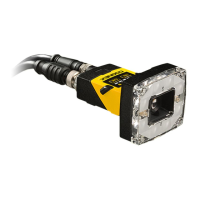
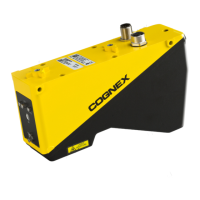
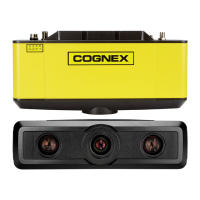
3. Connect Checker 3G to
power
Connect Checker 3G to 24 VDC power supply and I/O
equipment, as described on page 36. Verify that Checker 3G’s
illumination LEDs are lit.
Connect Checker 3G to 24 VDC power supply and I/O equipment, as described on page 36.
Verify that Checker 3G’s illumination LEDs are lit.
4. Connect Checker 3G to
SensorView Teach Pendant
or PC
Connect Checker 3G to SensorView Teach Pendant using USB
cable (use either USB port on SensorView Teach Pendant).
Connect Checker 3G to PC using USB cable.
5. Select Personality Verify that SensorView Teach Pendant is displaying the Select
Personality screen. Select Presence if you are using this
sensor to check presence/absence or appearance. Select
Measurement if you are using this sensor to verify part or
feature dimensions.
Checker only prompts you to select its personality the rst time it
is started. You can change Checker 3G’s personality at any time
by selecting Main Menu ►Select Personality.
Start the Checker software (select • Cognex->Checker Vision Sensors->Checker from
the Windows Start menu).
Click • Get Connected.
Select your Checker 3G and click • Connect.
In the Select Personality screen select Presence if you are using this sensor to check
presence/absence or appearance. Select Measurement if you are using this sensor to verify
part or feature dimensions.
Checker only prompts you to select its personality the rst time it is started. You can change
Checker 3G’s personality at any time by selecting Checker->Select Personality...
 Loading...