Do you have a question about the Coleman WEATHERMASTER 9232C179 and is the answer not in the manual?
Position tent with door facing the desired direction.
Stake tent corners, angling stakes toward the tent for a taut floor.
Unzip the tent door.
Assemble shock-corded roof poles into a continuous arch.
Insert red-stickered center poles into the two center roof sleeves.
Insert blue-stickered end poles into the roof sleeves at each tent end.
Assemble red brace poles and position them in the innermost hole.
Insert brace poles into roof poles and raise the tent upright.
Attach brace poles to the squeeze pins at the bottom of the tent.
Assemble the blue-stickered end brace poles.
Insert blue brace poles into end roof assemblies, pointing downwards.
Attach end brace poles to the squeeze pins at the tent's bottom.
Assemble the awning poles.
Stake out awning corners and attach rainfly hooks to brace poles.
Minimize condensation by ensuring good ventilation and removing wet items.
Thoroughly dry tent before storage; do not store telescoping poles together.
Pull stakes by the stake itself, not the tent fabric or loops.
Seam sealing is recommended for improved water resistance.
Prolonged UV exposure can damage and discolor tent material.
Keep flame and heat sources away from tent fabric; it meets flammability standards.
| Seasons | 3-Season |
|---|---|
| Floor Material | Polyethylene |
| Pole Material | Fiberglass |
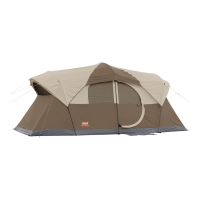
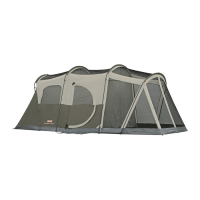
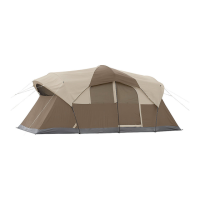
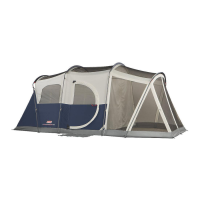
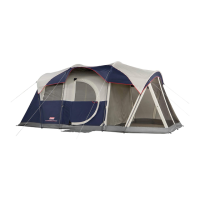
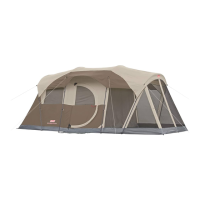
| Type | Cabin |
| Center Height | 6 ft 8 in |
| Material | Polyester |
| Rainfly | Included |