3
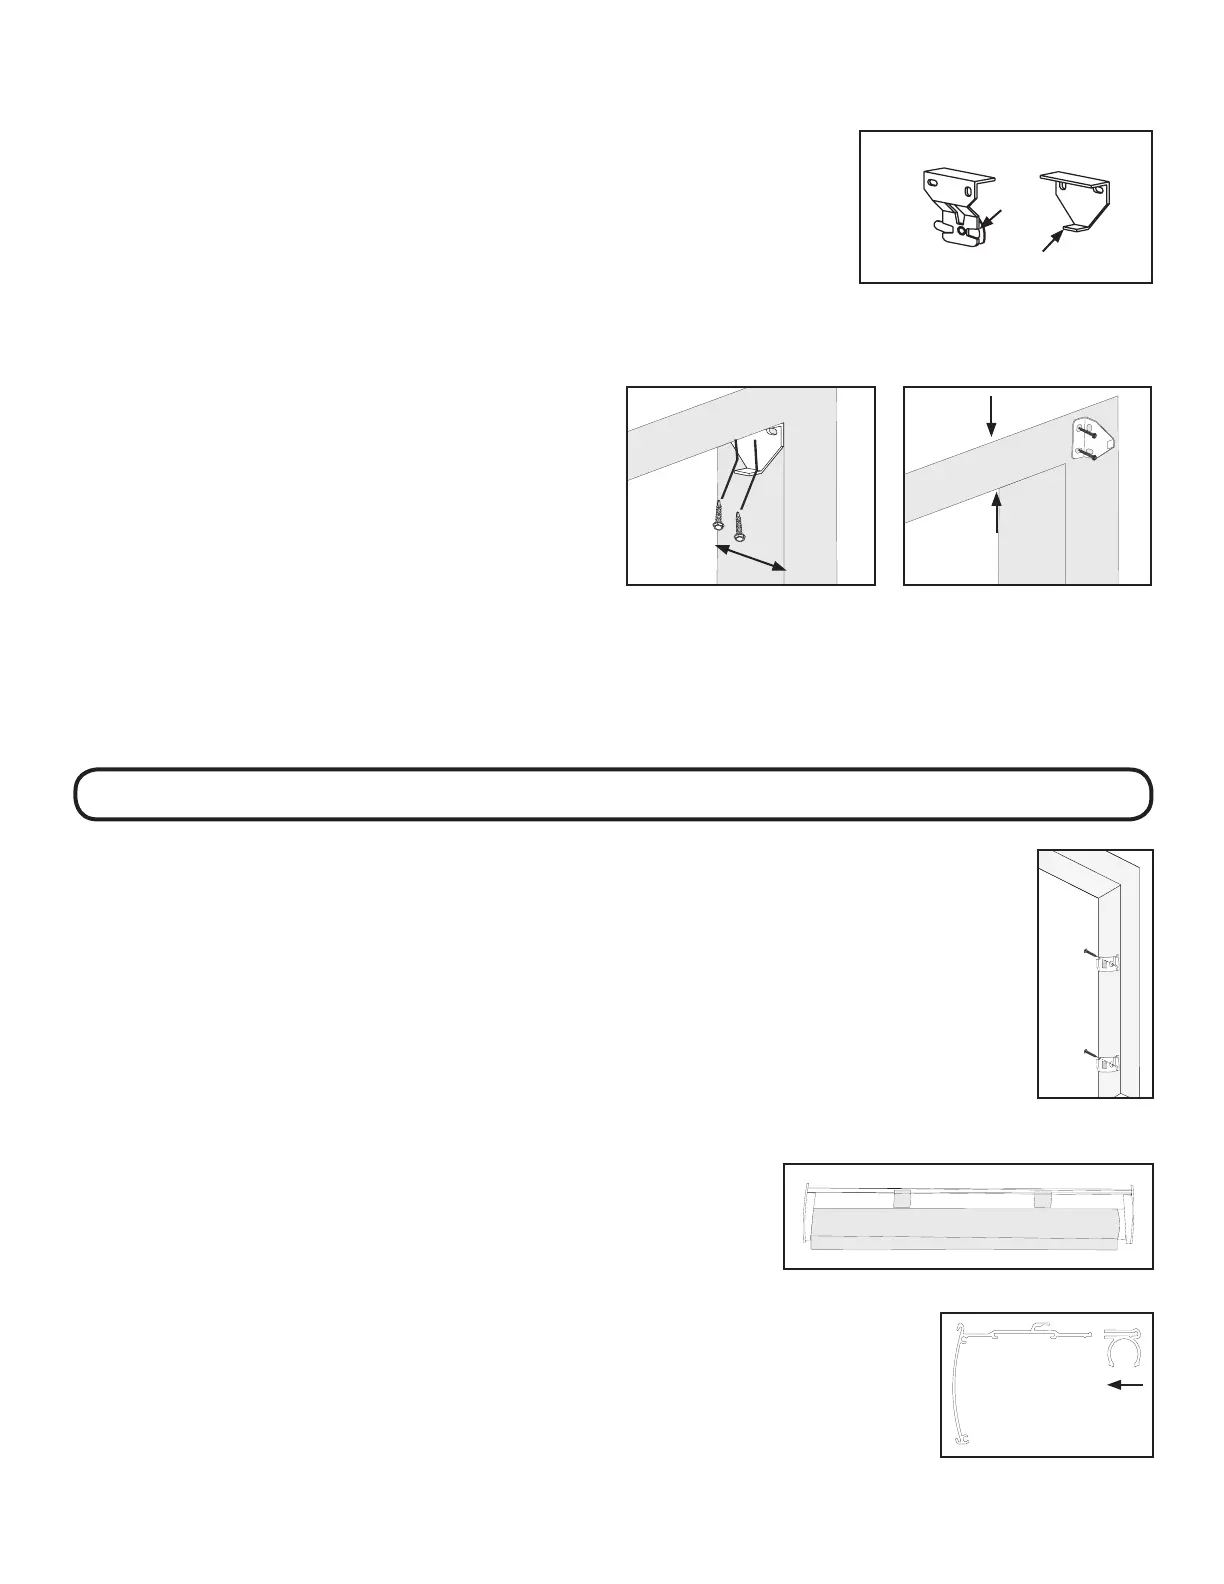
Idler Side Bracket Motor Side bracket
Foot
T-Hook
e installation brackets are always mounted so that the
inner surfaces face each other.
Brackets must be in line and level. Shim brackets on inside
mounts if necessary. e head rail must be level for the shade
to operate properly.
SHADES WITH NO HEAD RAIL
STEP 2: BATTERY WAND INSTALLATION (IF TRANSFORMER SKIP TO STEP 3)
WALL MOUNT
Attach the wand clips in the desired location with the screws
provided. Before mounting the wand, make sure that the wand
and excess wire will not interfere with the operation of the
shade. Extension wires are available if needed.
Press the wand into the clips.
Please Note: Be sure battery wire will reach motor plug.
HEAD RAIL MOUNT
Attach the wand clips to the back of the head rail as shown.
Important: Position the clip so that the battery wand will be
between mounting brackets.
Before mounting the wand, make sure that the wand and
excess wire will not interfere with the operation of the shade.
Extension wires are available if needed.
Press the wand into the clip.
Please Note: Be sure battery wire will reach motor plug.
Inside Mount
Minimum 1
1
⁄2” surface
Outside Mount
Minimum 1
1
⁄2” surface
1
1
⁄2”
1
1
⁄2”