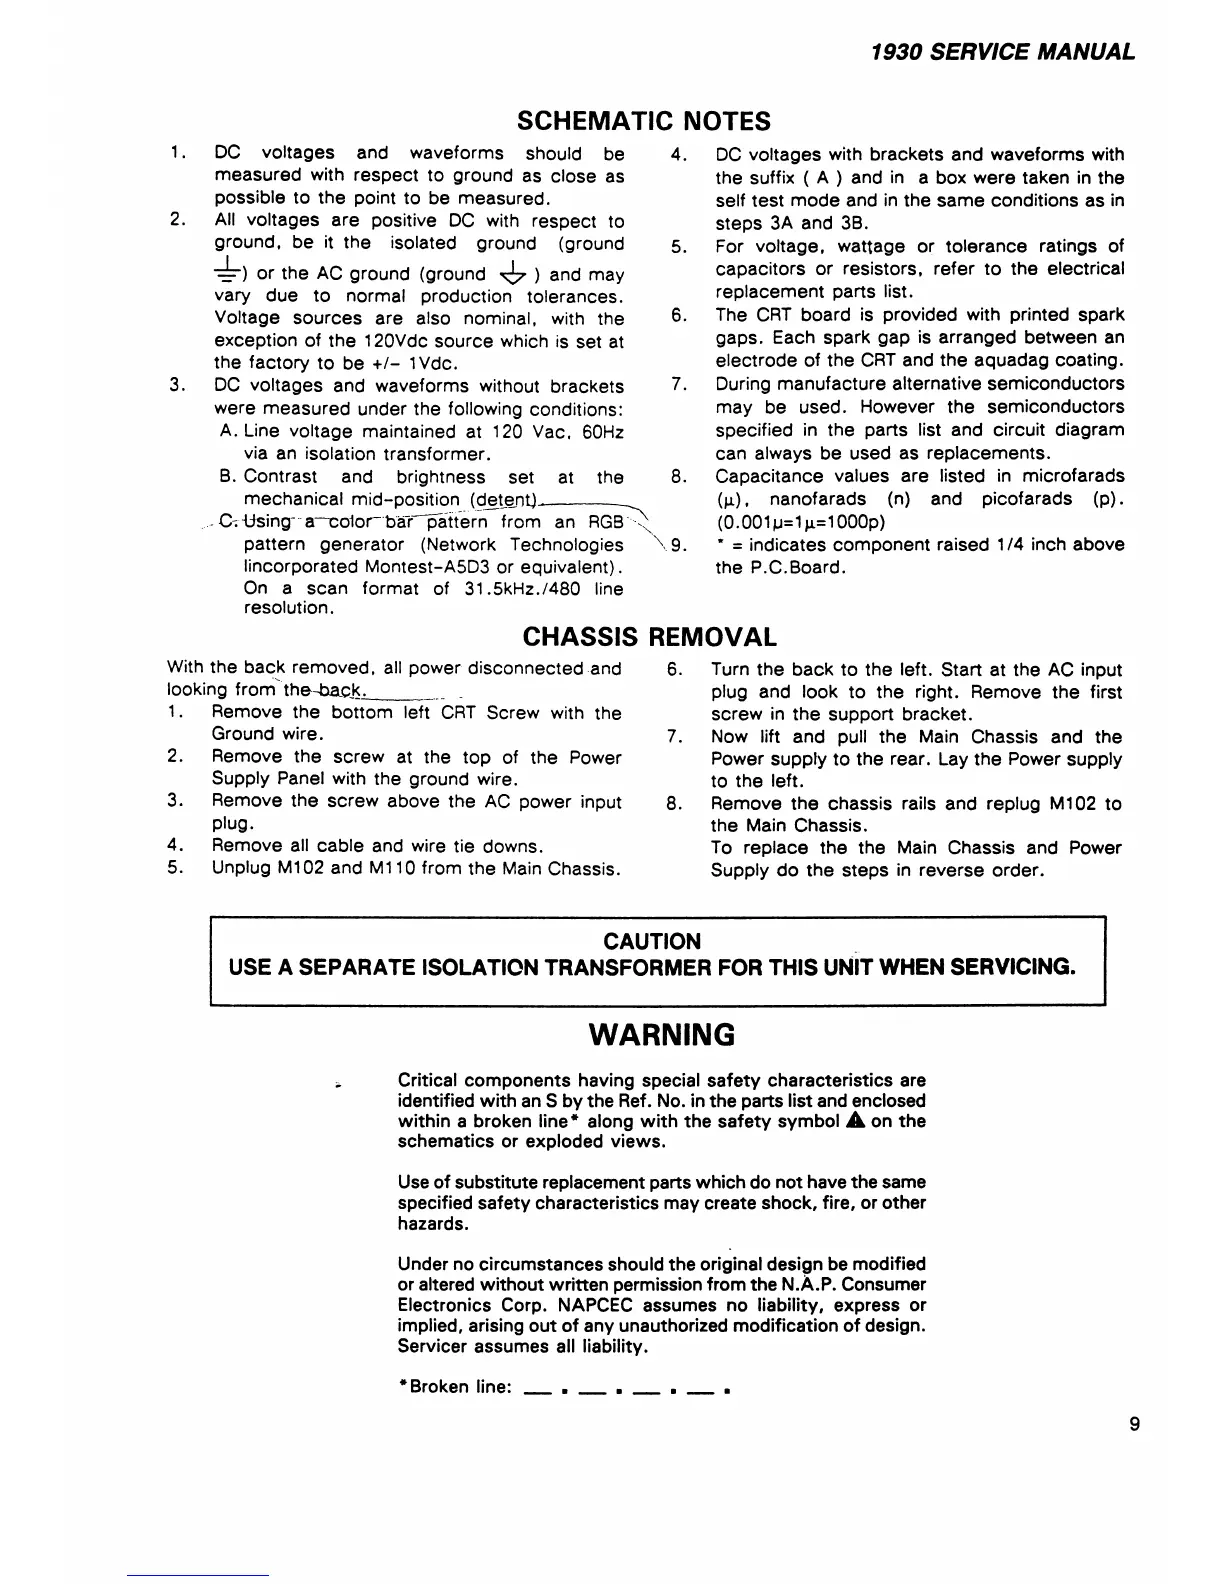
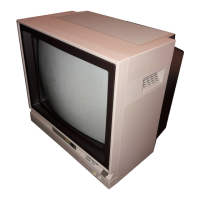
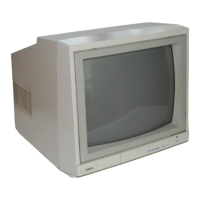
1930 SERVICE MANUAL
SCHEMATIC NOTES
1. DC voltages and w aveforms should be
measured with respect to ground as close as
possible to the point to be measured.
2. All voltages are positive DC with respect to
ground, be it the isolated ground (ground
“4 1“) or the AC ground (ground ^ ) and may
vary due to normal production tolerances.
Voltage sources are also nom inal, with the
exception of the 120Vdc source which is set at
the factory to be + /- 1Vdc.
3. DC voltages and waveforms without brackets
were m easured under the following conditions:
A. Line voltage maintained at 120 Vac, 60Hz
via an isolation transform er.
B. Contrast and brightness set at the
mechanical mid-position (detent)
_________
- C^iising“ a^ o1o r~ bar^p attern from an RGB -
pattern generator (Network Technologies
Incorporated M ontest-A5D3 or eq uivalent).
On a scan form at of 3 1.5k H z./480 line
resolution.
CHASSIS
With the back rem oved, all power disconnected and
looking from the-back^
_________
1. Rem ove the bottom left CRT Screw with the
Ground wire.
2. Remove the screw at the top of the Power
Supply Panel with the ground wire.
3. Remove the screw above the AC power input
plug.
4. Rem ove all cable and wire tie downs.
5. Unplug M102 and M 110 from the Main Chassis.
4. DC voltages with brackets and waveforms with
the suffix ( A ) and in a box w ere taken in the
self test m ode and in the sam e conditions as in
steps 3A and 3B.
5. For voltage, w attage or tolerance ratings of
capacitors or resistors, refer to the electrical
replacem ent parts list.
6. The CRT board is provided with printed spark
gaps. Each spark gap is arranged between an
electrode of the CRT and the aquadag coating.
7. During manufacture alternative semiconductors
m ay be used. However the semiconductors
specified in the parts list and circuit diagram
can always be used as replacem ents.
8. Capacitance values are listed in microfarads
(p ), nanofarads (n) and picofarads (p ).
(0.0 01 p=1p=1000p)
\ 9 . ' = indicates com ponent raised 1/4 inch above
the P.C .Board.
REMOVAL
6. Turn the back to the left. Start at the AC input
plug and look to the right. Rem ove the first
screw in the support bracket.
7. Now lift and pull the Main Chassis and the
Power supply to the rear. Lay the Power supply
to the left.
8. Rem ove the chassis rails and replug M 102 to
the Main Chassis.
To replace the the Main Chassis and Power
Supply do the steps in reverse order.
CAUTION
USE A SEPARATE ISOLATION TRANSFORMER FOR THIS UNIT WHEN SERVICING.
WARNING
Critical components having special safety characteristics are
identified with an S by the Ref. No. in the parts list and enclosed
within a broken line * along with the safety symbol A on the
schematics or exploded views.
Use of substitute replacement parts which do not have the same
specified safety characteristics may create shock, fire, or other
hazards.
Under no circumstances should the original design be modified
or altered without written permission from the N.À.P. Consumer
Electronics Corp. NAPCEC assumes no liability, express or
implied, arising out of any unauthorized modification of design.
Servicer assumes all liability.
•Broken line: ___ . ___ . ___ .
__
.
9