OPTIONAL ACCESSORY
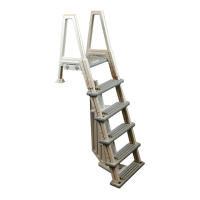
SKIM-IT SKIMS OFF DEBRIS Cut cleaning time 75% with skimmer
extension that guides debris directly into your skimmer. Fits most
in-ground and above-ground pool skimmers. Corrosion-resistant
plastic Skim-It installs in seconds without tools.
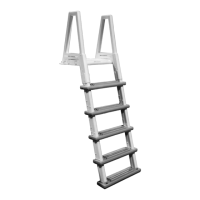
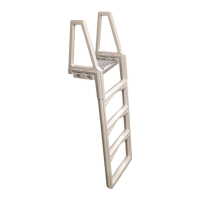
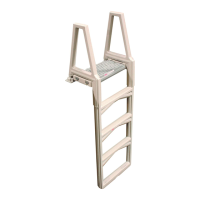
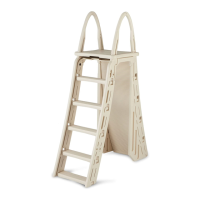
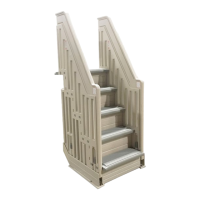
OPTIONAL CONVERSION KIT
To ea sil y c onver t you r lad der t o a de ck la dd er o rd er o ur # CK 71 00 .
The conversion kit includes all parts and hardware needed. Check for
availability at your local pool dealer or order online at
www.conferladders.com
5
Winterizing: To winterize your ladder pull the ladder
from the pool, remove the plugs, lay the ladder on its
side to allow the water to drain out. A small amount of
water left in the ladder will not cause any damage.
Replace the plugs into the fill holes so that they do not
get lost. The ladder may be left outside.
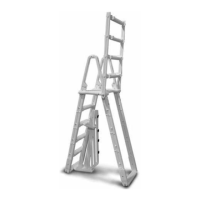
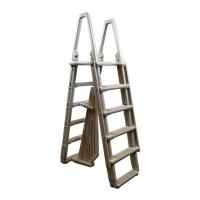
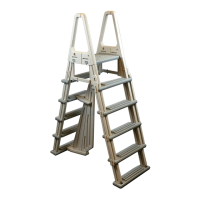
TO PREVENT FLOATING
Fill the “inner” ladder legs with water and cover the
four fill holes with plugs. Place the ladder over the
pool top seat with the swing up treads on the
outside of the pool. Tip the ladder sideways to
allow the treads to fill the water. This will prevent
floating. The platform should rest on the pool top
seat and the bottom tread should rest firmly on the
pool bottom. If they do not, the extension boots
may be adjusted up or down as required to
achieve the best fit.
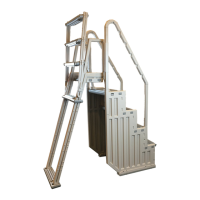
For maximum stability, the ladder should be fas-
tened to the top of the pool. Postion the ladder at
the desired location on the pool top seat and mark
the two locations of the holes in the platform onto
the top seat. Move the ladder away, and being
careful not to drill into the liner, drill two holes
through the top seat. Fasten the ladder to the top
seat using two 1/4-20 x 2-1/4” bolts, 1/4” flat wash-
ers, and 1/4-20 hex nuts.
IMPORTANT: WHENEVER THE POOL IS NOT IN USE
THE OUTER TREADS MUST BE IN THE UP POSITION
AND LOCKED WITH THE INCLUDED PADLOCK.