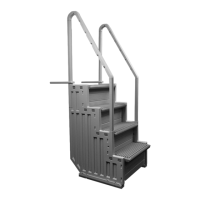
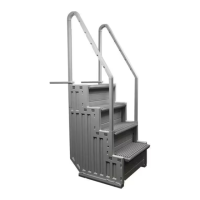
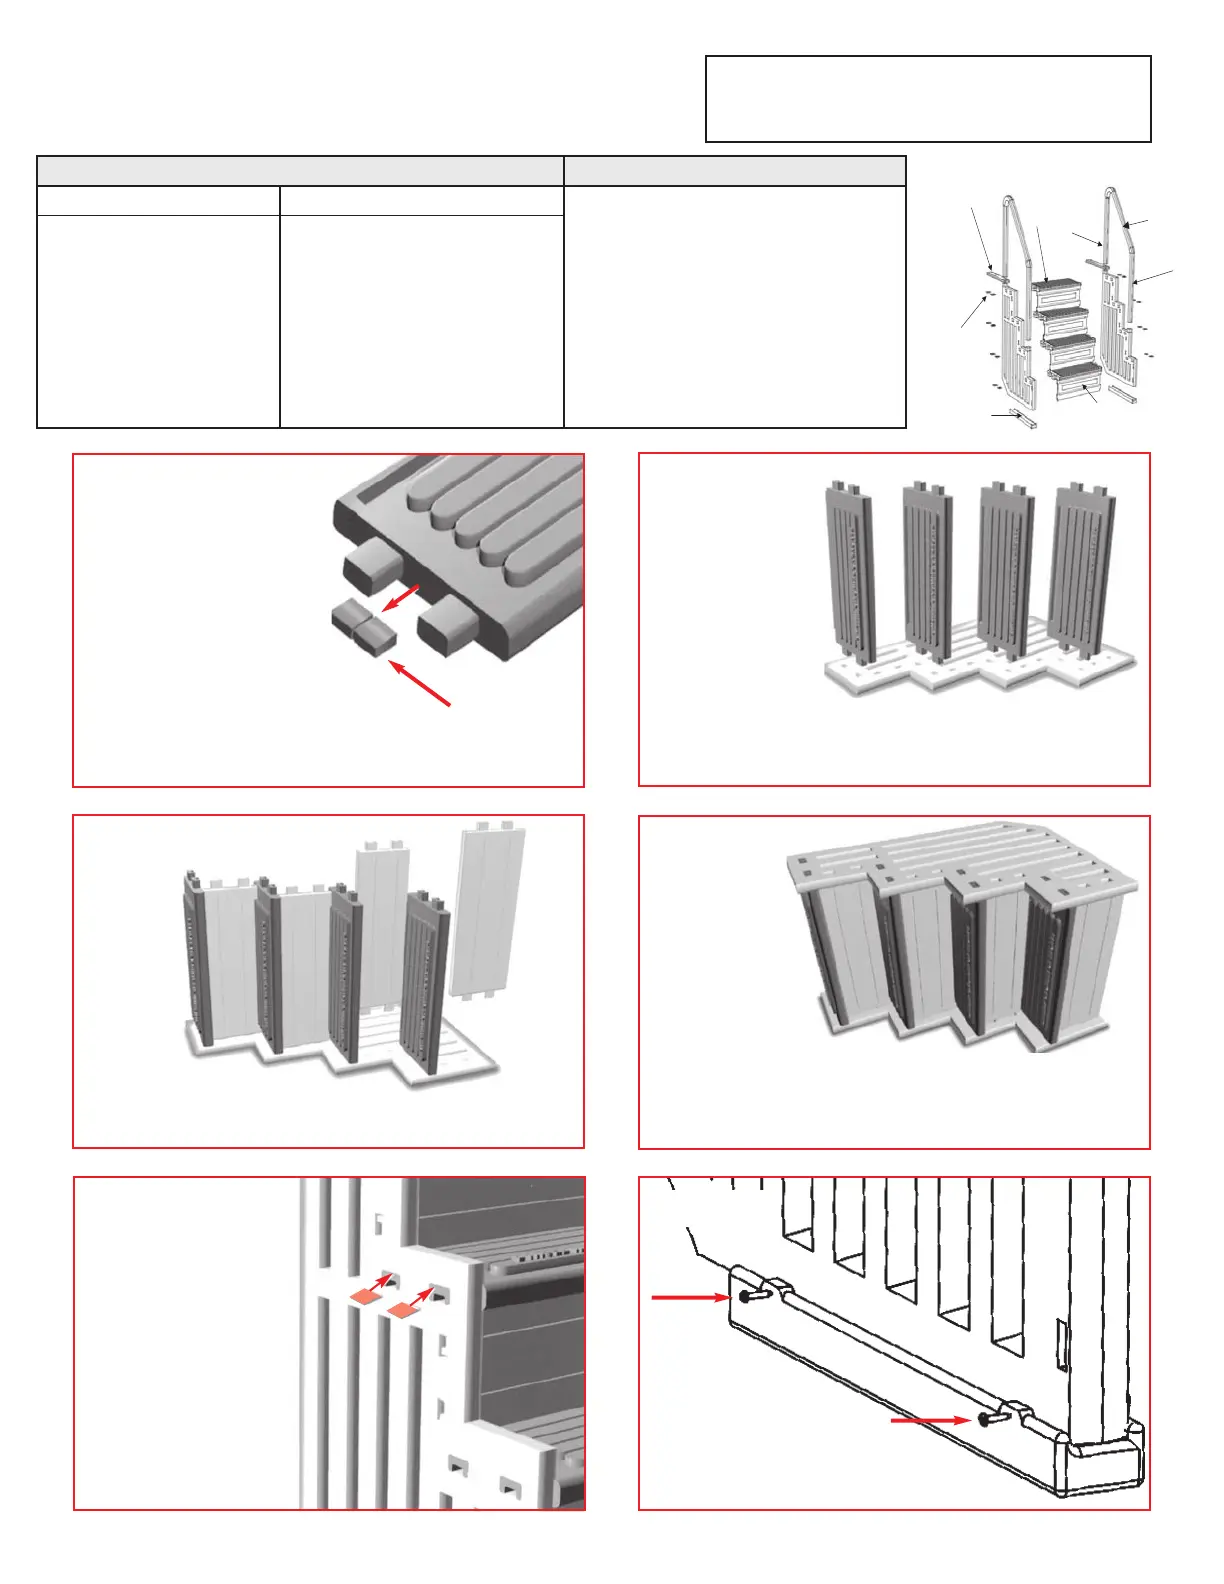
MOUNTING BRACKET
WEDGES
SEE STEP 1
BASE
STEP
RISER
HANDRAIL
SHORT HANDRAIL
POST
LONG HANDRAIL
POST
PARTS LIST
HARDWARE TOOLS REQUIRED FOR ASSEMBLY:
Qty Description Qty Description • Mallet or hammer and block of wood
2 - Bases 22 - #10 x 1-1/4” Screw • Phillips Screwdriver
2 - Side Panels 2 - Label - No Jumping/Diving • Cordless Drill Motor
2 - Handrails 2 - Mounting Brackets • 1/8” Drill Bit
2 - Long Handrail Posts • Knife
2 - Short Handrail Posts • Pliers
4 - Risers • Liquid Soap or Spray Lubricant
4 - Steps (with 16 wedges) • Sand (approximately 40 lbs.)
See Step 1
Make sure
wording is facing
forward.
2
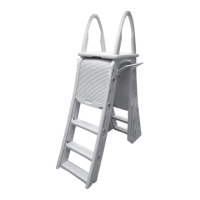
CONFER-STEP MODEL # STEP-1
Inpool Steps from Confer Plastics
NOTE : FOR INSTALLATION ON FLAT BOTTOM
ABOVE GROUND POOLS ONLY. NOT FOR
DISHED/SLOPED BOTTOMS
Using pliers remove the
locking wedges from both
ends of each step
and SAVE.
The four handrail posts
are joined together as one
unit and must be separated
before starting assembly.
Using a sharp knife, carefully
cut the posts apart. When
finished you will have two
long posts and two short
posts as required in step #7.
Secure each step by
fully inserting the locking
wedges, saved from
step #1, between the
side panel and the top
surface of both ends of
each step.
Step 1
Step 3
Step 5
Step 6
Step 4
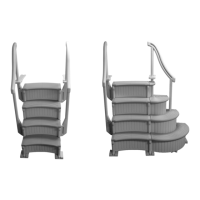
Lay one of the
side panels down
on a clean, flat
surface. Push the
end of each step
into the openings
of the side panel. Make sure that the riser groove in the top of each
step is lined up with the riser recess in the side panel and the
engraved markings “Danger No Jumping/No Diving” are facing
toward the front of the unit.
Position the base
under the side panel.
Secure the base to each
side panel with four #10 x 1-1/4”
screws. Use the molded locators on
each tab of the base.
Step 2
Remove wedges
and save for Step 5.
Insert a riser between each of the steps so that the ends of the risers
align in the riser recesses on the same panel.
Note: Position riser so center hole faces “back” of steps.
Position the second side panel over the steps and risers and press
the panel down so that each step and riser are fully seated into the
second side panel. It may be necessary to tap the side panel, using
a mallet or a hammer and block of wood, to fully seat it.
 Loading...