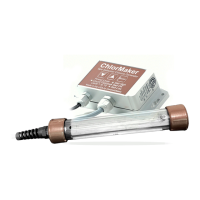
Mount the Control Box
Find a suitable location to mount the control box meeting
the following requirements:
1. Vertical installation with the two cables coming out the
bottom
2. Out of direct sunlight
3. A location that will minimize rain and moisture. Even
though the box is resistant, minimizing moisture
exposure will minimize the chance of moisture getting
inside the box
4. A flat location on the spa skirt that is close enough for
the power supply cable to reach the electrical outlet and
the cable can be protected or locate on a post or wall
near the spa, close enough to the spa for the 10 foot
cell cable to reach, with the cell hanging in the deepest
part of the spa
The ChlorMaker box mounting flange has two large holes
allowing for installing the screws first.
1. Install the two small screws 5 3/8” apart and 1 1/4” or
more below the edge of the shell part of the spa
2. Place the box onto the screws and slide the box down
3. Tighten the screws
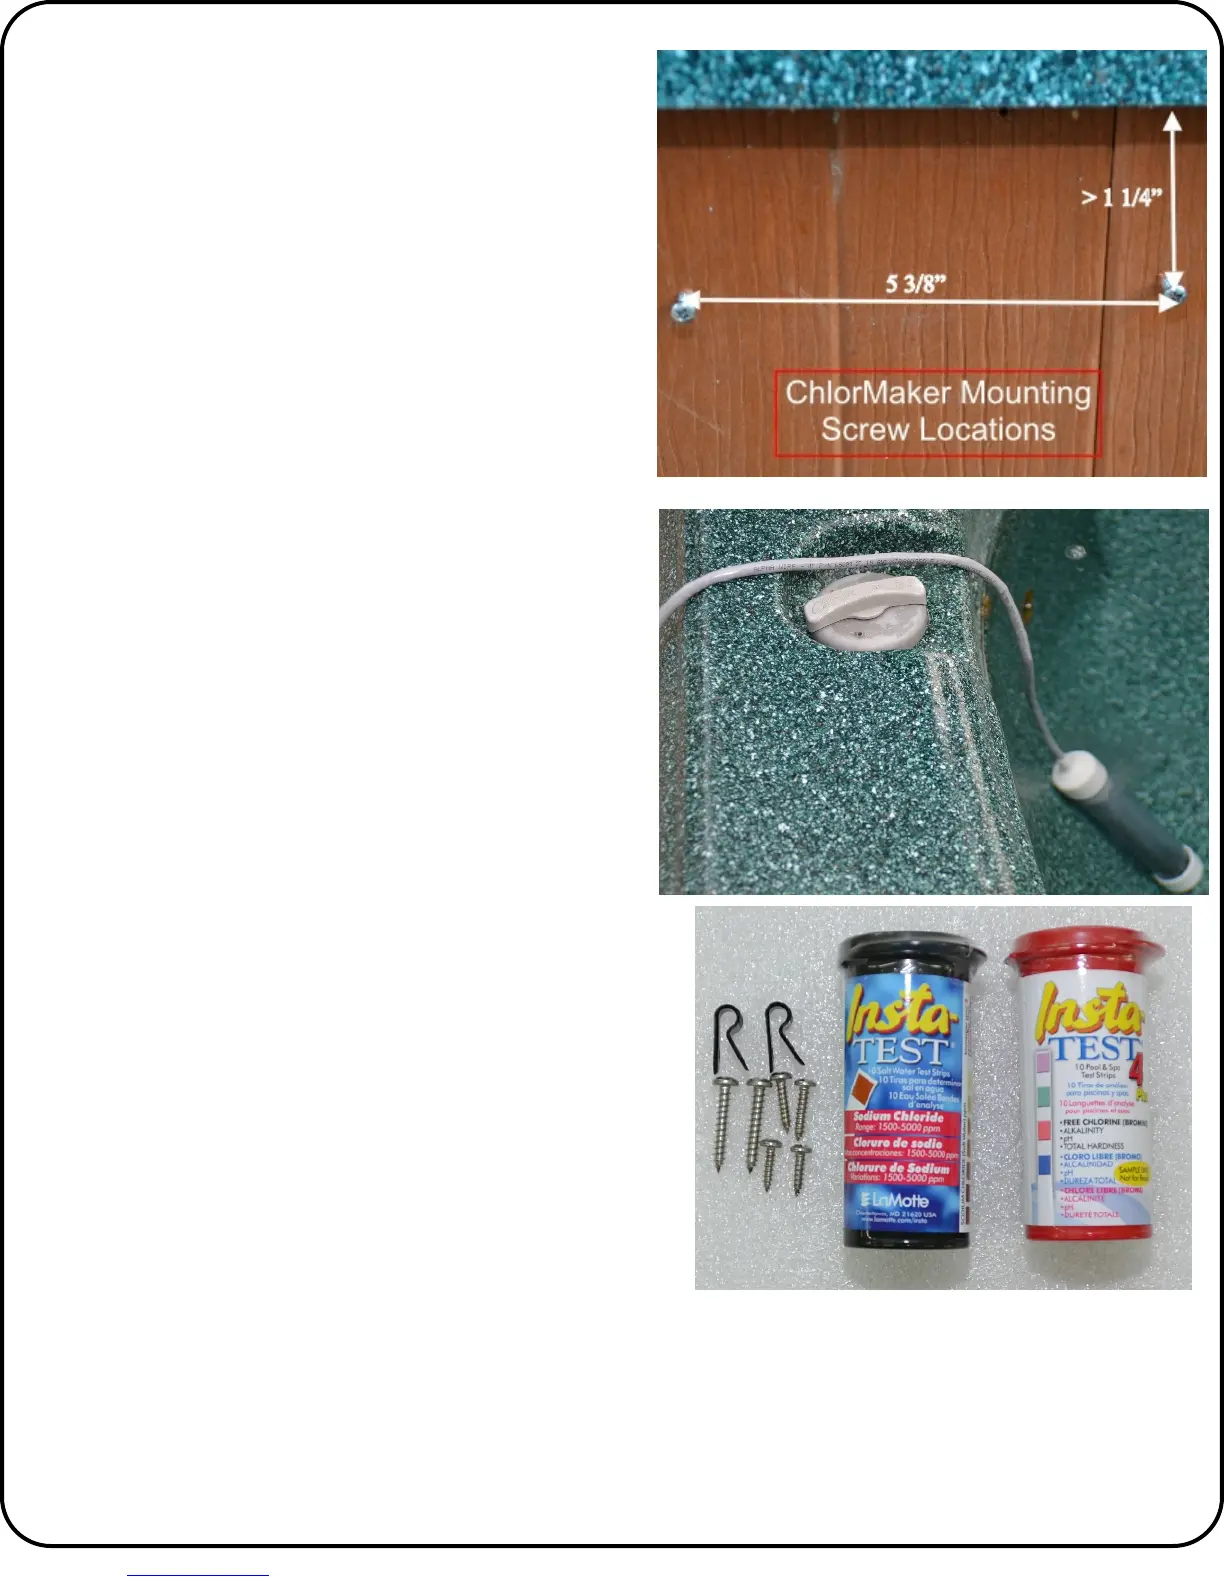
ChlorMaker Cell
Lift the lid off the spa and drape the cell over the side into
the water. Use the following guidelines for the placement of
the cell:
1. For best results place the cell in the deepest location in
the spa. When generating chlorine the bubbles will
travel up and, if in the deepest location in the spa, will
be in contact with the spa water longer
2. The cell must be in a vertical orientation. If lying flat it
will generate less chlorine
3. The cell can be located in the filter area if it will fit - but
this is not recommended, as the bubbles will not be in
contact with the water as long as in a deeper location.
When the pump is off the filter door closes and the
chlorine level will be much higher in the filter area.
4. The ChlorMaker includes 2 cable clips. Use one of the
clips (1/4” clip and a #6 x 1/2” screw) to fasten the cable
to the side of the spa if necessary