7
24
Ste w e d Chi ck e n a nd St ock
5 pounds stewing chicken, whole or cut up
2 stalks celery, cut into 2 inch chunks
2 large carrots, peeled and cut into 4 or 5 chunks
2 large onions, coarsely chopped
4 large leeks, cut into
1
/
2
inch slices, using up to 2 inches of green top
1 cup white wine
1
/
2
teaspoon whole black peppercorns
5 sprigs parsley
2 bay leaves
1
1
/
2
quarts cold water
Salt (I leave the stock unsalted)
Many recipes call for throwing all the ingredients in the pot without browning the
chicken or the vegetables. You will get a stock ver y quickly that will taste pretty much like
the canned stuff. To make a tasty difference, press the
Brow n
button. Press the
Star t/ O ff
button. Add the chicken and brown until golden brown. Take the chicken out, add the
veggies. Add the wine and deglaze, scraping/ stirring the bottom of the pan. Press the
Star t/ O ff
button. Add the remaining ingredients. Lock the lid in place, set the cooker to
H i g h
( 1 5 . 0 P ) , for 30 minutes (see pages 6-7 for instructions). Let the pressure drop naturally. You
can quick release the pressure, if you are in a hurry.
Let the stock cool to a safe temperature before, straining thru a fine mesh sieve, and then
refrigerate or freeze.
Ve ge ta bl e Stock in 2 0 mi nut e s
There a re so ma ny vegeta bles to choose from w hen mak ing a vegeta ble stock. I ha ve
just tw o r ules: 1 . A lw a ys include your basic vegeta bles: ca rrots, onions and celer y.
2 . A dd a s ma ny vegeta bles, w a shed vegeta ble peels and trimmings tha t you ha ve on
ha nd w ith the exception of beets, w hich w ill darken the stock a nd domina te the flavor.
So unless you a re ma king Borscht, skip the beets. This tasty but neutral stock can now
be used to ma ke soups, poa ch fish, a nd mak e vegeta ria n soups.
2 tablespoons oil
2 large onions, chopped
4 large carrots, chunked
4 stalks celery, chunked
1
/
2
cup white wine
12 cups miscellaneous vegetables, coarsely chopped
Peeled turnips, leek greens, zucchini, mushrooms, green beans, scallions etc
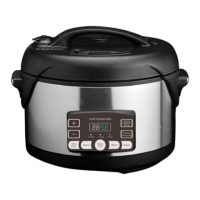
10. The unit will begin to count down after the pressure has been reached.
It ma y ta ke several minutes to begin counting dow n. This depends on
the fullness of the pot. W hen the pressure level is reached, only the
cooking time will be displayed and the timer will start to count down.
11. W hen cooking is finished, the unit will beep. Let the pressure drop on
its own (also called the natural release method), or release immediately
by turning the pressure regulator knob towards STEAM in short bursts
(also called the quick release method) until the pressure is reduced.
CAUTIO N : W hen turning the knob to release pressure, hot steam/ liq-
uid will be ejected.
USE A PO TH O LDER.
NO TE: Press the “Start/ Stop” button when cooking time is complete, or to
cancel and reset. O therwise, the pressure cooker will automatically
switch to warm for 8 hours.
WA RN IN G :
Do not hold the pressure regulator knob. Hot steam/ liquid
will be ejected. Keep hands and face away from steam vents, use pot
holders when removing the inner pot or touching any hot items, and
never force the lid open. The lid will only open once the pressure is
released. Remove the lid by lifting it away from you to avoid being
burned by the steam.
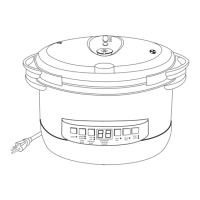
12. To O pen, turn clockwise and lift up (see page 10).
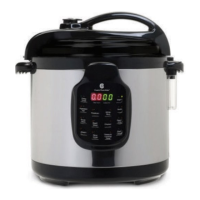
W a rm Se tting
This program keeps cooked food warm for a long period of time.
1. Plug the cord into a wall outlet. The display will show --:--.
2. Position the removable cooking pot in the appliance.
3. Place cooked food in the cooking pot.
4. Place lid on pressure cooker and lock into place.
5. Turn the pressure regulator knob to STEAM.
6. Press the “ Warm” button. The display will read 158°F. (MIN is 140°F;
MA X is 176°F).
7. Press the “ +” and “ -” buttons to set the desired warming temperature.
8. Press “ Warm” button. The display will read 8:00 (This equals 8
hours of warming time.)
9. Press the “ +” and “ -” buttons to set the desired warming time (MIN is
30 minutes; M A X is 8 hours).
10. Press the “ Start/ Stop” button to begin warming.
11. Press the Start/ Stop button to turn the unit off.