Do you have a question about the Cool-Living CL-WAC-12 and is the answer not in the manual?
Lists essential safety precautions to reduce fire, shock, or injury risks.
Covers potential causes like power issues, blown fuses, or delayed start.
Addresses restricted airflow, dirty filters, and incorrect temperature settings.
Explains frozen coils blocking airflow and how to resolve it.
Crucial safety warnings regarding electrical connections and grounding.
Explains the importance and method of proper electrical grounding.
Details the function and testing procedure for the LCDI power cord.
Initial step for placing the unit and fitting accordion panels.
Procedure for securing the air conditioner unit in the window.
Extending side panels and securing them to the window frame.
Installing the frame lock and securing it to the window sill.
Driving locking screws through frame holes into the window sash.
Attaching the right angle sash lock to secure the lower sash.
Cutting and inserting foam seal in the space between window sashes.
| BTU | 12000 |
|---|---|
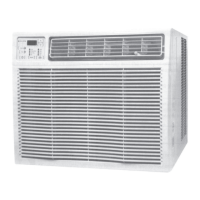
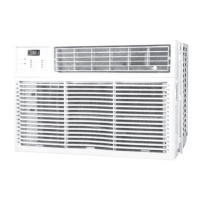
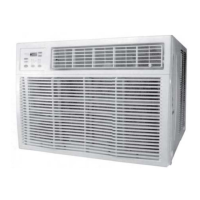
| Type | Window Air Conditioner |
| Cooling Capacity | 12000 BTU |
| Power Supply | 115V/60Hz |
| Operating Temperature | 62°F - 90°F |
| Air Flow | 300 CFM |