Page 4
SRP-003-448 Issue 3
7. Cable Strain Relief
7.1 If the cable you are installing has aramid or
fiber-glass yarn and a central member, strain-relieve
it using the strain-relief bracket and hardware
provided.
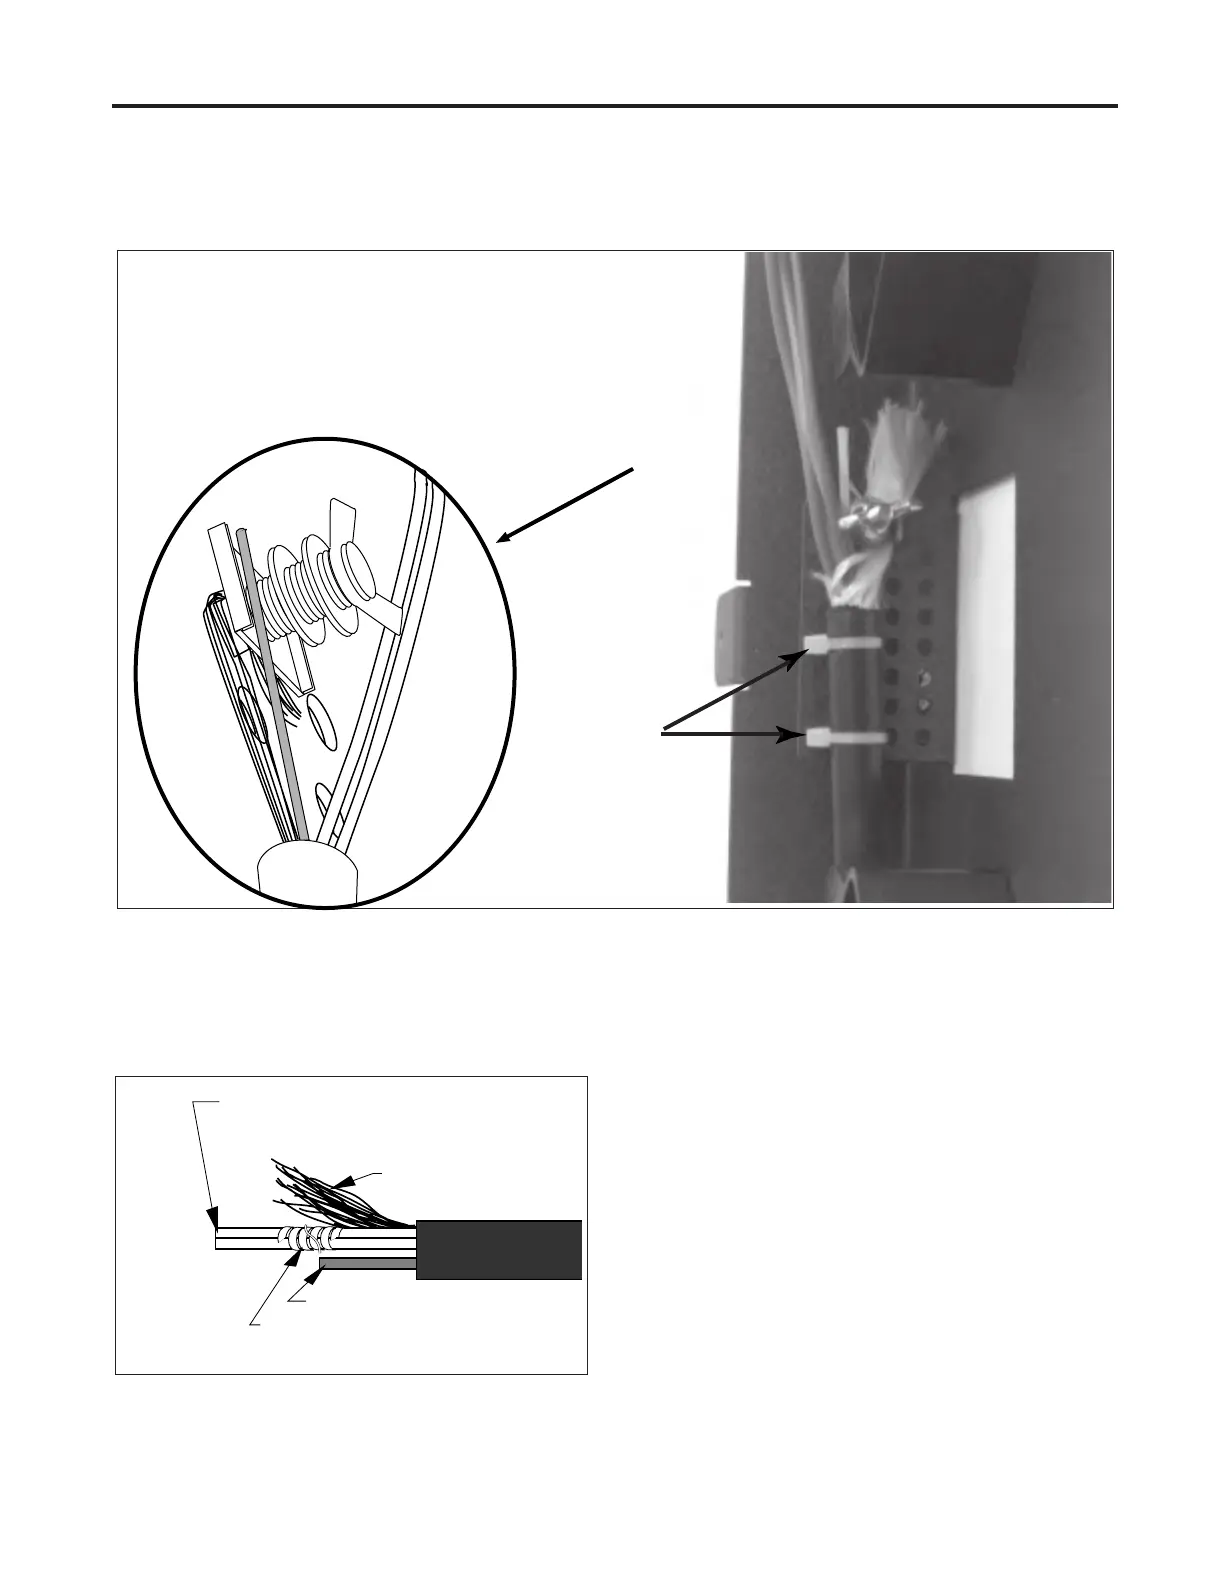
Figure 6
7.2 Remove cable sheath as specified in
instructions for the cable you are installing.
Suggested lengths are illustrated in Figure 6.
7.3 Insert the square neck bolt from one side of the
strain-relief bracket. Wrap the aramid yarn around
the bolt on the opposite side of the strain-relief
bracket from which the bolt was inserted. Place U-
shaped washer over the square neck bolt. Insert the
central member in the U-shaped washer and place the
2 flat washers on top and secure with the wing nut
provided.
7.4 Use cable ties for additional strain relief
(Figure 5).
NOTE: Avoid overtightening the cable ties.
Overtightening may cause macro/micro bending and
damage the cable.
Both the aramid or fiberglass yarn and
the central member are secured with a
U-shaped washer and a bolt. Wrap yarn
between the U-shaped washer and the
side of the bracket. Insert the metallic
central member between the U-shaped
washer and the flat washer. Tighten
the nut.
Yarn: 15 cm (6 inches)
CABLE
Central Member: 8 cm (3 inches)
Buffer Tubes: 266 cm (105 in) plus
length required in tray
33 cm (13 in) of spiral wrap
starting 2.5 cm (1 in) from sheath
Cable Ties
Figure 5