EasyManuals Logo

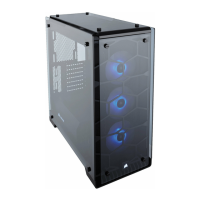
Corsair 460X User Manual

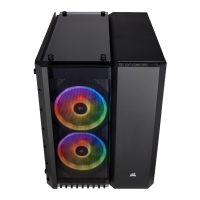
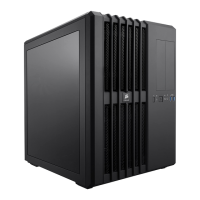
Corsair 460X
5 pages
To Next Page IconTo Next Page
To Previous Page IconTo Previous Page
Page #3 background imageLoading...
Page #3 background image
CRYSTAL SERIES 460X
4. Installing SSDs
3. Installing HDDs
2. Installing the Motherboard
1. Removing the Side Panels
Remove the thumb screws
and pull the side panel o.
Snap your motherboard’s I/O
shield into the cutout.
Align the motherboard with
the standoffs in the case.
Secure with the included
screws.
b
Step 1 – Place the drive into
the 3.5” drive tray.
Step 2 – Slide the drive
and rail assembly into the
HDD cage from behind the
motherboard as shown.
400C_400Q STEP 3
400C_400Q STEP 3
Step 2
Step 1
Slide the 2.5” drive into the
tray until it snaps into place.
400C_400Q Step 4

Questions and Answers:

Question and Answer IconNeed help?

Do you have a question about the Corsair 460X and is the answer not in the manual?

Corsair 460X Specifications

General IconGeneral
Motherboard SupportATX, Micro-ATX, Mini-ITX
Dimensions440mm x 220mm x 464mm
MaterialSteel, Tempered Glass
Expansion Slots7
Cooling SupportFront: 3 x 120mm or 2 x 140mm, Top: 2 x 120mm or 2 x 140mm, Rear: 1 x 120mm
Radiator CompatibilityFront: 360mm, Top: 240mm, Rear: 120mm
Maximum GPU Length370mm
Maximum CPU Cooler Height170mm
Maximum PSU Length200mm
TypeMid-Tower
Drive Bays2 x 3.5", 3 x 2.5"
Pre-installed Fans3 x 120mm RGB LED
I/O Ports2 x USB 3.0, 1 x Headphone, 1 x Microphone

Related product manuals