Hi-Speed USB Portable Flash Disk User’s Manual Guide
Page 3
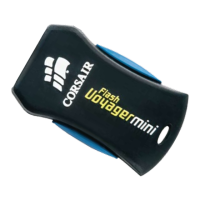
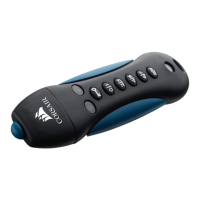
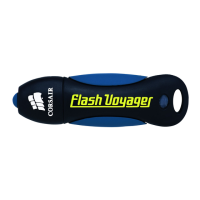
Using Your Corsair Flash Voyager USB 2.0 Flash Drive
To use the Corsair Flash Voyager USB 2.0 Flash Drive, simply connect it to your
computer’s USB port. Windows ME, 2000, XP and newer versions all support the
Microsoft USB Mass Storage driver needed to detect and run the device. If your
computer uses Windows 98, you will need to run the USB Flash Disk Utility Setup
that will install the needed USB mass storage driver. The UFD Utility program also
allows you to utilize the security and partitioning features of the Corsair Flash
Voyager USB 2.0 Flash Drive.
To learn more about USB, visit http://www.usb.org/faq/
.
Connecting the Corsair Flash Voyager USB 2.0 Flash Drive
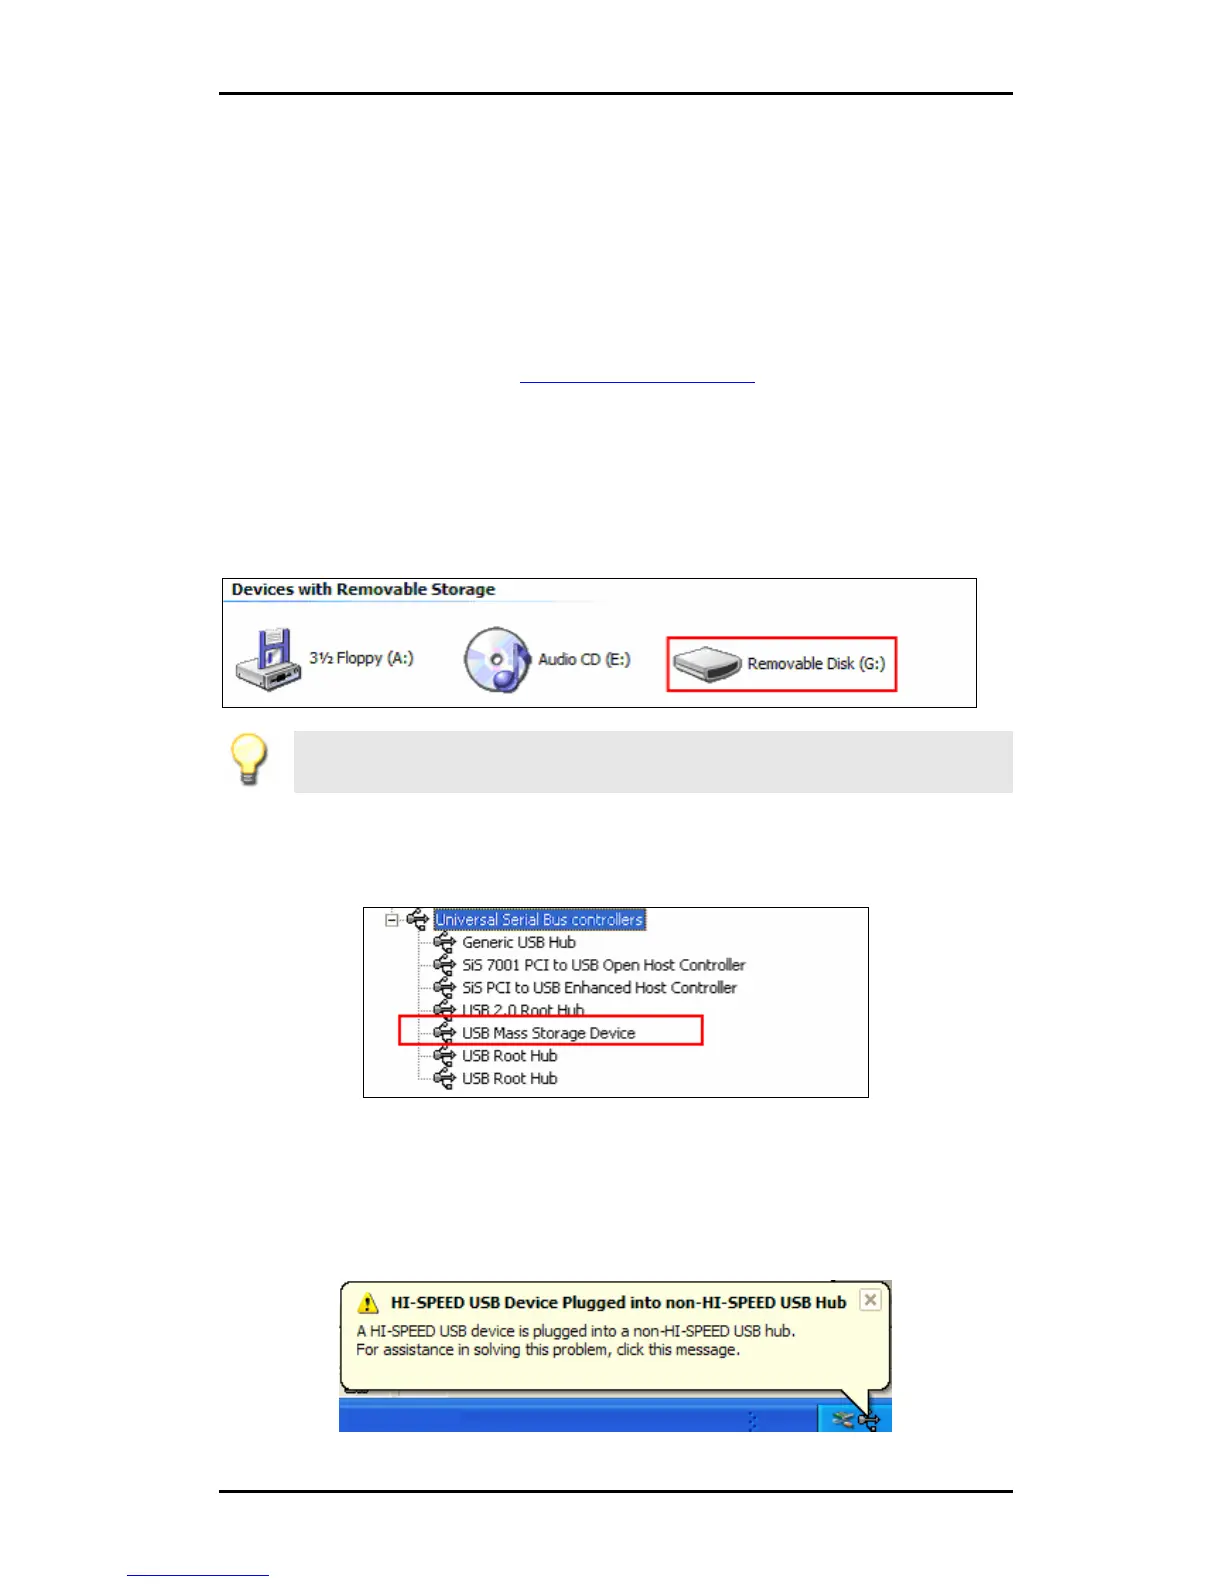
Once you plug in your Corsair Flash Voyager USB 2.0 Flash Drive, Windows will
assign a drive letter to the device and will usually designate it as a Removable
Disk. The Corsair Flash Voyager USB 2.0 Flash Drive functions like other disk
drives or floppy diskettes installed on your computer. Click My Computer to see all
the available drives in your computer.
Note: If Windows prompts you for the Generic USB Hub driver when you connect
the device for the first time in a Hi-Speed USB 2.0 port, direct Windows to the USB
host driver location: C:\Windows\System32\Drivers
To make sure the device is properly installed, click Start-Control Panel-System-
Device Manager and go to the Universal Serial Bus Controllers. Check if the USB
Mass Storage Device and Generic USB Hub are installed.
The Corsair Flash Voyager USB 2.0 Flash Drive is a Hi-Speed USB 2.0 compliant
device and it is recommended that you connect it to a Hi-Speed USB 2.0 port.
Whenever you plug the disk into a non-Hi-Speed USB port, Windows will show an
alert message in the taskbar telling you that it is plugged into a non-Hi-Speed USB
hub. You can continue to use the device; however, it will be operating at a
reduced speed.
 Loading...