EasyManua.ls Logo

Corsair Hydro H70 User Manual

Corsair Hydro H70
5 pages
To Next Page IconTo Next Page
Page #1 background imageLoading...
Page #1 background image
High-Performance Hydro CPU Cooler
INTEL 115x/1366
LGA2011
A
AMD AM2/AM3
B
AMD AM2/AM3
C
INTEL 115x/1366
D
x4 • INTEL 1155/1156
& AMD AM2/AM3
F
x4
G
x4
H
x2
I
x4
J
x4
K
x4 • INTEL LGA 2011
E
NOTE: In most cases it is necessary to remove
the motherboard from the case before installing
a new CPU cooler.
REMARQUE : Dans la plupart des cas, il est
nécessaire de retirer la carte mère du boîtier
avant d'installer un refroidisseur d'unité centrale.
HINWEIS: In den meisten Fällen muss das
Motherboard aus dem Gehäuse genommen
werden, bevor ein neuer CPU-Lüfter installiert
werden kann.
NOTA: nella maggior parte dei casi è necessario
rimuovere la scheda madre dalla struttura
esterna prima di installare un nuovo dissipatore
per la CPU.
NOTA: en la mayoría de los casos es necesario
extraer la placa madre de la carcasa antes de
instalar un nuevo ventilador de la CPU.
ПРИМЕЧАНИЕ: В большинстве случаев это
необходимо сделать при удалении системной платы
из упаковки перед установкой нового охлаждающего
вентилятора ЦП.
Question and Answer IconNeed help?

Do you have a question about the Corsair Hydro H70 and is the answer not in the manual?

Corsair Hydro H70 Specifications

General IconGeneral
Radiator Size120mm
Radiator MaterialAluminum
Fan Size120mm
Fan Dimensions120 x 120 x 25 mm
Fan Speed2000 RPM
Warranty5 years
TypeLiquid Cooling System
CompatibilityAMD AM2/AM3
Cooling PerformanceHigh-performance cooling for overclocked CPUs
Tube Length30 cm

Summary

Important Installation Note

Motherboard Removal Recommendation

Advises removing the motherboard from the case before installing the CPU cooler.

Corsair H70 Warranty Information

Warranty Availability in Other Languages

Details on where to find warranty information in multiple languages.

Limited Warranty and Liability Terms

Covers product defects for five years and outlines liability limitations.

CPU Cooler Installation Steps

Install the Backplate

Attaching the backplate to the motherboard behind the CPU socket.

Install the Retention Ring

Securing the retention ring onto the motherboard assembly.

Install the Cold Plate/Pump Unit

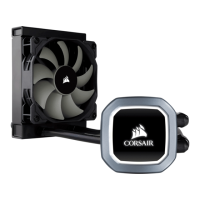
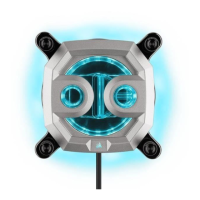
Mounting the cold plate and pump assembly onto the retention ring.

Further Installation Steps

Tighten Screws on Retention Ring

Securing the retention ring by tightening screws in a specific order.

Install the Radiator

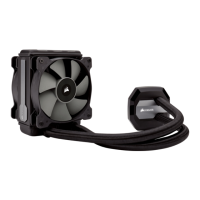
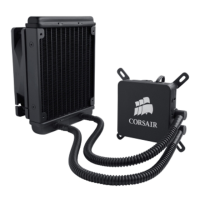
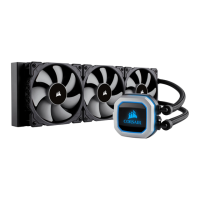
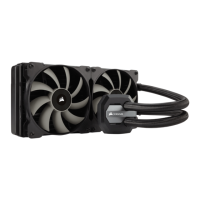
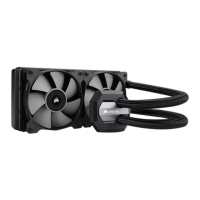
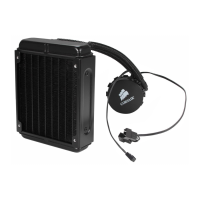
Attaching the radiator and fans to the PC case, noting fan direction.

Connect Power to Fan and Pump

Connecting the pump power connector to the motherboard fan header.

Corsair Support and Contact

Contact Information and Resources

Provides email, social media, forum, and phone contacts for support.

Copyright and Trademark Notice

Details copyright, registered trademarks, and disclaimers for the product.

Related product manuals