CAUTION: HOOD MAY HAVE VERY SHARP EDGES; PLEASE WEAR
PROTECTIVE GLOVES WHENEVER IT IS NECESSARY TO REMOVE ANY
PARTS FOR INSTALLING, CLEANING OR SERVICING.
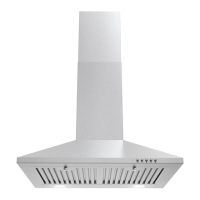
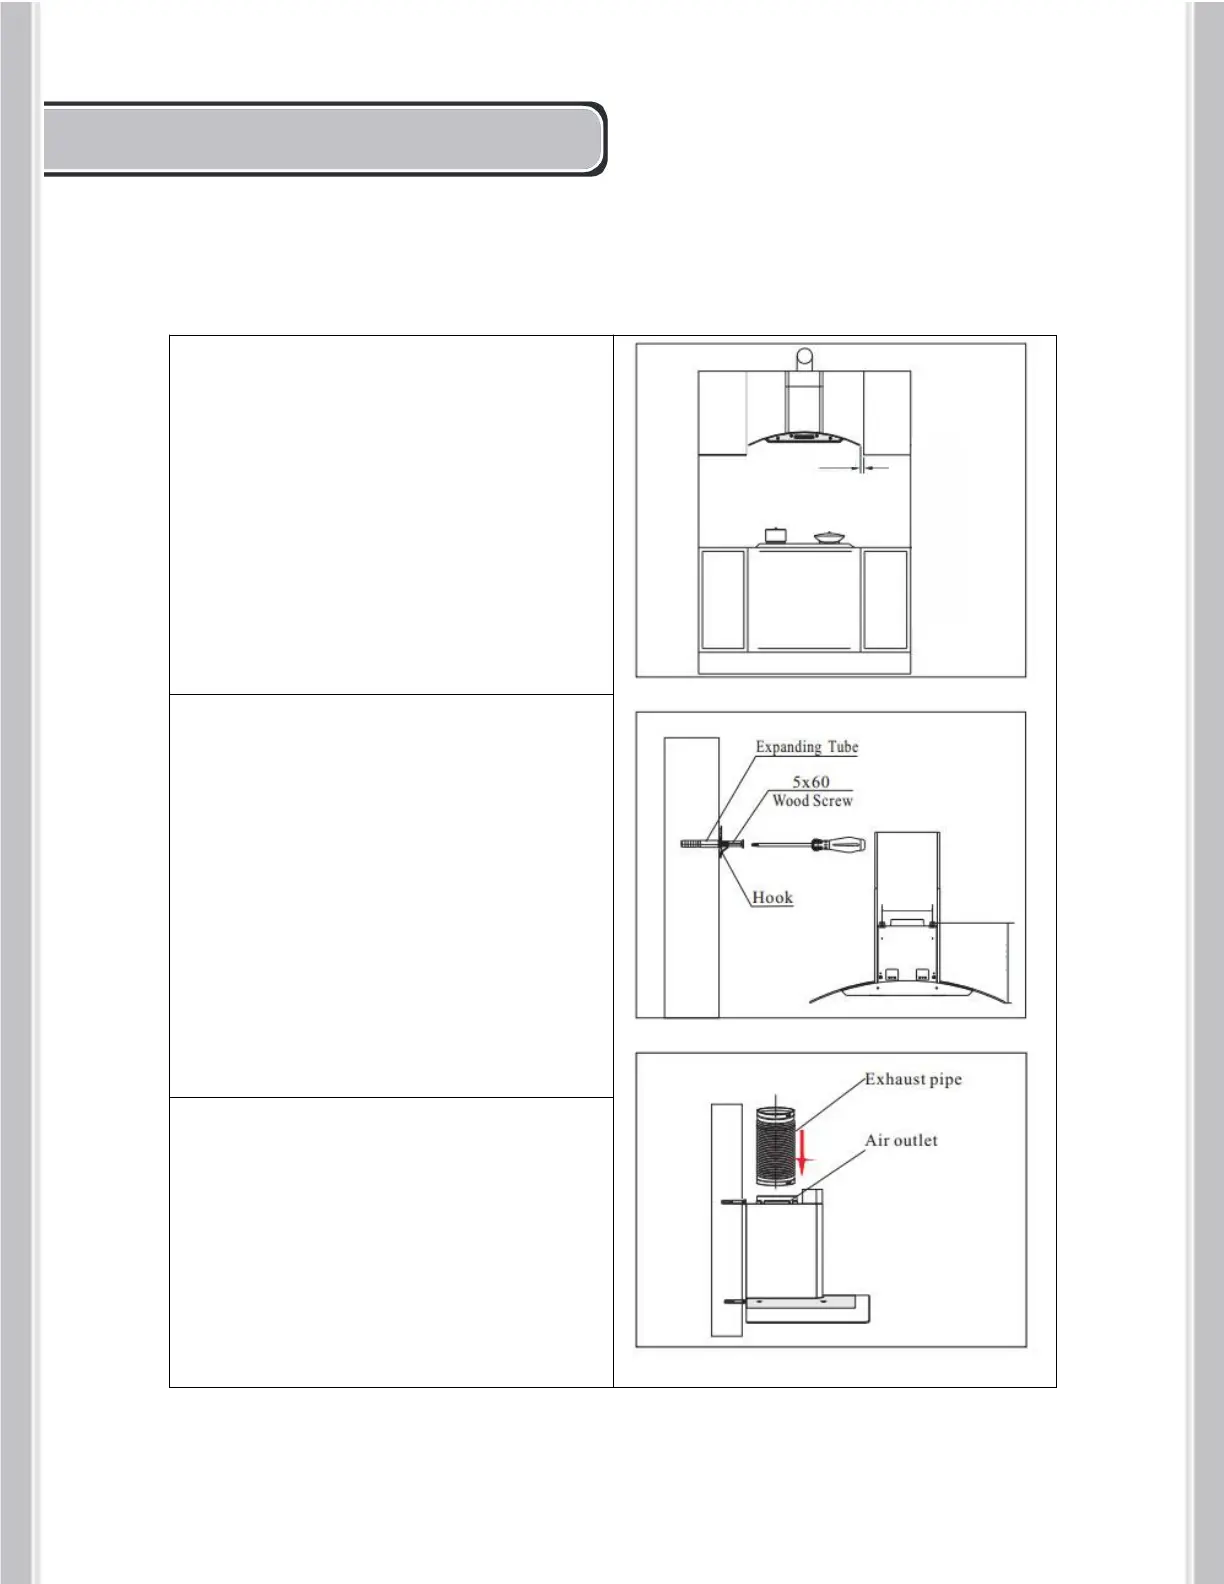
Step 1:
Place the range hood on the wall and mark
the position where you want to install. A
height of 24” to 36” is recommended for
optimal performance. Install at the height
appropriate to your ceiling. Make sure the
chimney can still reach the ceiling. If your
ceiling or preference requires installation to
be a few inches higher or lower than 24-36"
you may do so without major loss of
performance.
Step 2:
Step 3:
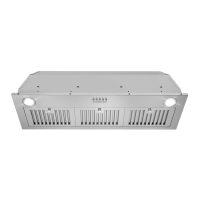
Find the exhaust duct/pipe, attach it to the
top air outlet with HVAC foil tape (not
included). Make sure it is connected tightly
to the air outlet.
9
INSTALLATIO N
PROCEDURES
0.50"
9.1"
14.5"
A. Find the 3 mounting holes in the back of the
range hood. Mark their locations at the installation
location with a pencil or marker.
B. Drill 5/16 (8mm) hole at each of the marked
locations.
C. Insert anchors along into each drilled hole. Attac
body mounting bracket to the body.
D. Align the 3 holes of the bracket to the drilled
holes.
E. Firmly tighten D screws (shown in parts list) into
the anchors.
8
 Loading...