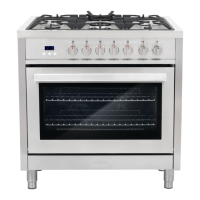
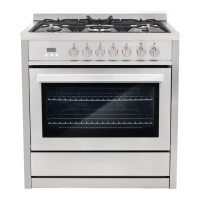
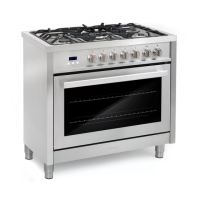
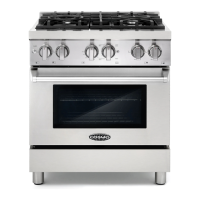
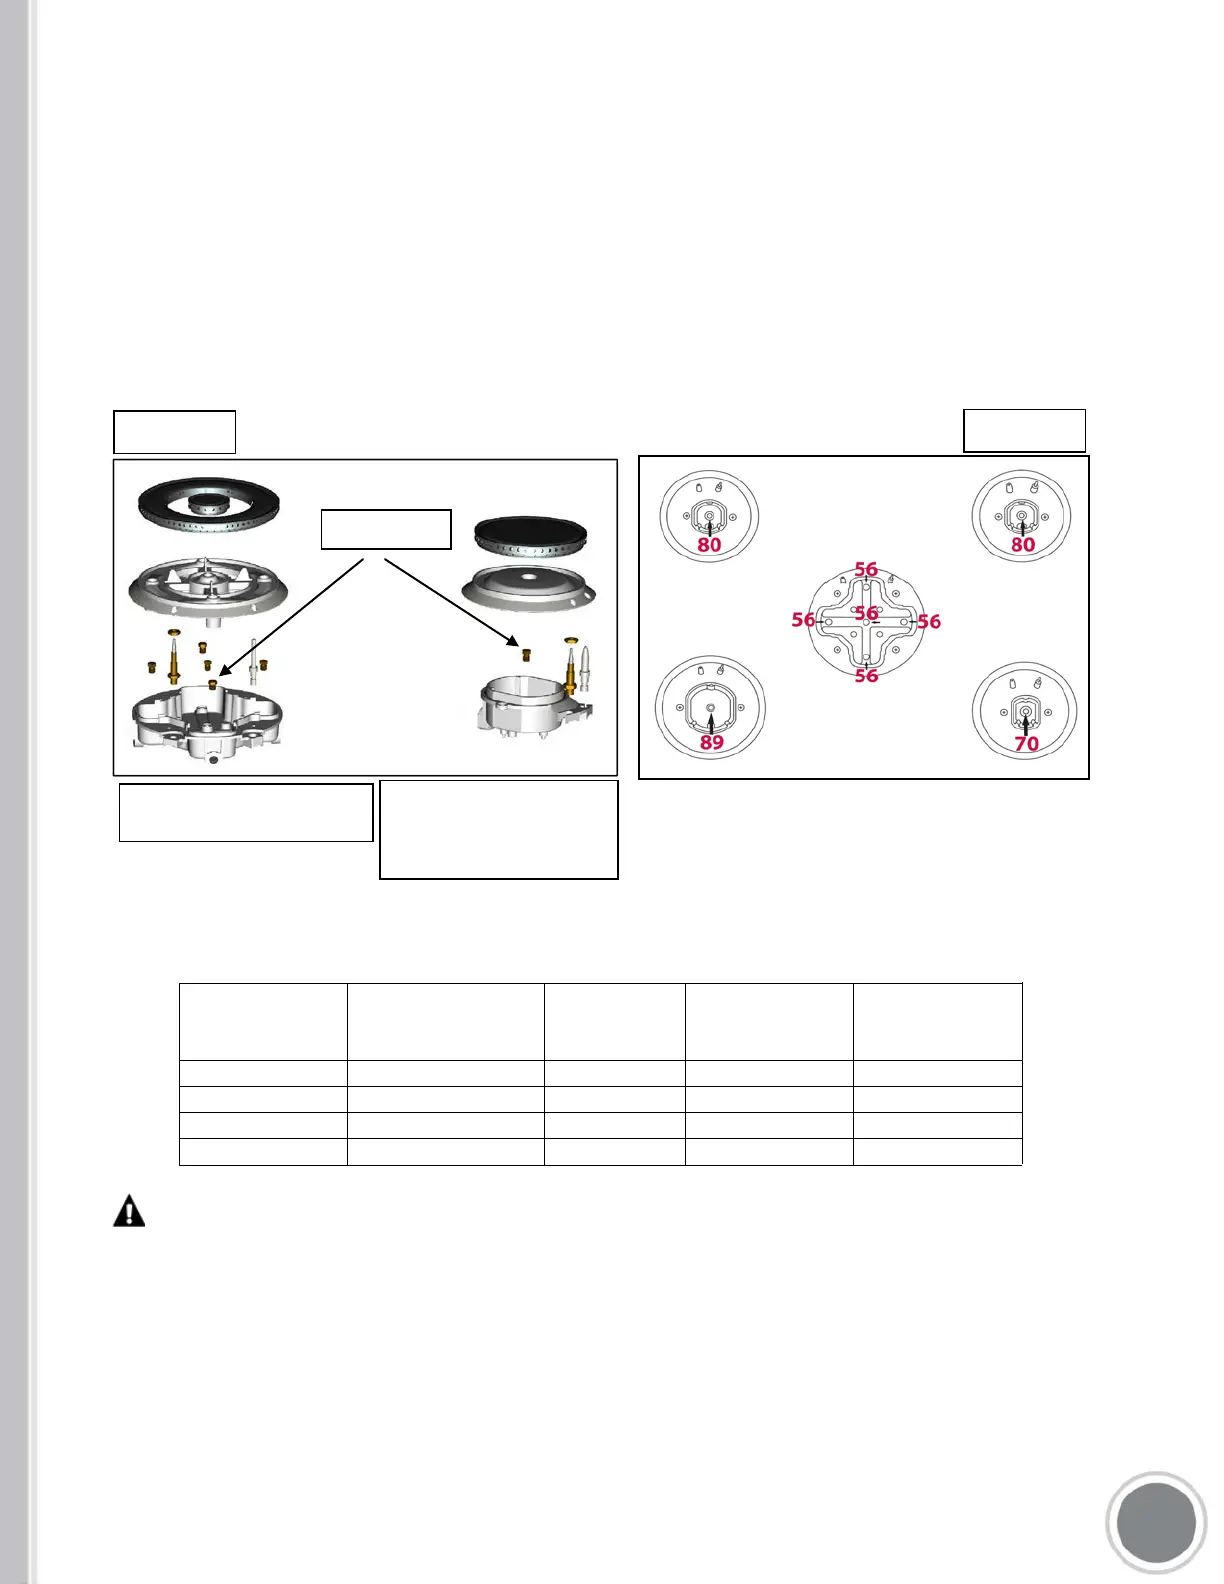
B. CHANGE BURNER NOZZLES
INSTALLATION
TIP: First remove all nozzles and then start replacing them. This will help to prevent
the possibility that some may not be replaced.
1) Remove the burner g
rates, burner caps and burner heads.
2) Using a 7mm nut driver, remove the burner nozzles.
LIQUID PRETROLEUM (LP) GAS NOZZLES
BURNER POSITION NOZZLE
DIAMETER
MINIMUM
PRESSURE
MAXIMUM
PRESSURE
Auxiliary Front Right 1 x 0.70 10” 14”
Semi-Rapid Rear Left & Right 1 x 0.80 10” 14”
Rapid Front Left 1 x 0.89 10” 14”
Triple Ring Center 5 x 0.56 14”
IMPORTANT: Carefully read and observe each nozzle label for correct location.
3) Install the proper nozzles in the exact locations as noted in the illustrations above and the
table below. (See Figures 20, 21 and table above)
4) Replace the burner bases, heads, caps and top grates. Make sure burner caps are properly
seated on the burner head.
TRIPLE RING BURNER
5 NOZZLES
SEMI-RAPID BURNER
RAPID BURNER
10”
28
 Loading...