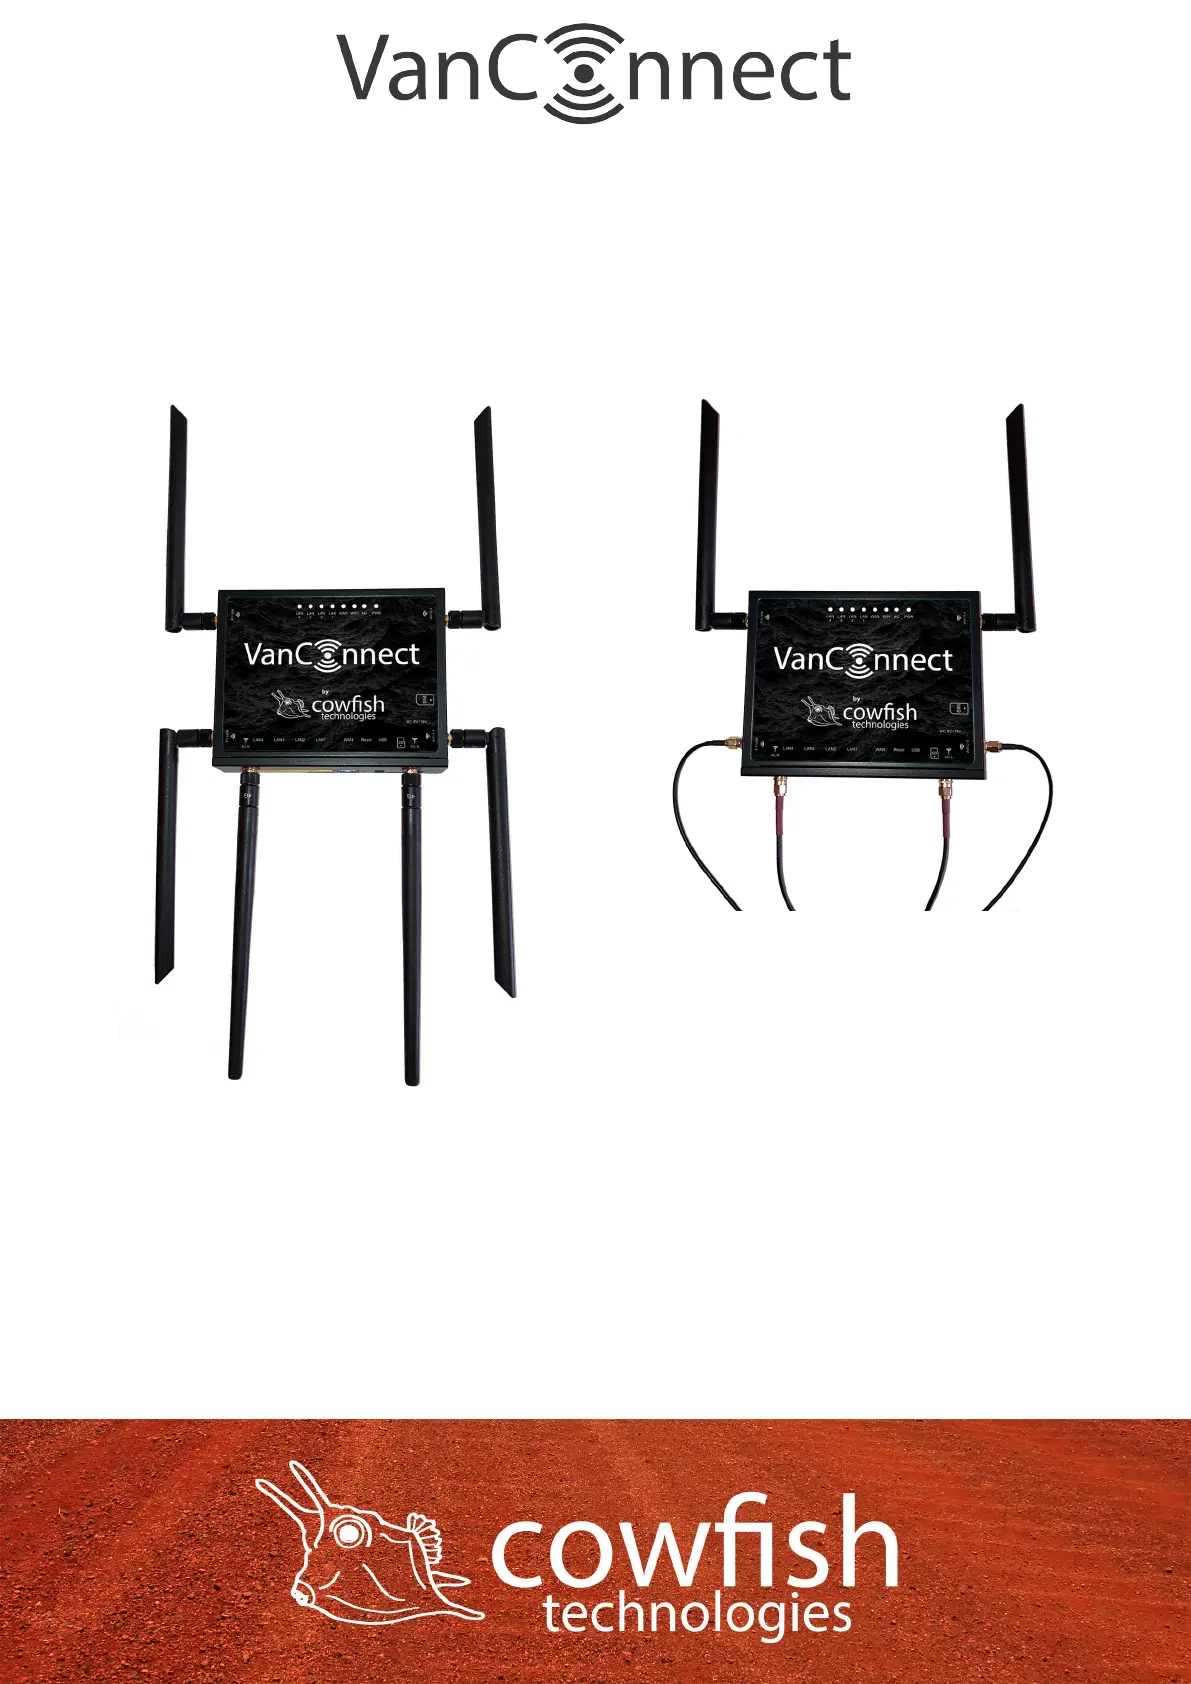
If using the optional external antenna, connect the two external antenna
“3G/4G/5G” cables to the “3G/4G” points on the VanConnect. Connect the
“2.4G WiFi” external antenna cable to the “WiFi-2.4 EXT” point and the
“5G WiFi” antenna cable to the “WiFi-5.8 EXT” point. Connect the internal
WiFi antennas to the “WiFi-2.4 INT” and “WiFi-5.8 INT” points. Arrange the
internal antennas so that they point upward or downward. A vertical position
is required for optimal signal.
Connect the power adapter to the DC power socket on the side panel of your
VanConnect. Plug the other end of the power adapter into a 12V wall outlet.
Make sure the power button is in the “On” position.
1. The Power LED will light up to indicate that power is being supplied to the
router and the router is turned on.
2. The LEDs on the front panel will ash on and off as the router performs
initialization and Internet connection processes.
3. After a few moments the following LEDs will turn on: Power (green), 4G
(green) and WiFi (green followed by orange).
Page 8