Operating Instructions Operating Instructions
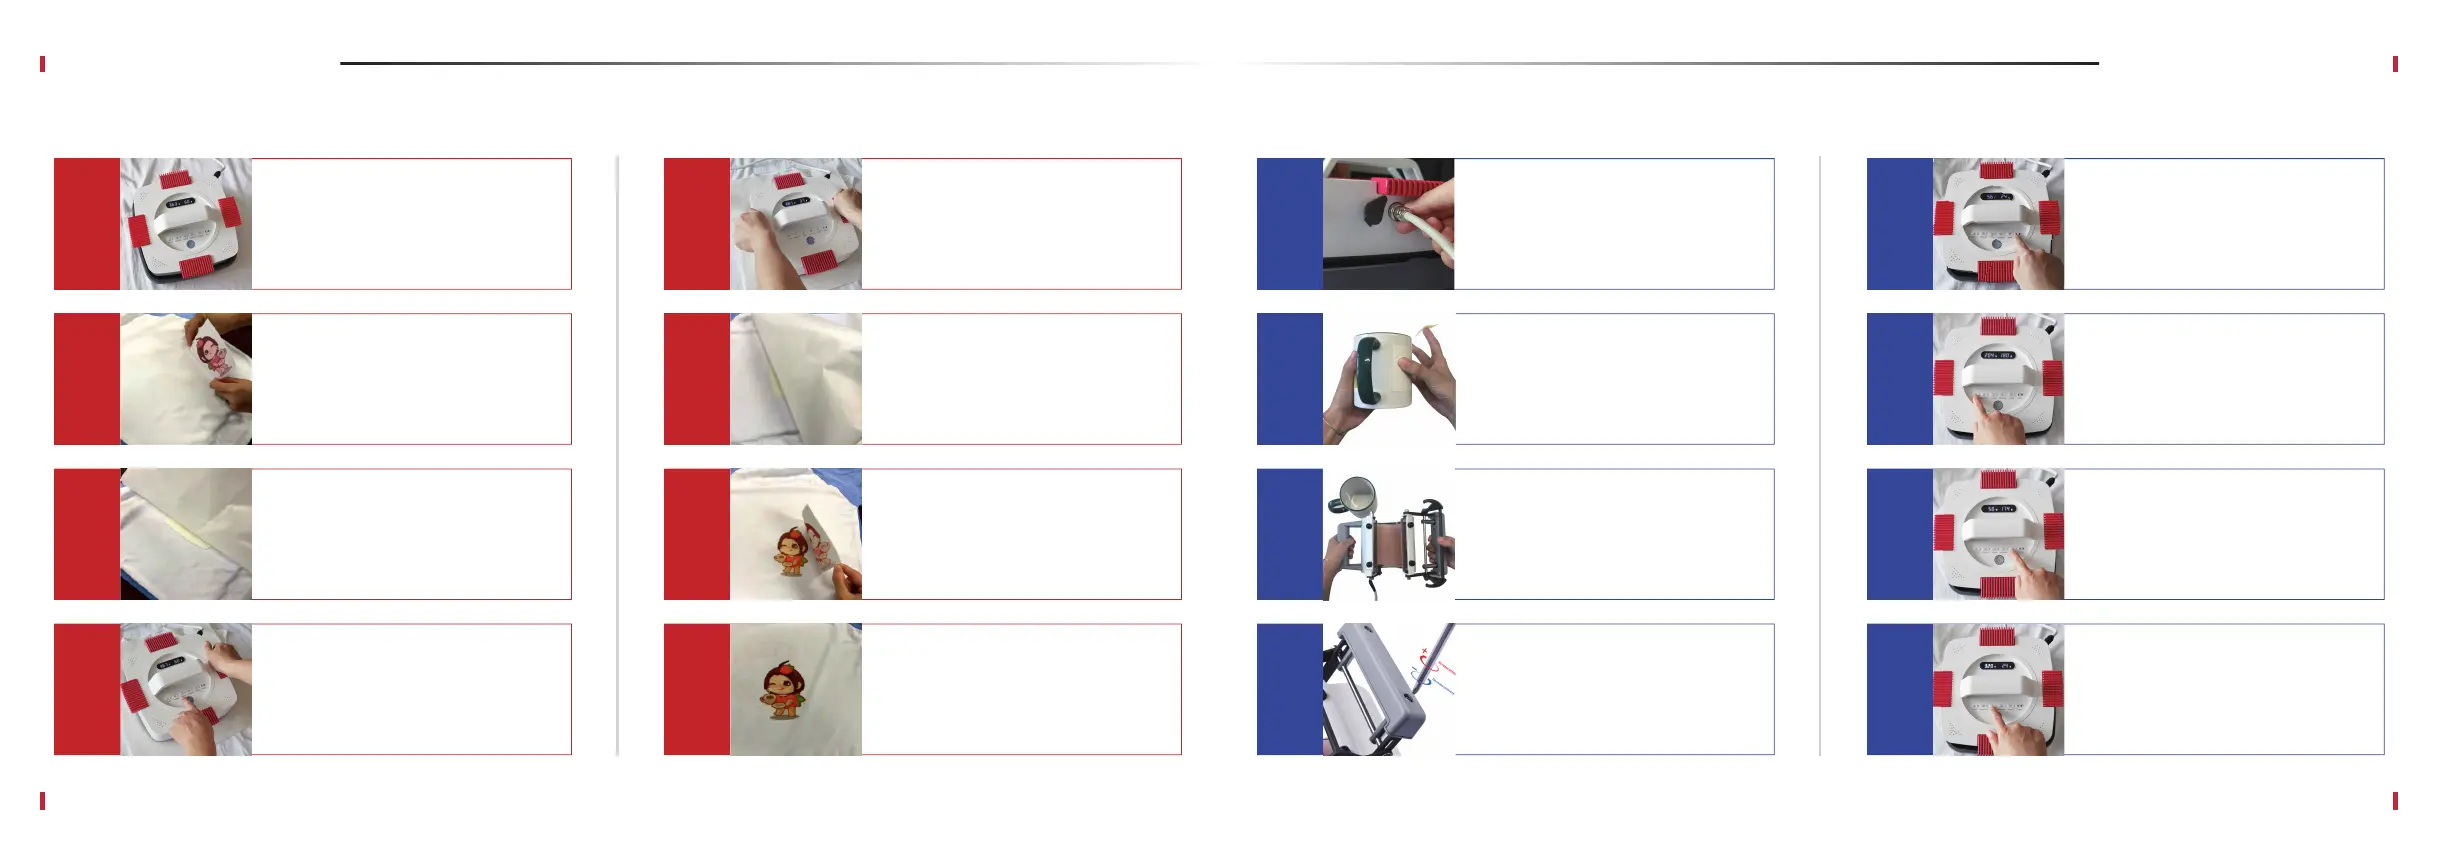
Connect the MugMate to
Artista transfer press and press
Power button.
A
Press MODE button to switch to
the mug transfer mode. Power
button indicator becomes orange.
If the mug press isn’t connected,
“000” will be shown on the screen.
B
Open the MugMate by pulling the
handles and insert your mug in.
C
D
E
F
Set the timer using TIMER, “+”,
and “-” buttons (refer to
Recommended Settings section).
G
Press TIMING button to start the
timer. The countdown is shown on
the screen.
H
Set the desired temperature for
your transfer (see Recommended
Settings section) using TEMP, “+”
and “-” buttons.
07
08
Position the transfer paper with
your design on a mug and secure
it with a thermal tape.
Adjust the pressure by driving the
screws on the handle of the
MugMate to be able to close the
press securely.
Power on your Artista press and
set your desired temperature and
time (see Recommended Settings
on page 10 or check our website
for more info).
A
Lay your project piece on the
silicone mat. Iron out the fabric
for about 3-5 seconds to remove
wrinkles and moisture. Position
your design on the fabric.
B
Cover the design with the Teflon
sheet that came with the press.
C
D
Apply pressure until the countdown
ends. Press TIMING button to stop
timer and beeping. Flip your
project and iron the backside of
the design for 10-15 seconds.
E
See if the transfer paper or vinyl
lifts up easily. If it doesn’t, re-apply
the heat for a few more seconds.
F
Peel off the transfer paper or HTV
according to your transfer design
specifications (warm or cold peel).
G
Your transfer printing is complete!
H
Place the press on the
Teflon sheet and press TIMING
button to start the timer.
EasyPress
MugMate Press