Do you have a question about the Craftsman 10 IN. TABLE SAW 315.22811 and is the answer not in the manual?
| Blade Diameter | 10 inches |
|---|---|
| Motor | 15 Amp |
| Voltage | 120V |
| No Load Speed | 5000 RPM |
| Weight | 54 lbs |
| Arbor Size | 5/8 inches |
| Max. Cut Depth at 90° | 3 inches |
| Dust Port Size | 2-1/2 inches |
Overview of the table saw's features and importance of the manual for safe and enjoyable operation.
Explains safety alert symbols (Danger, Warning, Caution) and important safety notes for operating the tool.
Comprehensive safety rules for operating the power tool, maintaining the work area, and personal protection.
Guidelines for using extension cords and proper grounding instructions for electrical safety.
Details on connecting the saw to a power source and considerations for shop wiring.
Steps for unpacking the saw, checking parts, and important safety warnings during assembly.
Lists optional accessories available for the table saw and related safety advice.
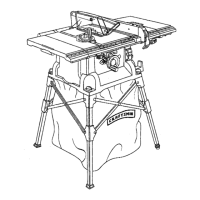
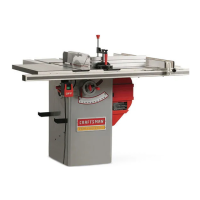
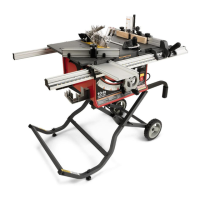
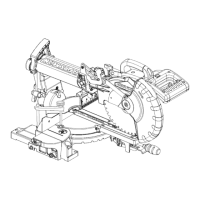
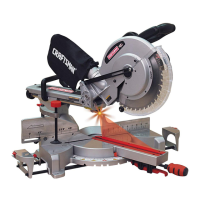
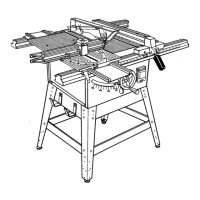
Highlights the key features of the table saw for safety, ease of use, and performance.
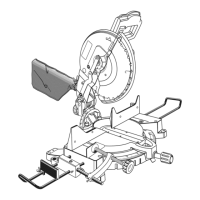
Describes the blade guard, anti-kickback pawls, and riving knife for user protection.
Instructions on how to operate the saw's switch and lock it for safety.
Guidance on selecting and using appropriate saw blades for optimal performance.
Step-by-step instructions for assembling the leg stand and mounting storage brackets.
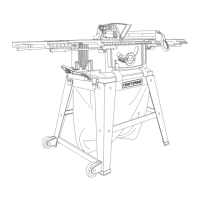
Detailed procedures for installing front/back rails, miter table, and fences.
Instructions for attaching the accessory table and rip fence to the saw.
Procedures for checking saw blade installation and installing the blade guard.
Basic operation principles, grounding requirements, and power connection.
Describes various cut types (crosscut, miter, rip, bevel) and initial safety advice.
Procedures for removing the saw blade and performing basic adjustments.
Instructions for checking, replacing, and adjusting the riving knife and blade guard assembly.
Detailed explanation of kickback causes and essential guidelines to prevent it.
Guides for creating and mounting push sticks and featherboards for safe cutting.
Steps for setting the blade depth and adjusting the blade angle for precise cuts.
Procedure for aligning the saw's scale indicators with the blade position.
Instructions on how to secure the miter table for stable cutting operations.
Step-by-step guide for performing accurate straight cross cuts on the table saw.
Procedures for setting up and executing angled miter cuts with the table saw.
Detailed instructions for performing rip cuts along the grain of the wood.
Guide for performing cross cuts with the blade set at an angle.
Instructions for executing rip cuts with the blade set at an angle.
Steps for performing cuts that involve both a miter and bevel angle simultaneously.
Procedures for safely cutting large panels, including setup and support.
Guide for making cuts that do not go through the workpiece, like grooves and dadoes.
Specific instructions for making dado cuts, including necessary accessories and precautions.
Routine checks and cleaning tasks for overall saw upkeep and safety.
Procedures for specific maintenance tasks, including blade angle settings.
Steps to ensure the rip fence is properly aligned with the saw blade for accurate cuts.
Instructions for adjusting the bevel locking lever to ensure proper blade angle locking.
Procedures for aligning the miter locking clamps to ensure the sliding miter table is securely held.
Steps to adjust the rail clamps for secure attachment of the rails to the saw.
Guide for tightening the accessory table if it becomes loose after extended use.
Introduction to checks and adjustments for the sliding miter table, emphasizing accuracy.
Procedure to check if the miter base is parallel to the saw blade for accurate sliding cuts.
Steps to verify the miter fence is square to the blade at zero degrees.
Detailed instructions for adjusting the miter base to ensure parallelism with the saw blade.
Procedure for adjusting the miter fence's alignment using eccentric screws.
Guide for adjusting the quick-stop mechanism to ensure accurate zero-degree fence positioning.
Instructions for lubricating the locker bracket assembly for smooth operation.
Guidance on lubricating the tilt and elevating mechanisms of the table saw.
Diagnosing and resolving problems like excess vibration, sticky fences, and smooth movement.
Troubleshooting issues related to the rip fence not moving smoothly or locking properly.
Addressing problems where the blade binds, burns wood, or wood edges away from the rip fence.
Troubleshooting issues related to cut accuracy, saw not starting, and blade performance.
Addressing problems with blade quality, poor cuts, and blade not lowering correctly.