EasyManua.ls Logo

Craftsman 139.18473DM User Manual

Craftsman 139.18473DM
80 pages
To Next Page IconTo Next Page
Page #1 background imageLoading...
Page #1 background image
1/2 HP
GARAGE DOOR OPENER
For Residential Use Only
Models • 139.18451DM • 139.18452DM • 139.18453DM • 139.18473DM • 139.18490DM
Read and follow all safety rules and
operating instructions before first use
of this product.
Fasten the manual near the garage
door after installation.
Periodic checks of the opener are
required to ensure safe operation.
Owner’s Manual
ENGLISH
Sears Canada, Inc., Toronto, Ontario M5B 2B8
Safety Precautions
Assembly
Installation
Adjustment
Maintenance
Operation
Troubleshooting
Parts List
®

Table of Contents

Question and Answer IconNeed help?

Do you have a question about the Craftsman 139.18473DM and is the answer not in the manual?

Craftsman 139.18473DM Specifications

General IconGeneral
BrandCraftsman
Model139.18473DM
CategoryGarage Door Opener
LanguageEnglish

Summary

Assembly Step 1: Assemble the Rail & Install the Trolley

Assembly Step 2: Fasten the Rail to the Motor Unit

Assembly Step 3: Install the Idler Pulley

Assembly Step 4: Install the Chain/Cable

Assembly Step 5: Tighten the Chain

Important Installation Instructions

Crucial safety warnings and guidelines to follow before proceeding with opener installation.

Installation Step 1: Determine Header Bracket Location

Installation Step 2: Install the Header Bracket

Installation Step 3: Attach Rail to Header Bracket

Installation Step 4: Position the Opener

Installation Step 5: Hang the Opener

Installation Step 6: Install the Door Control

Installation Step 7: Install the Light

Installation Step 8: Attach Emergency Release Rope and Handle

Installation Step 9: Electrical Requirements

Installation Step 10: Install The Protector System®

Installing the Brackets

Mounting and Wiring the Safety Reversing Sensors

Aligning the Safety Reversing Sensors

Troubleshooting the Safety Reversing Sensors

Installation Step 11: Fasten the Door Bracket

Installation Step 12: Connect Door Arm to Trolley

Adjustment Step 1: Adjust UP and DOWN Travel Limits

Adjustment Step 2: Adjust the Force

Adjustment Step 3: Test the Safety Reversal System

Adjustment Step 4: Test The Protector System®

Operation

Care of Your Opener

Having a Problem?

Diagnostic Chart

Programming

To Add or Reprogram a Hand-held Remote Control

Step-by-step guide to program or reprogram remote controls to operate the garage door opener.

To Erase All Codes From Motor Unit Memory

Procedure to clear all previously programmed remote and keyless entry codes from the motor unit.
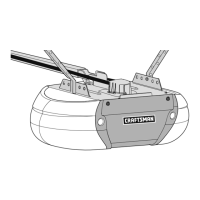
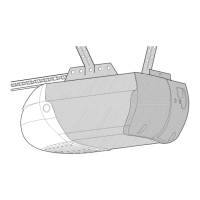
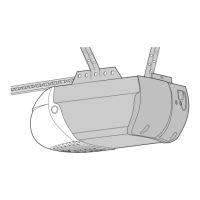
To Add, Reprogram or Change a Keyless Entry PIN

Related product manuals