Do you have a question about the Craftsman 139.18489D and is the answer not in the manual?
Explains safety symbols and signal words used in the manual for hazard identification.
Steps to ensure the garage door is balanced and not binding before installation.
Planning details specific to sectional and one-piece garage doors, including reinforcement.
Lists all parts and hardware included with the garage door opener.
Step-by-step guide to assembling the opener rail and installing the trolley.
Attaching the rail to the motor unit and installing the idler pulley.
Installing the drive belt and securing the belt cap retainer.
Final step in assembly to set the belt tension correctly.
Critical safety warnings and instructions before starting installation.
Steps to find and mark the correct location for the header bracket.
Instructions for mounting the header bracket to the wall or ceiling.
Connecting the opener rail assembly to the installed header bracket.
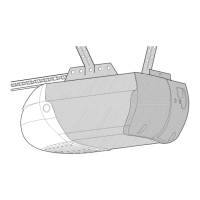
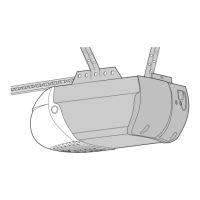
Positioning the opener unit and securely hanging it from structural supports.
Mounting and wiring the wall-mounted door control panel.
Installing the opener's lights and attaching the emergency release rope and handle.
Information on proper electrical connections, including grounding.
Installing and aligning the safety reversing sensors for safe operation.
Attaching the door bracket to the garage door, including reinforcement details.
Connecting the door arm sections to the trolley and door bracket.
How to set the points where the door stops when opening or closing.
Adjusting the force settings for smooth and safe door operation.
Performing safety tests for reversal and obstruction detection systems.
Critical safety guidelines for operating the garage door opener.
How to activate the opener with remotes or door controls.
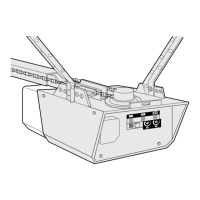
Details on the features and operation of the wall-mounted control console.
Procedures for manually opening or closing the garage door using the emergency release.
Guidance on limit/force adjustments and basic monthly/yearly maintenance.
Instructions for replacing the battery in the remote control.
Common issues and their potential causes and solutions.
A chart listing error codes (flashes) and their corresponding symptoms and solutions.
Steps to program new or existing remotes to the opener.
How to delete all previously programmed remotes and keyless entries.
Instructions for programming the keyless entry system and setting PINs.
Lists and diagrams of parts for the rail assembly and installation components.
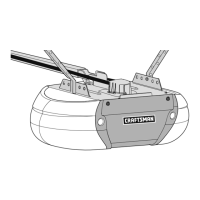
Lists and diagrams of parts that make up the motor unit.
Lists optional accessories and provides warranty information.
| Brand | Craftsman |
|---|---|
| Model | 139.18489D |
| Category | Garage Door Opener |
| Language | English |