I:r_,1=!Jlvlv/_,1=!=
TOOLS REQUIRED:
Flat-tip Screwdriver
3/8-in Wrench
HARDWARE REQUIRED:
©
Grommet (Qty: 2)
1/4-20 Hex Nut (Qty: 16)
1/4-20 x .438-in HW Screw (Qty: 16)
[o_:I;_1I[o]_I[o[o]_/ / :1_/ IF-"]
Chest:
Literature
Cabinet:
Literature
Hardware bag
Caster pack
Caster pack
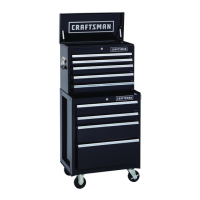
REMOVE CHEST FROM ROLL-AWAY
• The unit comes with the chest secured to the inside of
the roll-away by either two or four 1/4-20 bolts.
• Lay the roll-away down on its back. Use packaging
material to protect the paint finish.
• Remove the securing bolts from the underside of the
roll-away. Save the screws for mounting the chest to the
roll-away.
• Remove the chest.
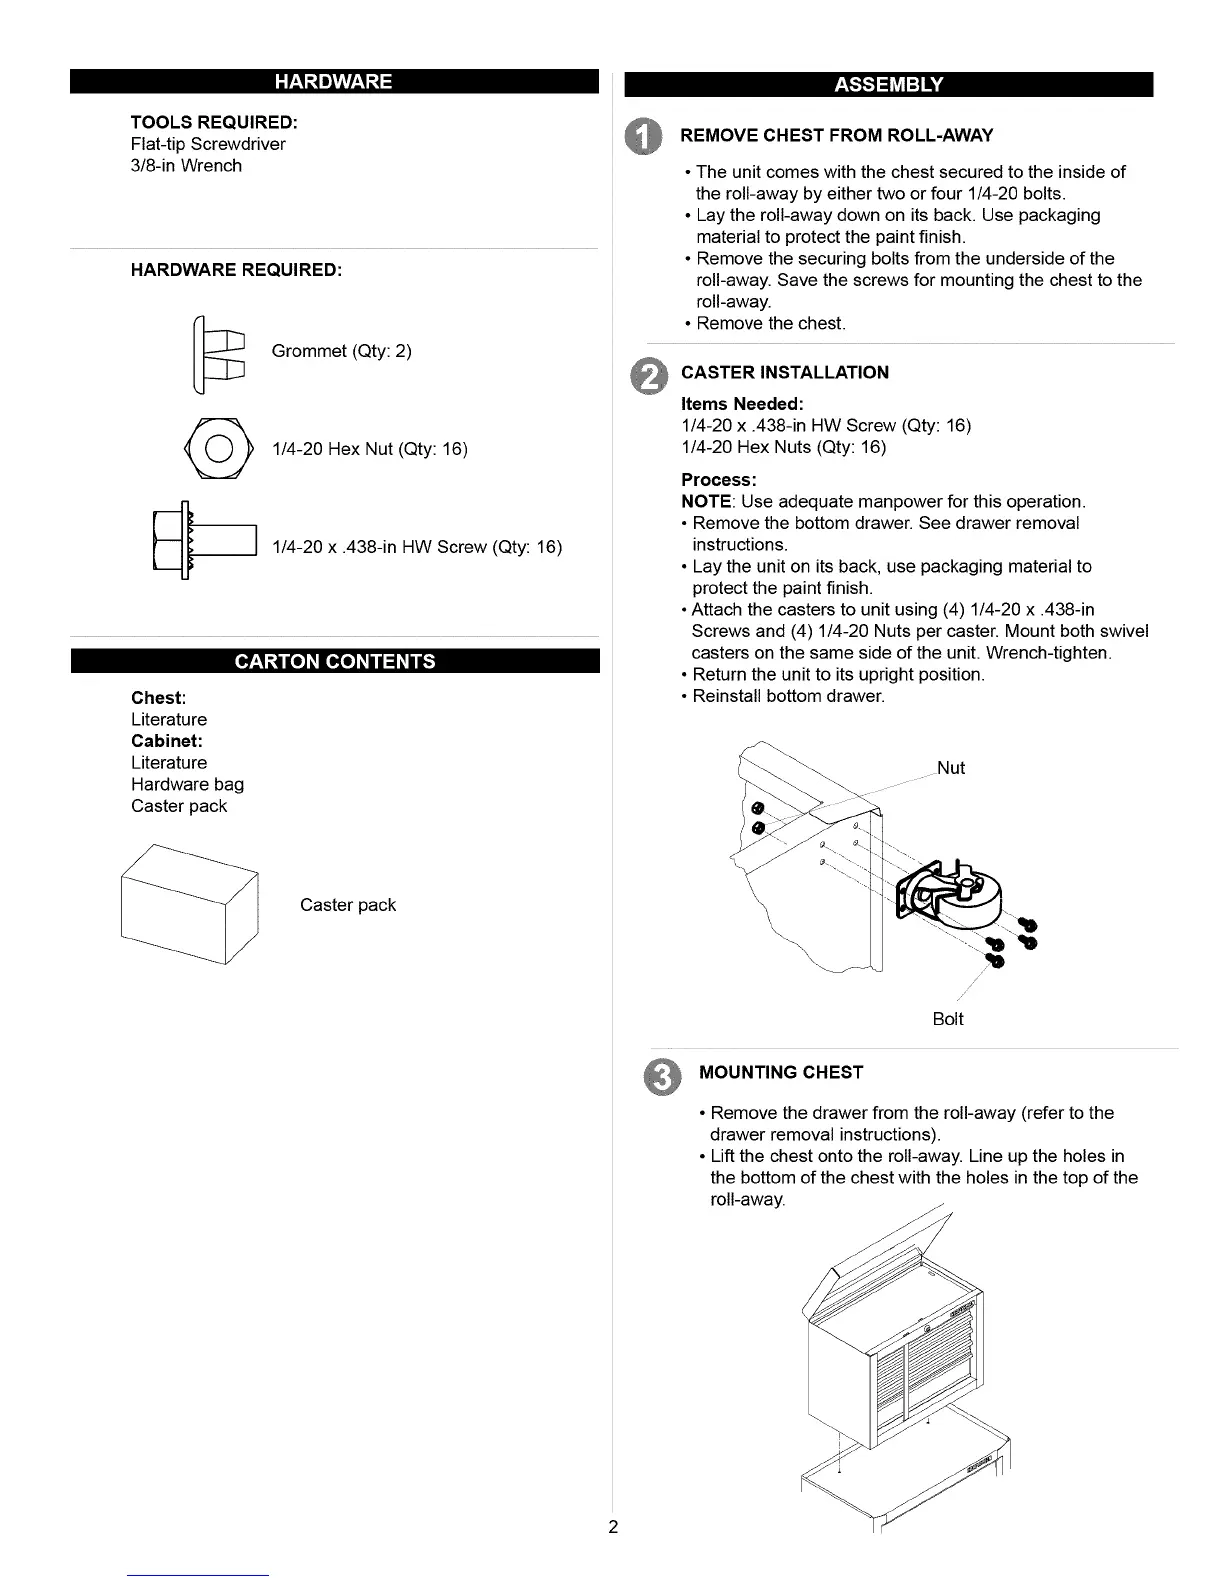
_ CASTER INSTALLATION
Items Needed:
1/4-20 x .438-in HW Screw (Qty: 16)
1/4-20 Hex Nuts (Qty: 16)
Process:
NOTE: Use adequate manpower for this operation.
• Remove the bottom drawer. See drawer removal
instructions.
• Lay the unit on its back, use packaging material to
protect the paint finish.
• Attach the casters to unit using (4) 1/4-20 x .438-in
Screws and (4) 1/4-20 Nuts per caster. Mount both swivel
casters on the same side of the unit. Wrench-tighten.
• Return the unit to its upright position.
• Reinstall bottom drawer.
Nut
S !
//
Bolt
MOUNTING CHEST
• Remove the drawer from the roll-away (refer to the
drawer removal instructions).
• Lift the chest onto the roll-away. Line up the holes in
the bottom of the chest with the holes in the top of the
roll-away.