•Attachthechestusingtwo1/4-20screwsthatwereused
tosecurethechesttothebottomoftheroll-away.
•Wrenchtightenallscrews.
•Replacethedrawer(refertothedrawerinstallationinstruc-
tions).
•Toremovethechest,reversetheprocedure.
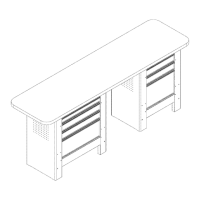
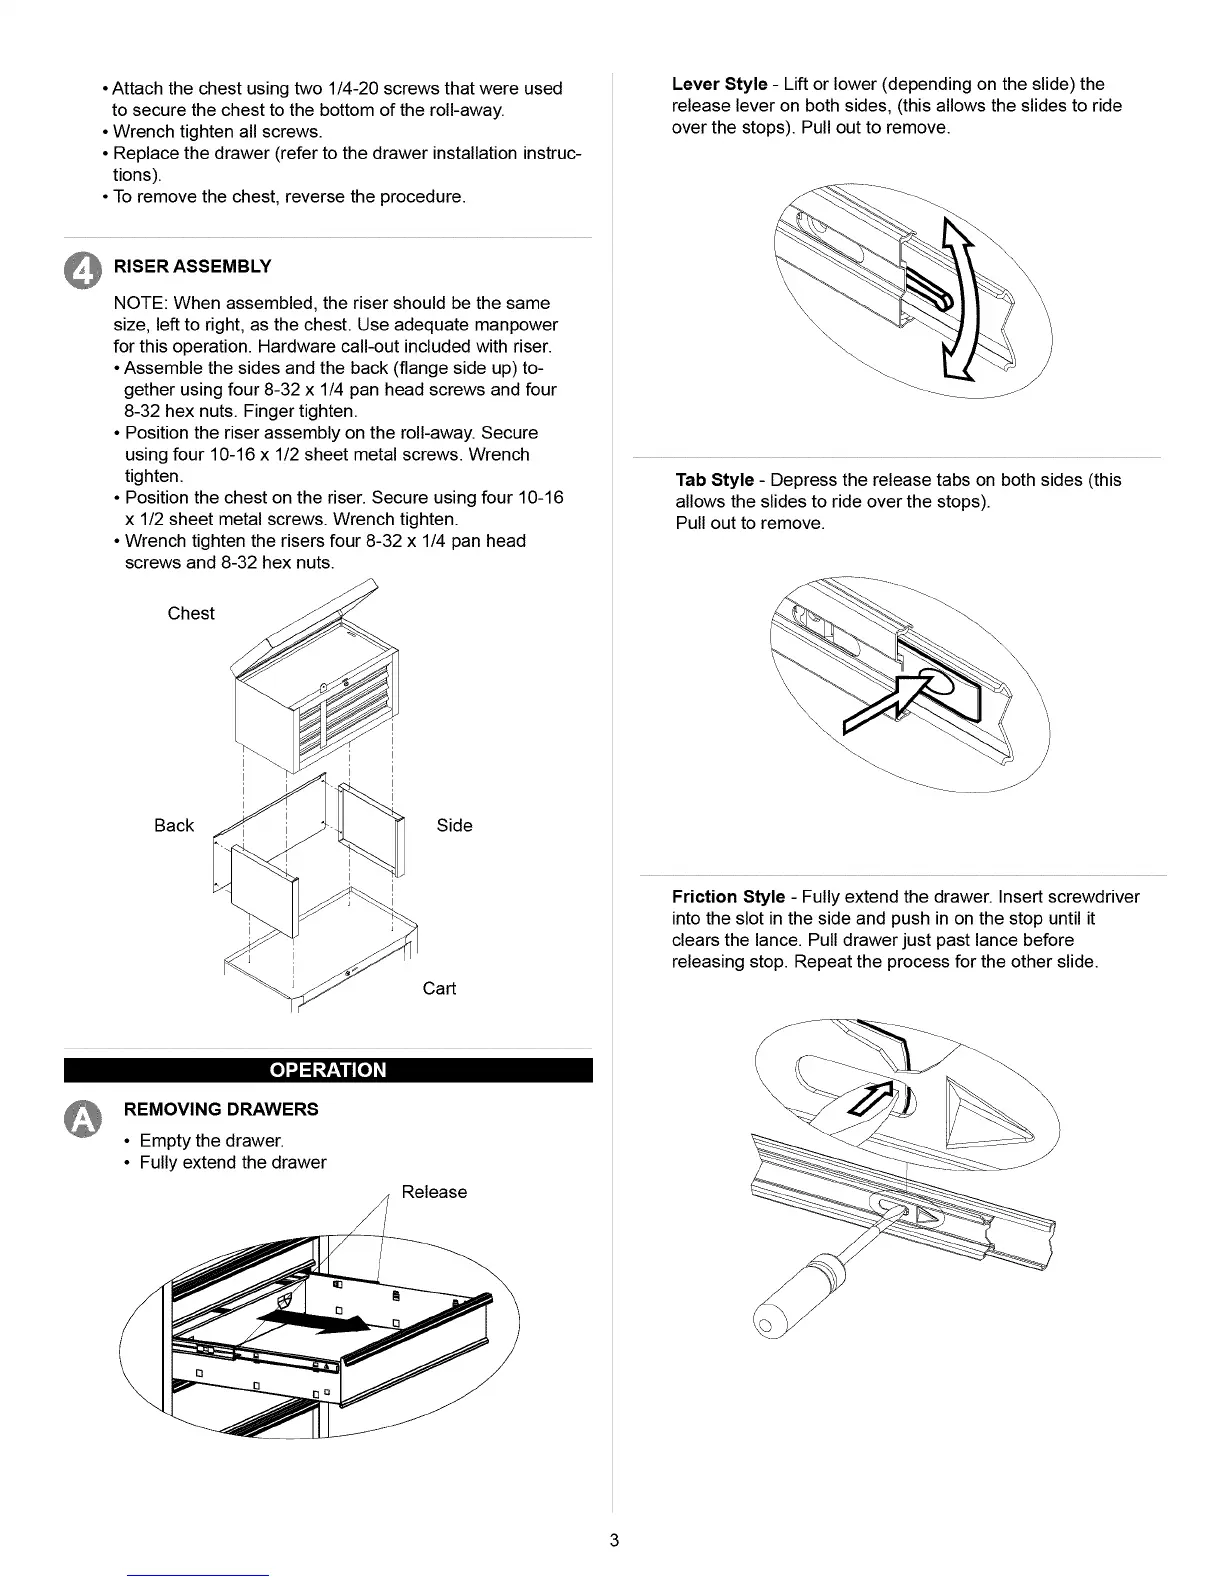
Q RISERASSEMBLY
NOTE:Whenassembled,therisershouldbethesame
size,lefttoright,asthechest.Useadequatemanpower
forthisoperation.Hardwarecall-outincludedwithriser.
•Assemblethesidesandtheback(flangesideup)to-
getherusingfour8-32x 1/4panheadscrewsandfour
8-32hexnuts.Fingertighten.
•Positiontheriserassemblyontheroll-away.Secure
usingfour10-16x1/2sheetmetalscrews.Wrench
tighten.
•Positionthechestontheriser.Secureusingfour10-16
x1/2sheetmetalscrews.Wrenchtighten.
•Wrenchtightentherisersfour8-32x 1/4panhead
screwsand8-32hexnuts.
LeverStyle-Liftorlower(dependingontheslide)the
releaseleveronbothsides,(thisallowstheslidestoride
overthestops).Pullouttoremove.
TabStyle-Depressthereleasetabsonbothsides(this
allowstheslidestorideoverthestops).
Pullouttoremove.
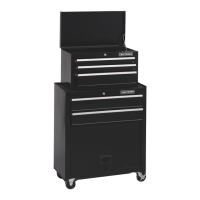
Chest
Back Side
Cart
FrictionStyle-Fullyextendthedrawer.Insertscrewdriver
intotheslotinthesideandpushinonthestopuntilit
clearsthelance.Pulldrawerjustpastlancebefore
releasingstop.Repeattheprocessfortheotherslide.
REMOVING DRAWERS
• Empty the drawer.
• Fully extend the drawer
Release
/
\