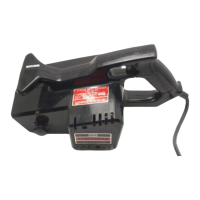
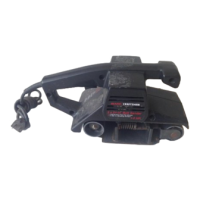
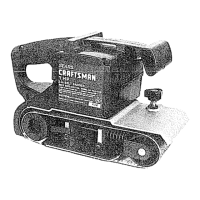
INSTALLING/REMOVING SANDING BELT
• Unplug your sander.
_. WARNING: Failure to unplug your sander could
result in accidental starting causing possible
serious personal injury.
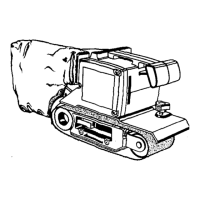
• Position sander as shown in figure 3.
_1= WARNING: Keep hands and fingers clear of
front idler roller and spring mechanism at all
times. Failure to do so could result in them
getting pinched, causing possible serious injury.
LOWERTENSIONRELEASE
LEVERTOSECURESANDINGBELT
TENSION LIFTTENSIONRELEASE
RELEASELEVER LEVERTO REMOVE
SANDINGBELT
Fig. 3
Belt tension must be released in order to install and
remove sanding belt:
• Release belt tension by lifting tension release lever
straight up as shown in figure 3. When sufficient
force is exerted, the spring will be compressed
allowing the roller to lock in a rear position. This
frees the sanding belt so it can be removed.
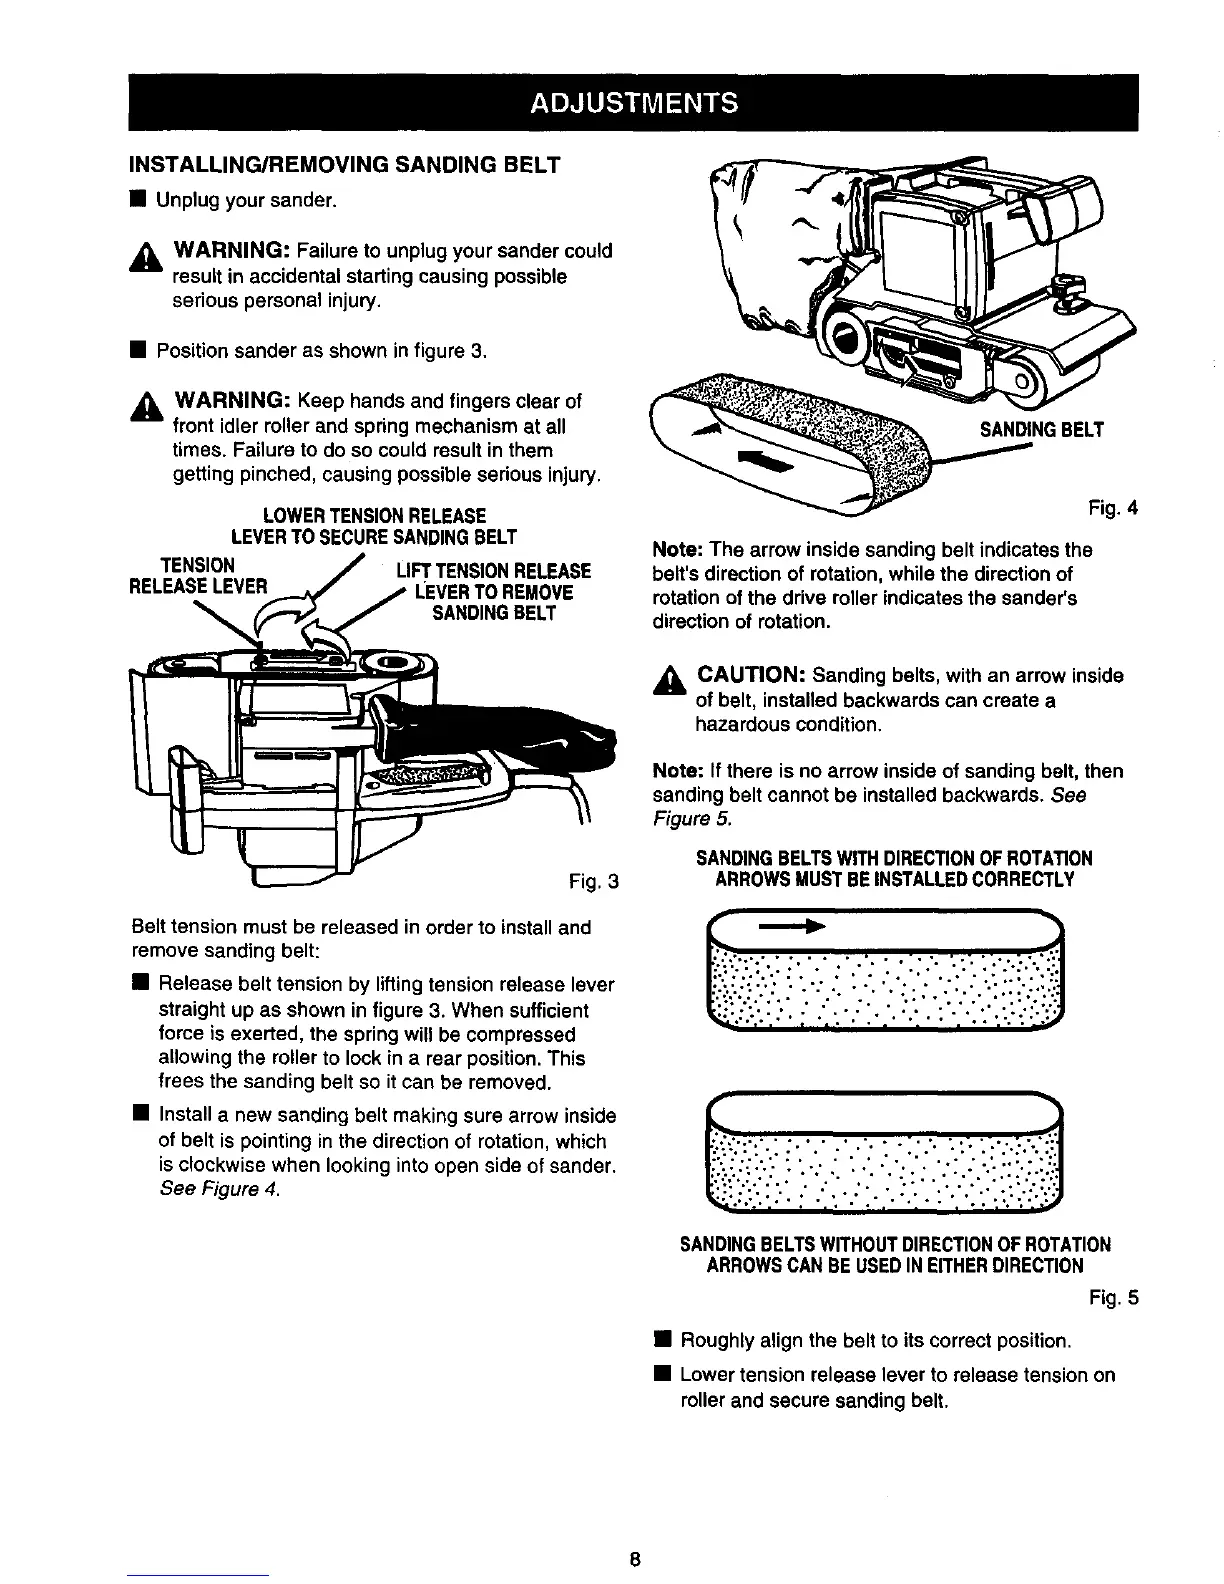
• Install a new sanding belt making sure arrow inside
of belt is pointing in the direction of rotation, which
is clockwise when looking into open side of sander.
See Figure 4.
SANDINGBELT
Fig. 4
Note: The arrow inside sanding belt indicates the
belt's direction of rotation, while the direction of
rotation of the drive roller indicates the sander's
direction of rotation.
_k CAUTION: Sanding belts, with an arrow inside
of belt, installed backwards can create a
hazardous condition.
Note: If there is no arrow inside of sanding belt, then
sanding belt cannot be installed backwards. See
Figure 5.
SANDINGBELTSWITHDIRECTIONOFROTATION
ARROWSMUSTBEINSTALLEDCORRECTLY
SANDINGBELTSWITHOUTDIRECTIONOF ROTATION
ARROWSCANBE USEDINEITHERDIRECTION
Fig. 5
• Roughly align the belt to its correct position.
• Lower tension release lever to release tension on
rollerand secure sanding belt.