Yoursawhasbeenshippedcompletelyassembled
exceptfortheblade.Inspectitcarefullytomakesure
nobreakageordamagehasoccurredduringshipping.
Ifanypartsaredamagedormissing,contactyour
nearestSearsretailstoretoobtainreplacementparts
beforeattemptingtooperatesaw.Ablade,vacuum
attachment,andthisowner'smanualarealso
included.
_, WARNING:Ifanypartsaremissing,donot
operatethistooluntilthemissingpartsare
replaced.Failureto dosocouldresultinpossible
seriouspersonalinjury.
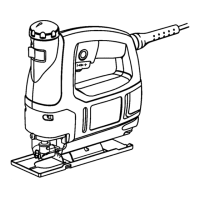
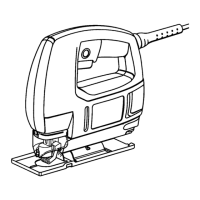
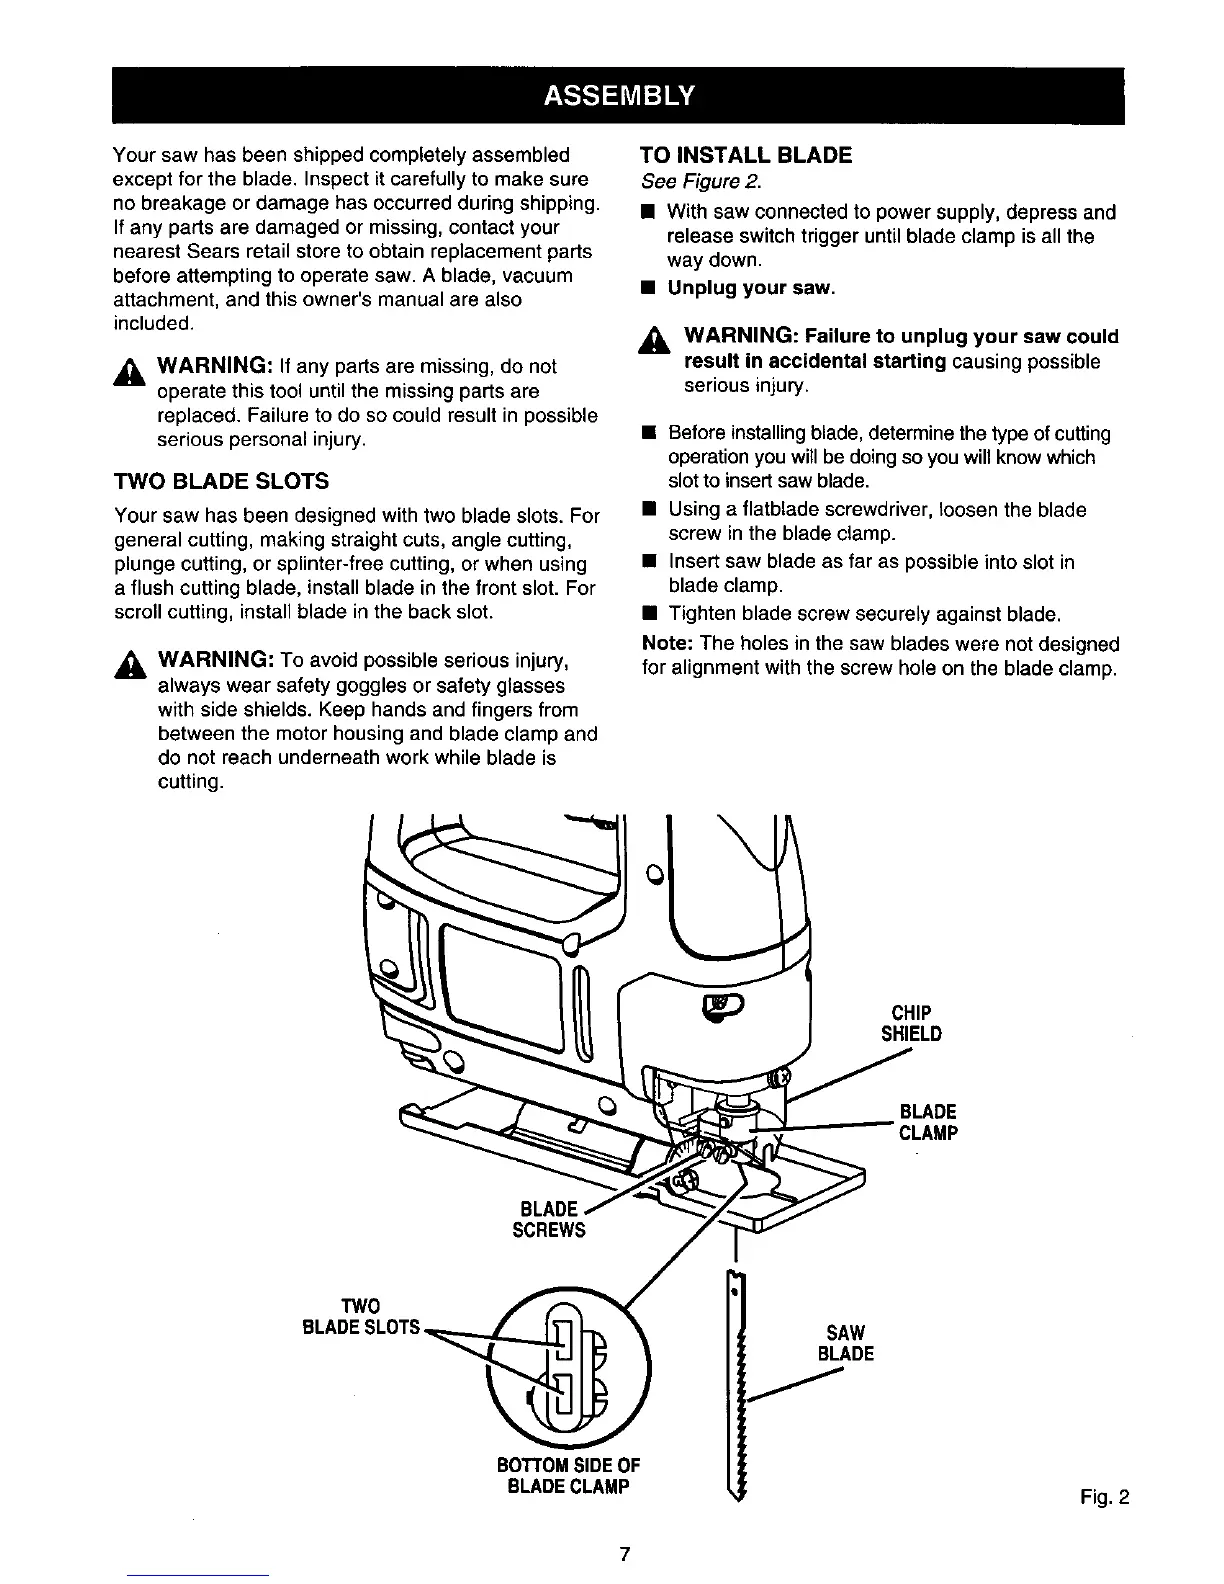
TWO BLADE SLOTS
Your saw has been designed with two blade slots. For
general cutting, making straight cuts, angle cutting,
plunge cutting, or splinter-free cutting, or when using
a flush cutting blade, install blade in the front slot. For
scroll cutting, install blade in the back slot.
,_ WARNING: To avoid possible serious injury,
always wear safety goggles or safety glasses
with side shields. Keep hands and fingers from
between the motor housing and blade clamp and
do not reach underneath work while blade is
cutting.
TO INSTALL BLADE
See Figure 2.
• With saw connected to power supply, depress and
release switch trigger until blade clamp is all the
way down.
• Unplug your saw.
_i, WARNING: Failure to unplug your saw could
result in accidental starting causing possible
serious injury.
• Before installing blade, determine the type of cutting
operation you will be doing so you will know which
slot to insert saw blade.
• Using a flatblade screwdriver, loosen the blade
screw in the blade clamp.
• Insert saw blade as far as possible into slot in
blade clamp.
• Tighten blade screw securely against blade.
Note: The holes in the saw blades were not designed
for alignment with the screw hole on the blade clamp.
_) CHIP
SHIELD
BLADE
CLAMP
BLADE
SCREWS
TWO
BLADESLOTS•
BOTTOMSIDEOF
BLADECLAMP
SAW
BLADE
Fig. 2