OPERATION
&
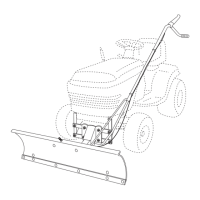
INSPECT THE AREA TO BE WORKED
CAREFULLY BEFORE OPERATING
THE DOZER BLADE, AVOID PIPES,
ROOTS, CURBS OR OTHER HEAVY
OBSTRUCTIONS.
1. Prepare the tractor engine for cold weather
use following instructions furnished with tractor.
2, Always begin with transmission in first (low)
gear and engine at slow speed and gradually
increase speed as required.
. If blade is stored in heated area, allow tractor
and blade to adjust to outdoor temperature
before operating to reduce icing on the metal
surfaces.
ALWAYS LOWER BLADE TO
GROUND BEFORE LEAVING
TRACTOR.
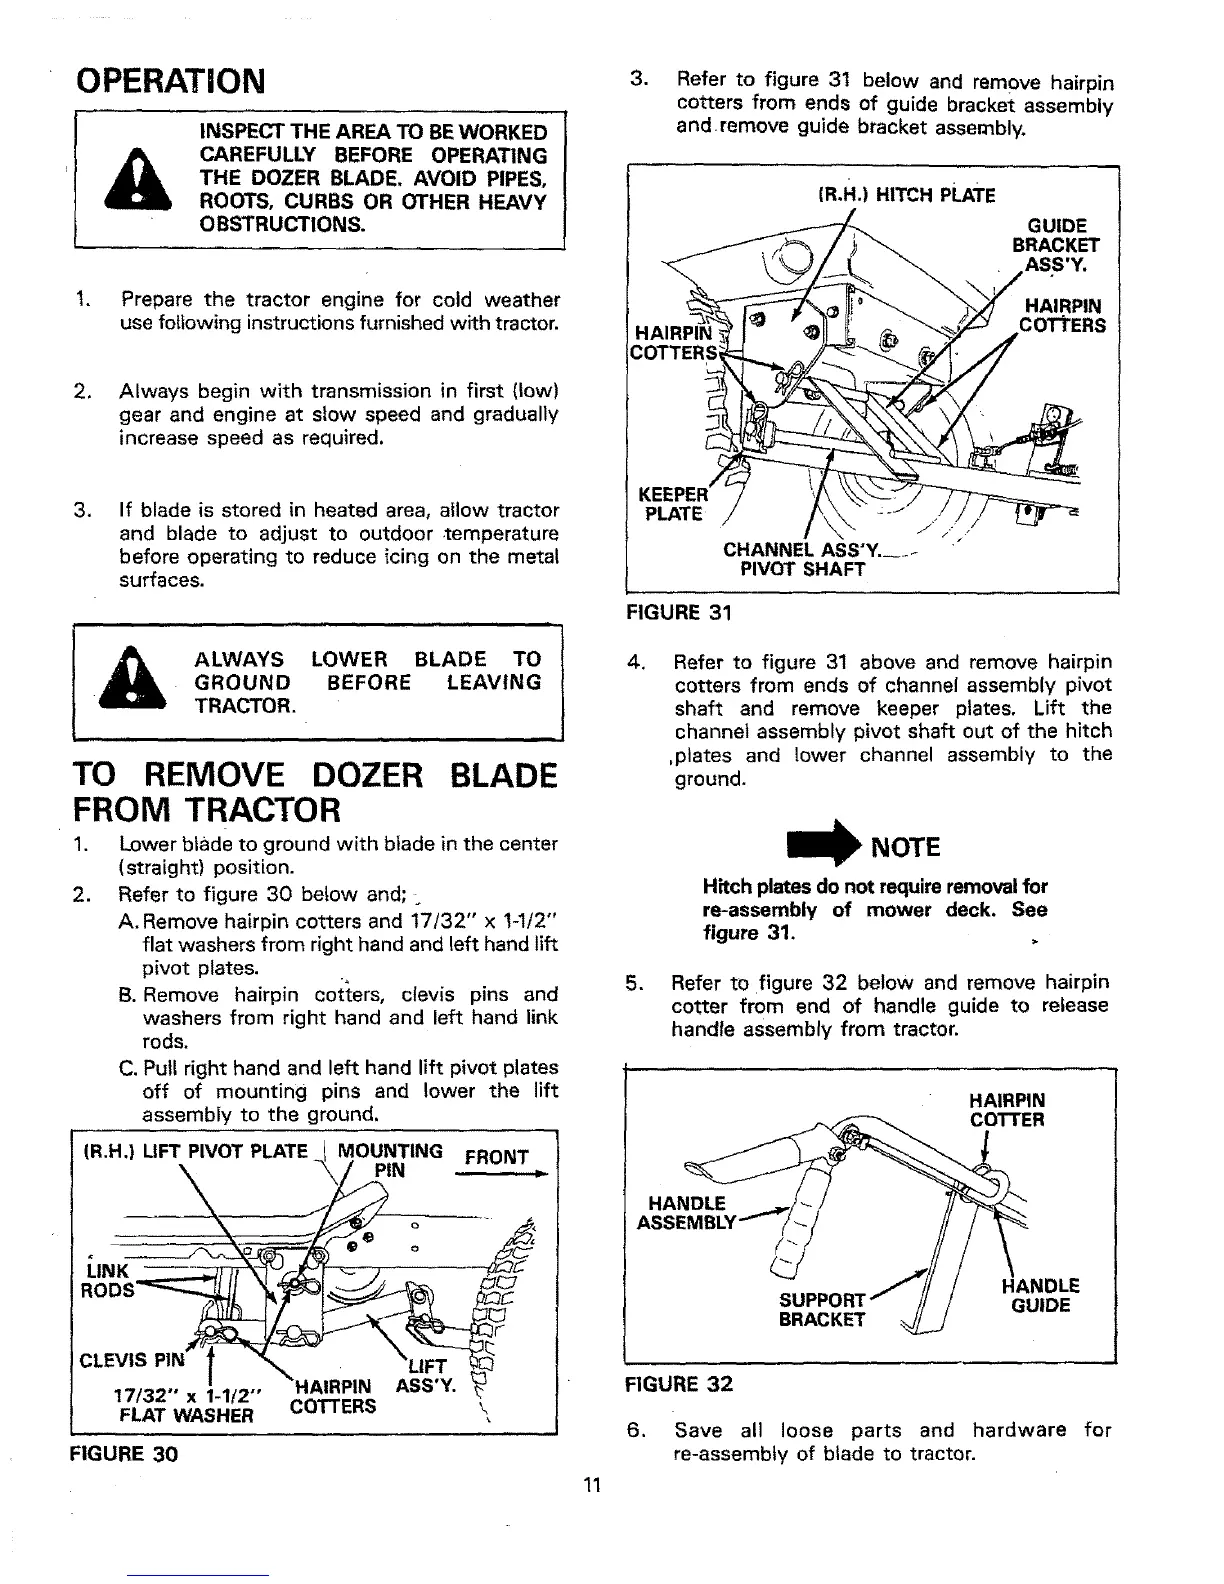
TO REMOVE DOZER BLADE
FROM TRACTOR
1. Lower blade to ground with blade in the center
(straight) position.
2. Refer to figure 30 be{ow and;.
A. Remove hairpin cotters and 17/32" x 1-1/2"
flat washers from right hand and left hand lift
pivot plates.
B. Remove hairpin cotters, clevis pins and
washers from right hand and left hand link
rods.
C. Pull right hand and left hand lift pivot plates
off of mounting pins and lower the lift
assembly to the ground.
(R,H.) UFT PIVOT PLATE I MOUNTING FRONT
\\ Y4'" '
o
ROOSt/
CO ERS \
FIGURE 30
11
3. Refer to figure 31 below and remove hairpin
cotters from ends of guide bracket assembly
and.remove guide bracket assembly.
HAIRPIN'
COTTERSl
(R.H.) HITCH PLATE
GUIDE
BRACKET
ASS'Y,
HAIRPIN
cOTtERS
PLATE
,4 E,J
CHANNEL ASS'Y. ....
PIVOT SHAFT
FIGURE 31
.
Refer to figure 31 above and remove hairpin
cotters from ends of channel assembly pivot
shaft and remove keeper plates. Lift the
channel assembly pivot shaft out of the hitch
,plates and lower channel assembly to the
ground.
W NOTE
Hitch plates do not require removal for
re-assembly of mower deck. See
figure 31,
5. Refer tO figure 32 below and remove hairpin
cotter from end of handle guide to release
handle assembly from tractor.
HAIRPIN
COTTER
HANDLE
BRACKET
HANDLE
GUIDE
FIGURE 32
6. Save all loose parts and hardware for
re-assembly of blade to tractor.