2
SAFETY FIRST
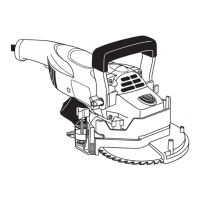
This saw is designed for undercutting afxed wooden door jambs, moldings, base,
and masonry, tile and stone walls to t new ooring underneath. Do not use this
saw for sanding oors, cutting metal, or any purpose not described in this manual.
HANDLES:
In use, keep both hands on the handles at all times.
KICKBACK HAZARDS: While cutting, do not force the saw. Keep the housing at
on the oor and the blade parallel to the oor at all times. Angling can cause powerful,
dangerous kickback. Keep saw RPMs high. Using a dull blade places a heavy load
on the saw and increases danger of kickback. Use only Crain replacement blades.
DUST MASK: Wear approved dust mask or respirator for the material being undercut.
See below for further warnings related to dust.
EYE & EAR PROTECTION: Always wear safety glasses and ear protection when
using this saw.
BLADE GUARD: The blade guard attached to your saw is for your safety and pro-
tection. If it becomes damaged, do not operate your saw until it has been repaired.
Keep the blade guard in operating condition when using the saw.
DOUBLE-INSULATED: This saw is constructed with two separate layers of electrical
insulation. A tool built with this insulation system does not need to be grounded.
DANGEROUS ENVIRONMENTS: Keep work area clean; clutter invites accidents.
Do not use the saw on damp or wet oors. Be sure that there is good lighting. This
saw may throw sparks. Make certain that ammable materials, especially explosive
vapors, are not present.
ACCIDENTAL STARTING: To avoid accidental starting, do not carry tool while
plugged in or with ngers on switch.
CORD ABUSE: Never carry the saw by the cord or yank the cord to disconnect
from an outlet. Keep cords away from heat, oil, and sharp edges.
EXTENSION CORD: To minimize power loss and prevent overheating, use exten-
sion cord that is a maximum of 25 feet long and with minimum wire gauge 16 AWG.
HAIR & CLOTHING: Keep loose hair and clothing away from the spinning blade
at all times.
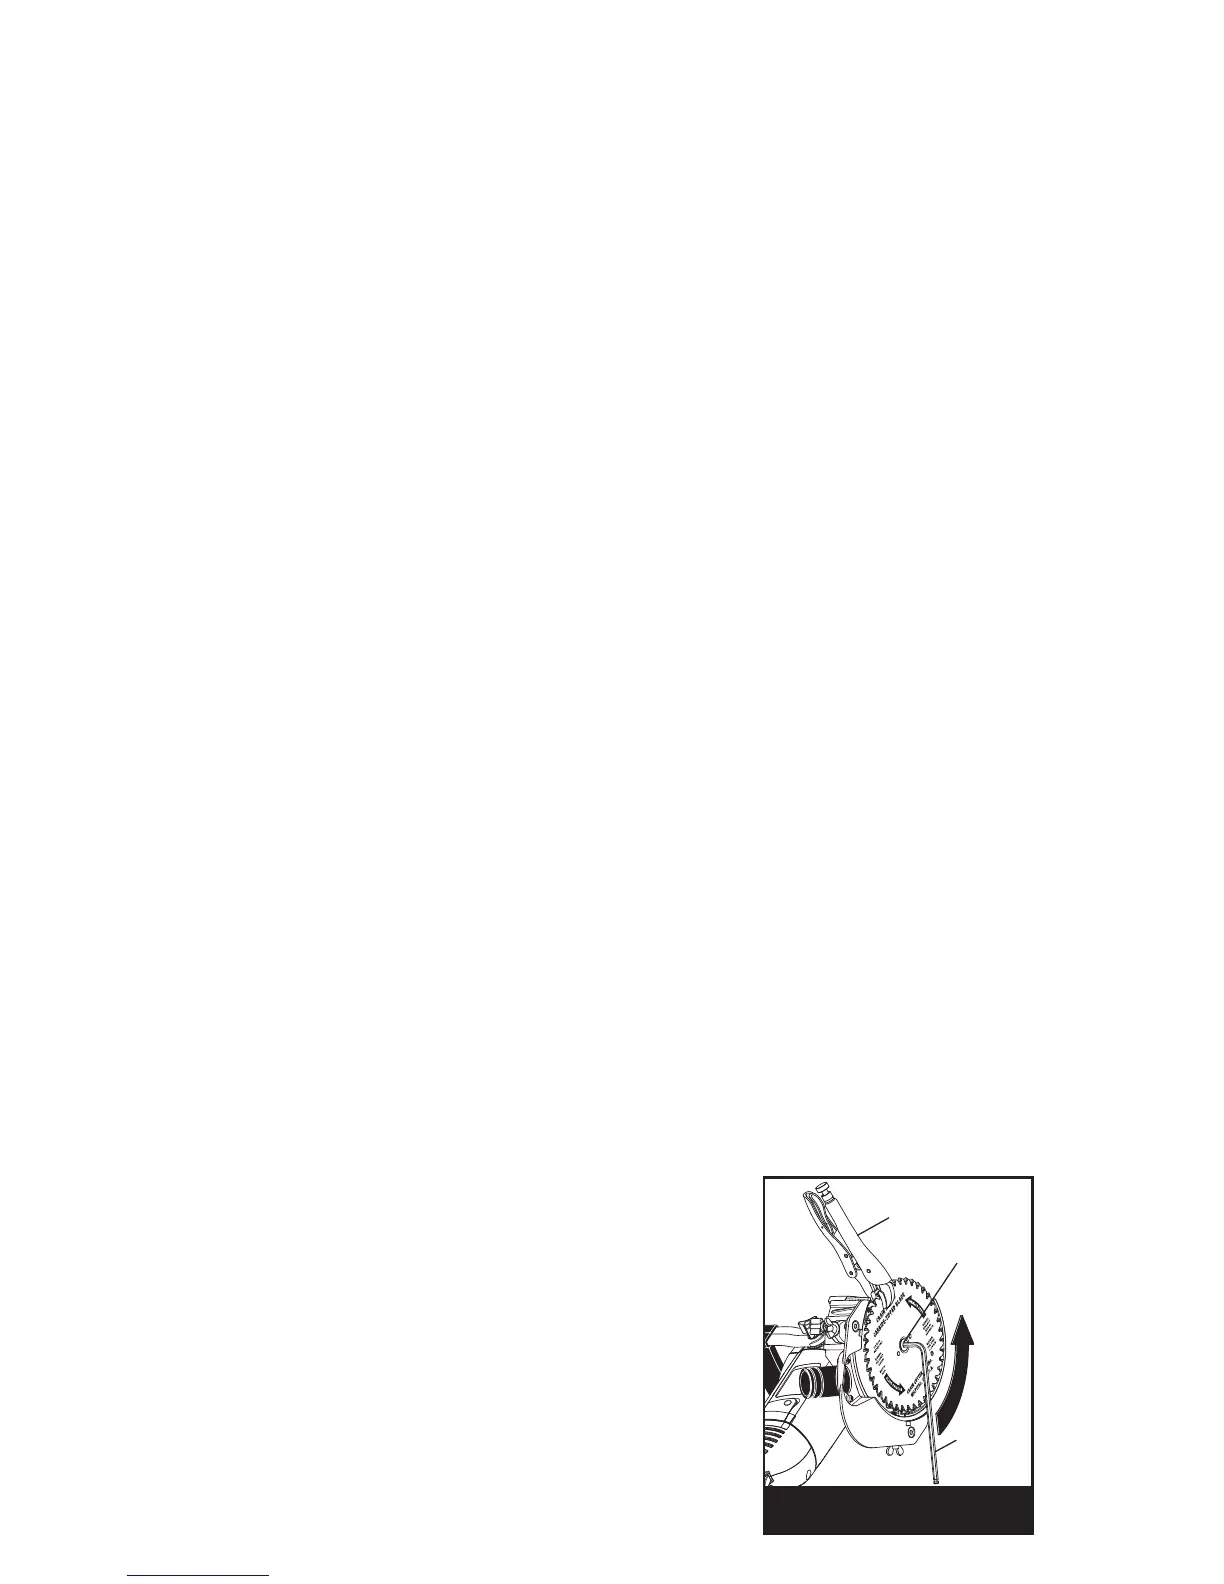
BLADE REMOVAL: see Figure 2
Switch off and unplug saw. Blade must be stopped.
Retract the height adjuster so it is ush with the hous-
ing for clearance for wrenches.
Push the spindle lock button with one hand and insert
the hex wrench into the blade screw with the other.
Turn the hex wrench until the spindle lock engages
the spindle and stops rotation.
Figure 2
HEX
WRENCH
LOCKING
PLIERS
BLADE
SCREW
UNPLUG SAW. REMOVE PLIERS &
WRENCHES BEFORE STARTING.
 Loading...