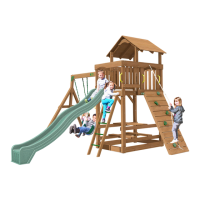
MODEL PS18EAS
19862-600 Rev E (01-19)
© Copyright 2014, Creative Playthings
Page 13
ASSEMBLY INSTRUCTIONS
A
A
A
AK
AI
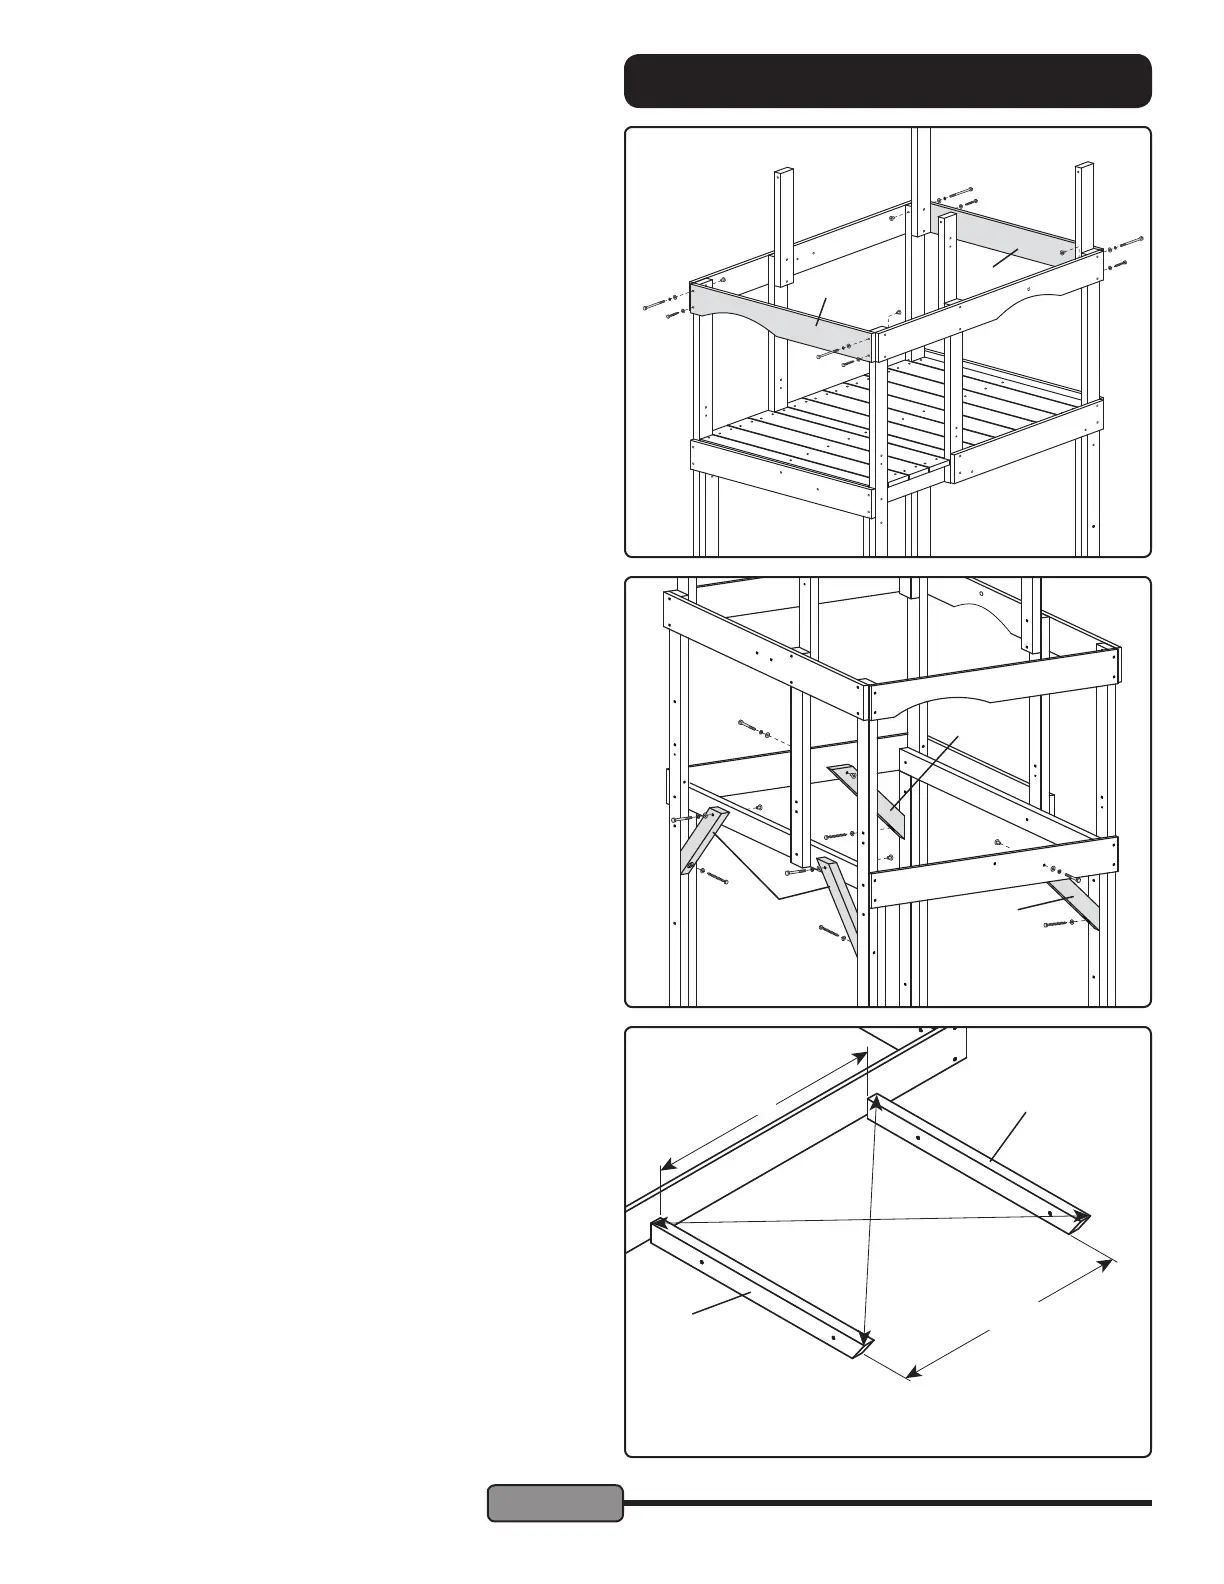
STEP 12 — Front Arch & Back End Support:
Fasten the Front Arch (AK) to the Front Left and Front Right
Posts as shown at right. Use 1/4 x 4" Hex Bolt Assemblies in
the top holes and 1/4" x 2" Lag Screws with 1/4" Flat Washers
in the bottom holes.
Fasten the End Support (AI) to the Back Left and Back Right
Posts as shown. Use 1/4 x 4" Hex Bolt Assemblies in the top
holes and 1/4" x 2" Lag Screws with 1/4" Flat Washers in the
bottom holes.
STEP 13 — Angle Braces:
Ensure the structure is in the place it will be used. Make
any needed ground adjustments before proceeding.
Use a level to determine that all horizontals are level and
posts are plumb.
Fasten two Angle Braces (A) to the Platform Left using two
1/4 x 2-1/2" Hex Bolt Assemblies as shown. Fasten the
bottom of the braces to the lookout posts using 1/4 x 3" Lag
Screws with Flat Washers. Be sure to drill 3/16" diameter
pilot holes in the posts before using the Lag Screws.
Fasten two Angle Braces (A) to the front and back of the
lower platform using two 1/4 x 2" Hex Bolt Assemblies as
shown. Fasten the bottom of the braces to the lookout posts
using 1/4 x 3" Lag Screws with Flat Washers. Be sure to drill
3/16" diameter pilot holes before using the Lag Screws.
2" Lag Screw in
bottom holes
4" Hex Bolt
Assembly in top
holes
STEP 14 — Assemble Roof Panels:
Assembly of the Roof Panels will be easiest on a work table
or other at surface.
Lay Out Roof Rafters:
Butt the square-cut end of two Rafters (V) against a straight
at surface. Align the Rafters so they are parallel and the
ends aligned and square. The distance between the Rafters
should be 30". Measure from corner to corner both ways.
When the two diagonal measurements are the same, the
rafters are square.
30"
30"
V
V
 Loading...