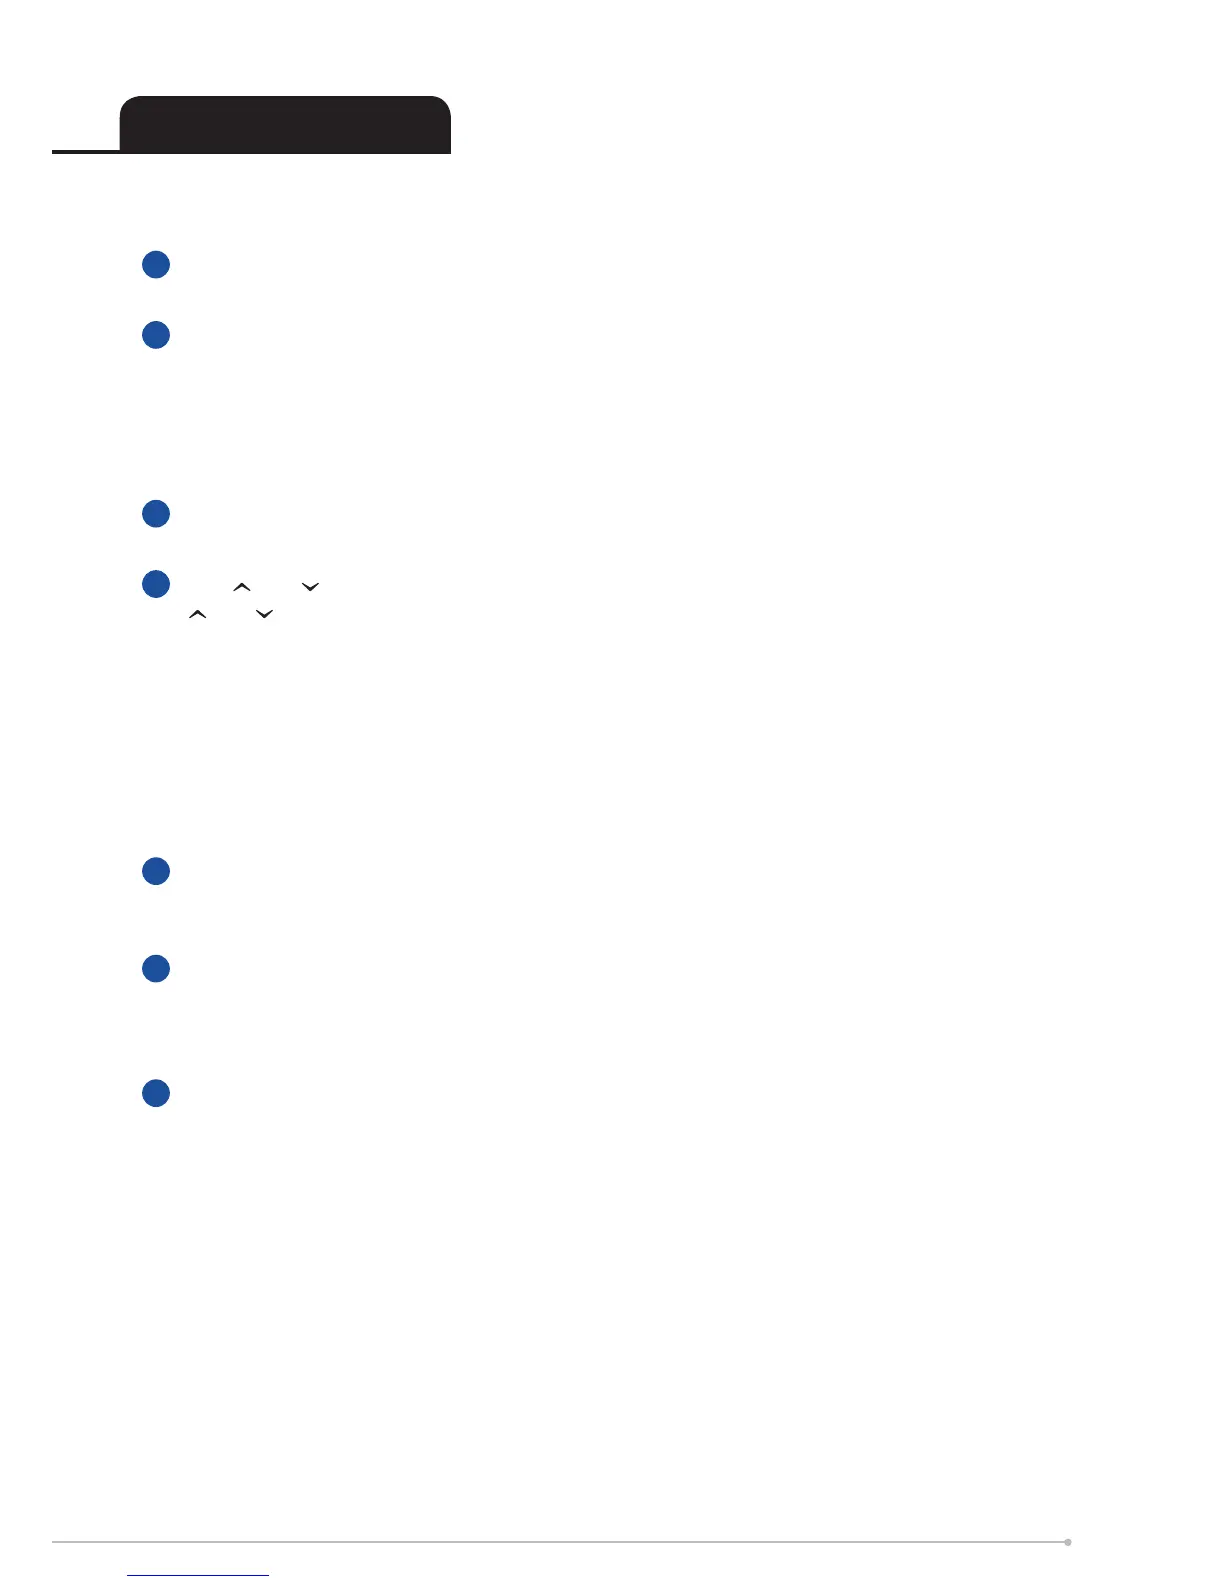
Control Functions
The heater controls can be easily adjusted by using the six buttons on the User Interface.
1
The Display Screen shows the options available at each stage of adjustment.
2
Menu - displays the main options list;
- Date/Time - Set the date and time.
- Mode - Set the mode of operation.
- Options - Temperature units, daylight savings time,
lock settings and service information.
3
Back returns to the previous programming stage.
4
The and buttons are used to navigate through the menus and alter setting values. The
and buttons are also used to adjust the required room temperature on the main screen.
The screen colour changes based on the temperature selected, showing deep blue through
to bright red.
7C -16 C = Blue Screen
17- 19C = Green Screen
20- 21C = White Screen
22C + = Red Screen
5
Enter is used within the menu options to conrm settings. On the main screen pressing
Enter will display the enabled features.
6
Heating Status is the timed periods during which the heater is providing heat are dened as
Comfort On (this is displayed at the bottom of the screen). While constant heat modes are
active, the mode of operation is displayed at the bottom of the screen e.g. Manual.
7
The Advance button overrides the heating settings and changes the operational state of the
heater. If a timer mode is selected, pressing Advance will cause the heater to remain on until
the next Comfort O period is due, or o until the next Comfort On period is due.
If the heater is in a constant mode of operation, Advance can be used to switch the heater
on and o.
Advance is also used to enter Boost mode. Boost mode delivers heat for between one and
four hours.
9