Install the thermostat to an electrical box.
1. Turn the HVAC system power off.
2. Separate the thermostat front plate from the rear plate. It may be
necessary to exert force when removing the front plate.
3. Feed the HVAC wiring from the electrical box through the hole in the
center of the rear plate.
4. Make HVAC connections. Refer to the Connect the Device section for
details.
CAUTION: To avoid a possible short circuit, ensure excess wire is
inside the electrical box and not pinched between the box and
the device.
NOTE: To ensure accurate temperature readings, plug the wire
hole with insulation to prevent drafts in the back of the unit.
5. Attach the thermostat rear plate to the electrical box using the
included screws.
NOTE: For U.S.-style installations, use the 6-32 x 1 in. screws. For
U.K.-style installations, use the M3 x 16 mm screws.
6. Attach the front plate.
CAUTION: Do not press on the LCD display during mounting, as
this may cause the screen to crack.
7. Carefully remove the warning label from the LCD display on the front
plate.
8. Turn the HVAC system power on.
Installation in U.S. Electrical Box (top) and U.K. Square Electrical Box
(bottom)
2
CHV-TSTAT-FCU-PIR-10
QuickStart
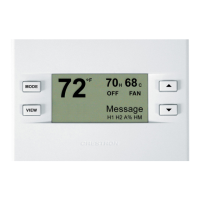
0-10 V Heating/Cooling Fan-Coil Thermostat, White Textured
 Loading...