NOTES:
l The web-based setup tool is only accessible from Internet Explorer.
l If a security warning is displayed, click Install to continue.
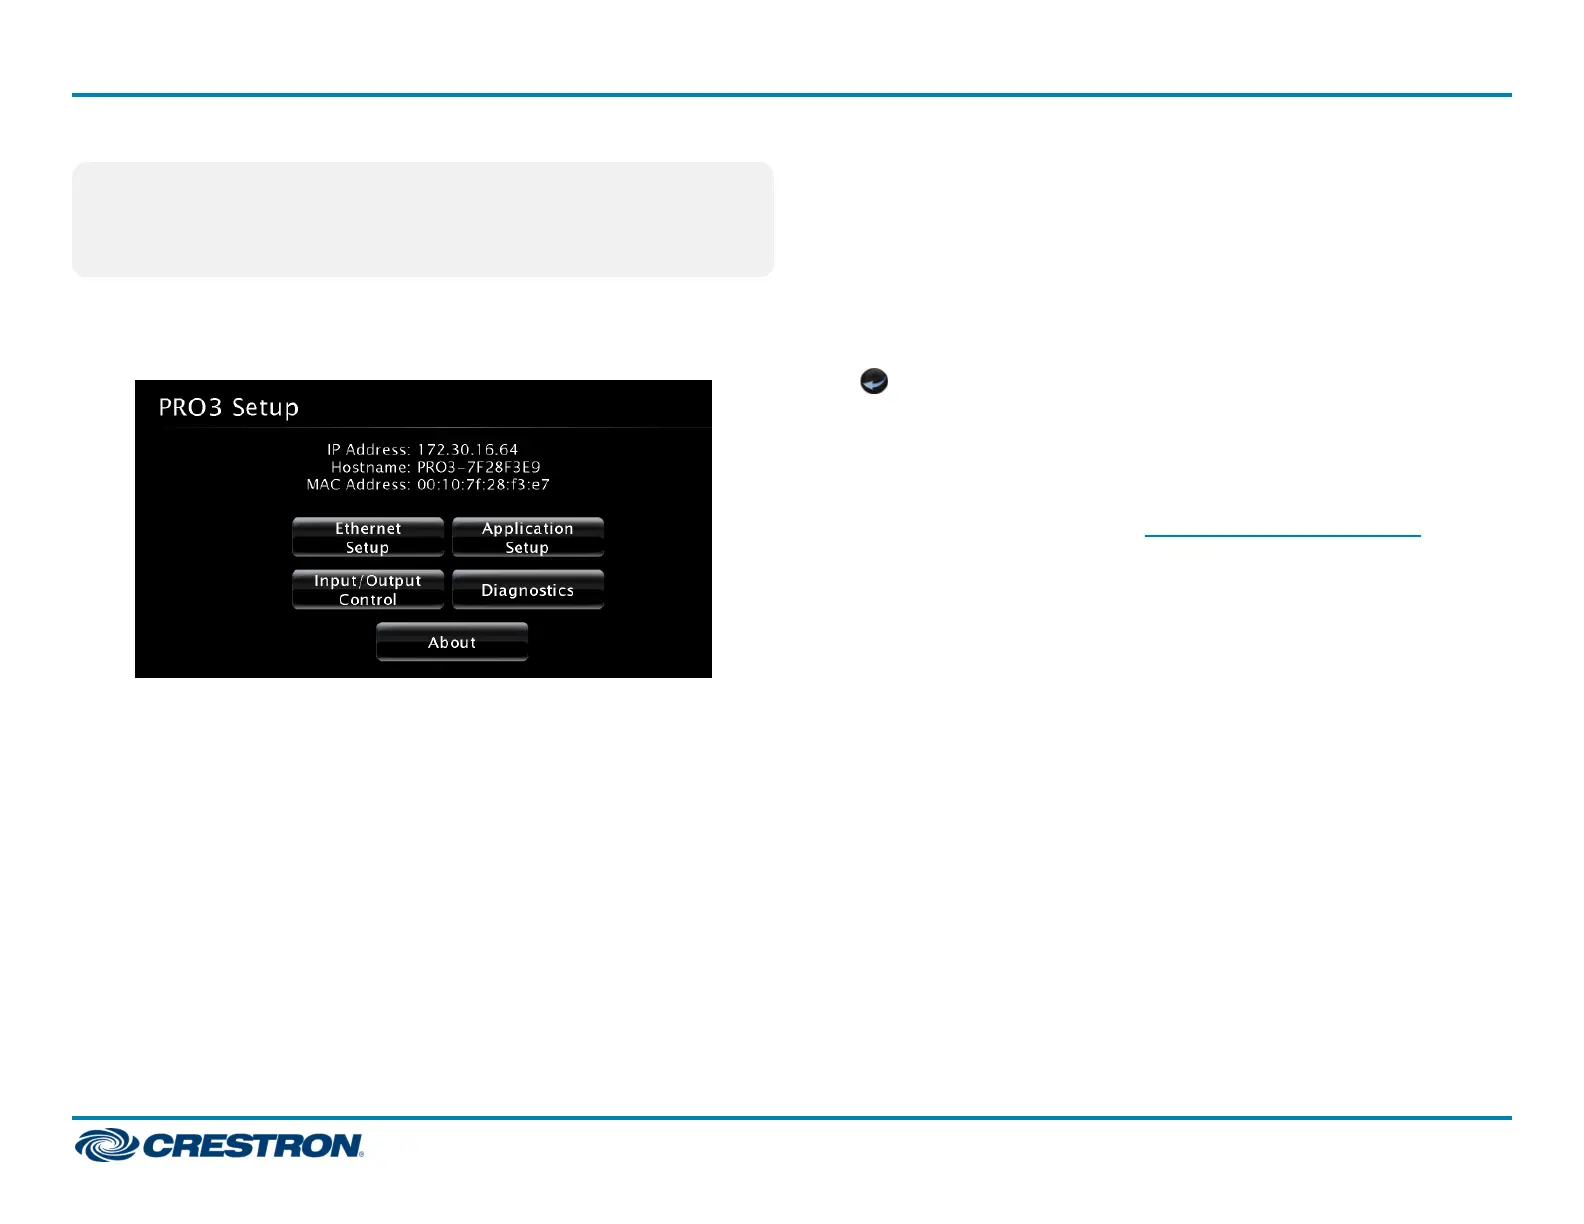
3. Click Setup to display the control system's setup menu. The menu
displays the IPaddress, hostname, and MAC address of the device. It
also allows access to various setup and programming screens.
4. Click the following options from the setup menu to configure the
control system:
l Ethernet Setup configures the control system's Ethernet settings
and displays DHCP, hostname, IP address, subnet mask, default
router, domain, and MAC address settings.
There are additional options in the Ethernet Setup menu:
o
Click Advanced Settings to specify DNS servers, web server
settings, and SSL settings.
o
Click MyCrestron Dynamic DNS to configure the
myCrestron.com Dynamic DNS service.
o
Click Ethernet Diagnostics to test Ethernet communications.
o
Click Reboot to reboot the control system.
l Application Setup selects programs to be loaded on startup and
controls which programs are running.
l Input/Output Control configures the COM ports, operates the
relays, and monitors the Versiports.
l Diagnostics displays information about the connected devices,
hardware configuration, and error logs.
l About displays firmware information.
Click to return to the previous screen.
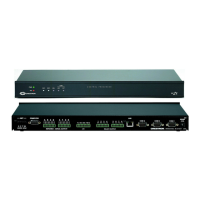
Configure with the Front Panel (PRO3 Only)
Use the front panel navigation pad and LCD display to configure and
monitor the PRO3's operations. For details, refer to the PRO3
Supplemental Guide (Doc. 7330) at www.crestron.com/manuals.
6
AV3 and PRO3
QuickStart
3-Series® Control System