ENGLISH 9
Installing the Cutting Blade Assembly
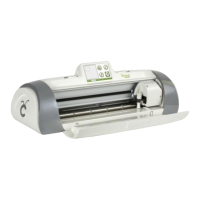
Please note that the Cricut Cake™ machine’s cutting blade assembly is
located in the bottom of your box, separate from the machine. Before you turn the
machine on, you will need to insert the blade assembly. To do this, follow these
simple instructions:
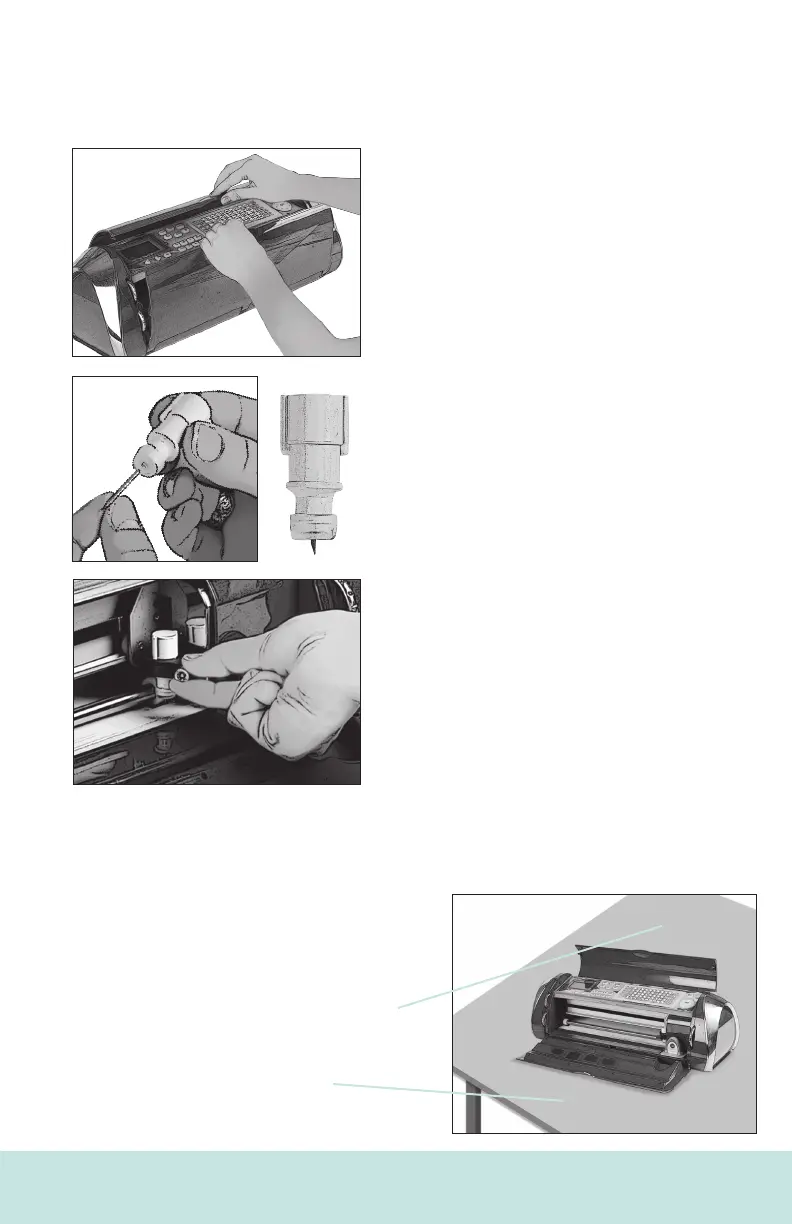
1. Open the doors on the Cricut Cake
machine and remove the cardboard inserts
from either side of the carriage.
2. Remove the cutting blade assembly from its
bag. Place silicone gasket on blade assembly.
Make sure that the cutting blade is inserted into
the assembly with the sharp end pointing down.
3. The blade assembly ts into the black cradle
to the left of the carriage. Locate the silver
screw and turn it counter-clockwise until it
loosens enough that you can swing the screw to
the right. Be careful not to loosen the screw too
much, or it will fall out.
4. Open the left arm of the black cradle and
position the cutting blade assembly inside as
shown. Align ribs with slots to properly t in blade
housing. Close the cradle, swing the screw back
to the left, and tighten it by turning it clockwise.
Plug the machine in and press the On button to
place the blade assembly in cutting position.
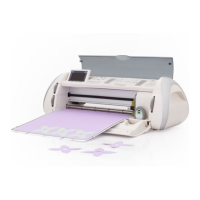
Positioning Your Cricut Cake™ Machine
Place your Cricut Cake™ machine at least 12" (30.48 cm) from the edge of your table
to prevent it from tipping and causing possible injury.
Depending on the cutting mat used,
allow 12" (30.48 cm) or 24" (60.96 cm) in the
back of the Cricut Cake machine for
mat movement.
24" (60.96 cm)
12" (30.48 cm)
8 ENGLISH