- Getting Started
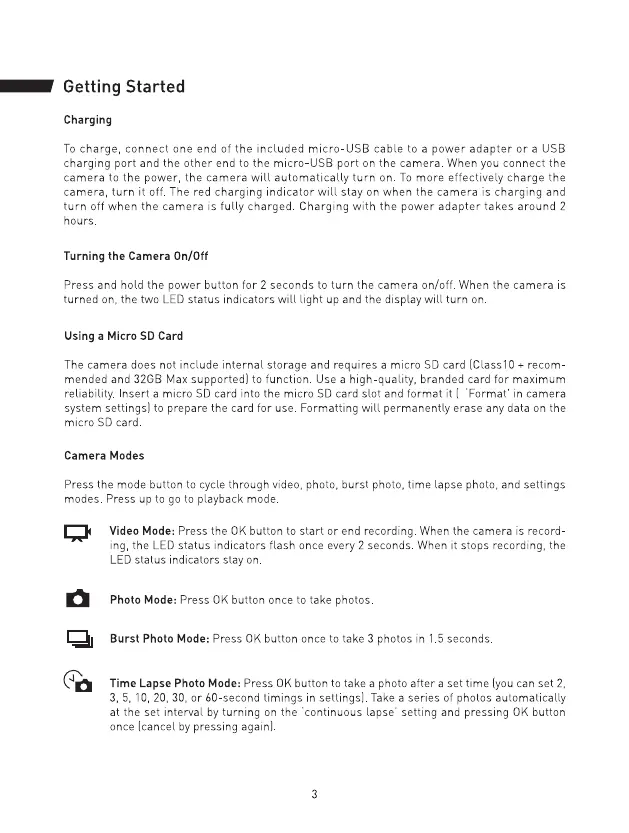
Charging
To
chc1rye,
connect
one
end
of
lhe
included
rnicro-USB
c;:1ble
to
a
power
1:1dcipler·
or
c1
USB
charging
por·l ,rnd
the
other
end
to
lhe
rnicrn-USB
µorl
on
lhe
c1:1rnerc1.
When
you
connecl
the
carnerc1 to
the
power, the
c,:1rner·a
will c1ulornalically
turn
O".
To
:::ore eFfectively
chi:lr\:]e
the
cc1rner1:1,
lurn
it
off.
The
red chc1rging indiC!:llor
will
st!::1y
on
when
lhe
cc1rnen,1
is
charging
and
turn
off
when
the
camera
is fully
char·ged
Charging with the power·
adapler·
tc1kes
arnund
2
nours
Turning the Camera
On/Off
Press and hold the power
bullon
for"
2 seconds lo turn the camera on/off. When the carnera is
turned
on,
the two
LED
status indicc1lors
will
Lght
up
and the display
will
turn
on
Using a
Micro
SD
Card
The
camera does not include internal storage and requires a micro
SD
card [Class10 + recom-
mended and
32GB
Max
s,.pportedl
to
function.
Use
a h'gh-qual·ty, oranoeo card
'or
maximum
reliability_
insert a micro
SD
card
into
the micro
SD
card slot and format
it
[ 'Format'
in
camera
settings]
to
prepare the card for use, Formatting
will
permanently erase
any
data
on
the
SD
ca-d.
Camera
Modes
Press the mode button
to
cycle through video, photo, burst photo, time lapse photo, and settings
modes Press
up
to
go
to
playback mode
0
Video
Mode:
Press the
OK
button
to
start or end recording.
When
the camera ·s recora-
the
LED
status indicators flash once every 2 seconds, When
it
stops recording, the
status indicators stay
on,
Photo
Mode,
P--ess
OK
button
o--ce
to
,ake photos.
Burst Photo Mode: Press
OK
button once
to
take 3 photos
in
1.5
sAconds
Tlme
Lapse
Photo
Mode:
Press
OK
button
to
lake
c1
photo
ofter
a
sel
lime
[you
can
set
2,
3, 5, 10, 20, 30,
or
60-second
lirnings
in
settings).
fake
i:l
ser·ies
oi
photos
automatically
al
the
set
inlerV1:1l
by
on
the
'continuous
lapse'
selling
,md
pressing
OK
butto"
once
(c1,ir1cel
by
pressing
 Loading...