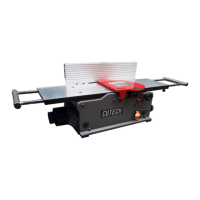
16
ADJUSTMENTS (cont.)
ADJUSTING / REPLACING KNIVES FOR THE SPIRAL
CUTTERHEAD
WARNING! MAKE CERTAIN THAT THE MACHINE IS DISCONNECTED FROM THE
POWER SOURCE BEFORE ANY ADJUSTMENTS ARE MADE.
WARNING! ***Be VERY CAREFUL when handling the knives or cutter tips as they
are EXTREMELY SHARP and can cause serious injury!!! ***
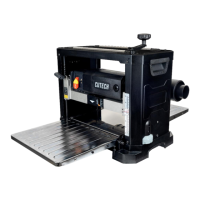
This 13" cutterhead is equipped with 26 indexable cutter inserts. Each cutter insert can be
rotated to reveal one of its two cutting edges. Therefore, if one cutting edge becomes dull
or damaged, simply rotate it 90° to reveal a fresh cutting edge.
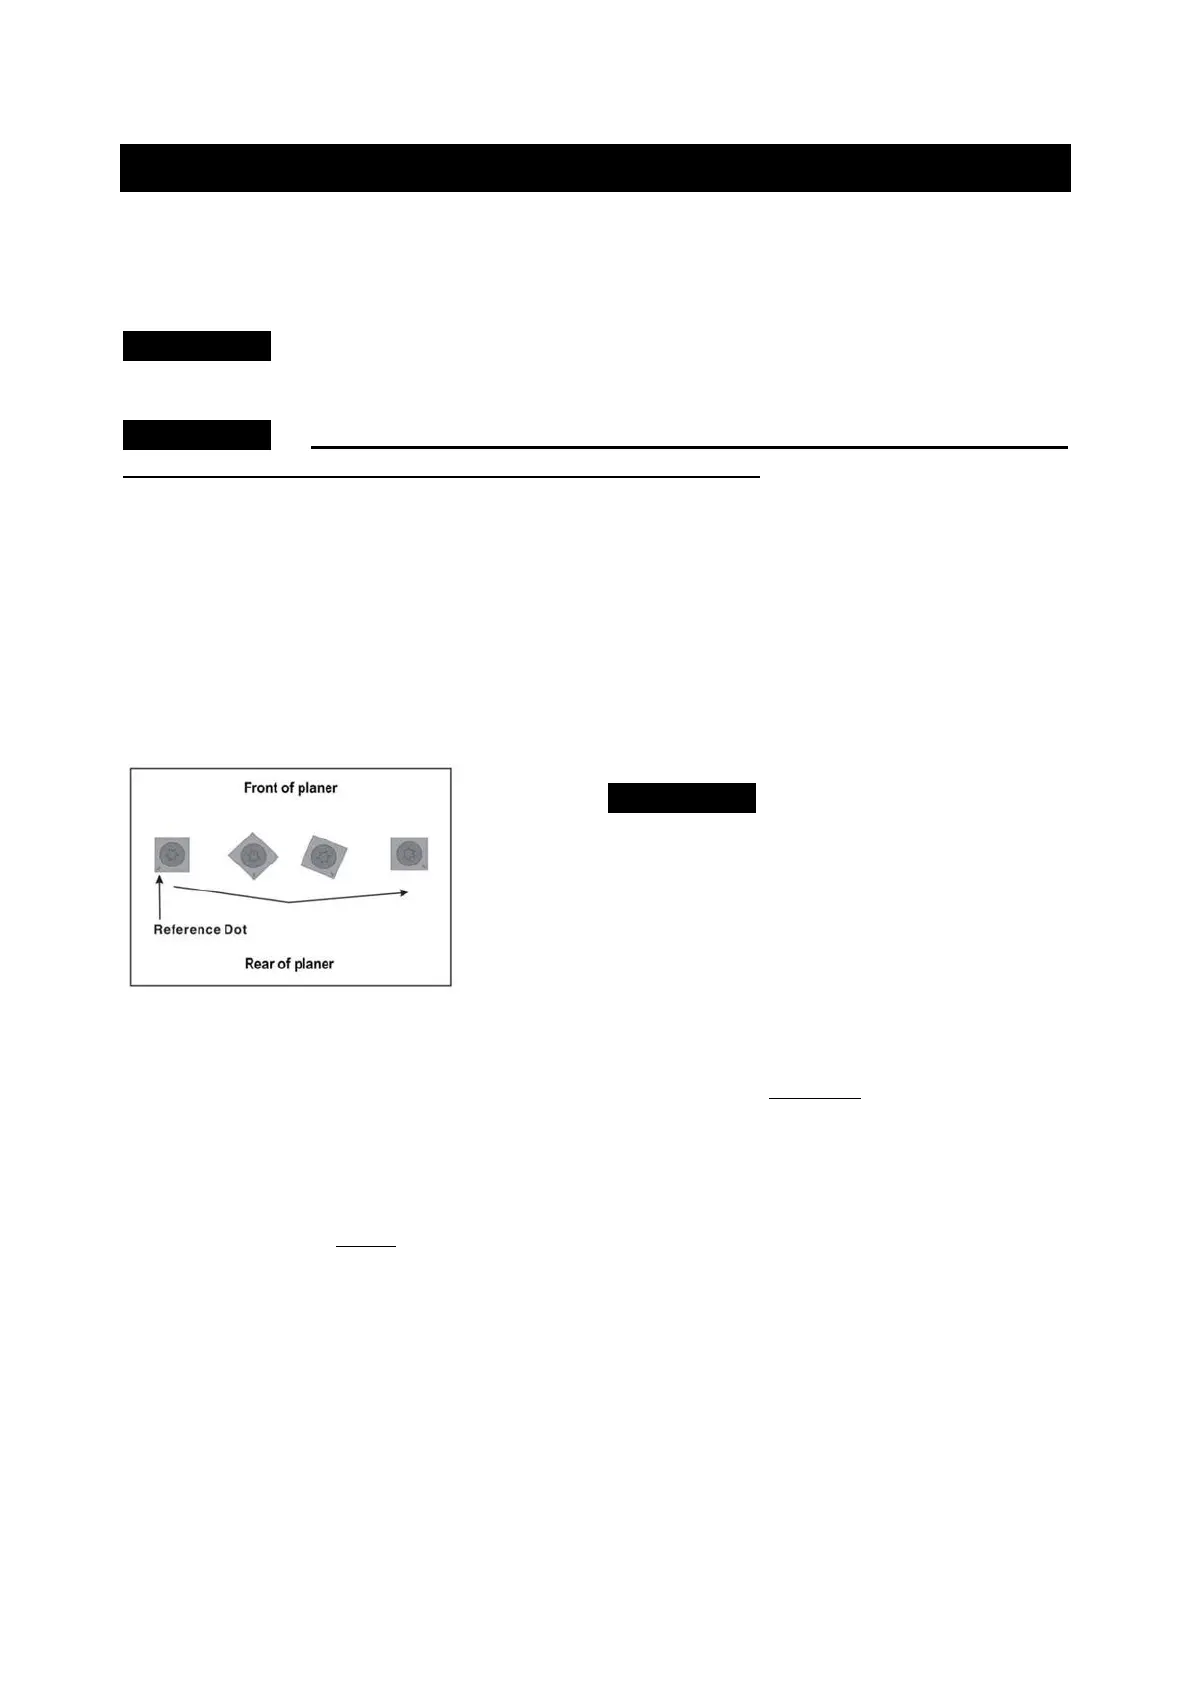
In addition, each cutter insert has a reference dot on one corner. As the cutter insert is
rotated, the reference dot location can be used as an indicator of which edges are used
and which are new. When the reference dot revolves back around to its starting position,
the cutter should be replaced.
To rotate or change cutter tip inserts:
1. Face the rear of the machine. Remove the Dust Port. Refer back to the section labeled
ATTACHING DUST PORT in the ASSEMBLY section page 12 for information on
removal.
2. Use the handle to lower the cutterhead assembly down to about 1” on the scale.
3. Insert the supplied Hex wrench through the hole located on the side of the machine
beside the Repeat Cut indicator. Rotate the cutterhead to a position where a cutter tip
is visible. SEE FIG.7. next page. (You may have to raise or lower cutterhead to be
able to insert the Hex wrench into the cutterhead)
4. While holding the hex wrench to prevent cutterhead rotation, remove the cutter tip
screw using the provided Torx T-wrench allowing the tip to be removed.
5. Carefully clean all dust and dirt off the cutter tip and the cutterhead seat. Replace or
rotate the cutter insert so a fresh sharp edge is facing outward. If available, use pitch
remover to be sure all wood residue is off the cutterhead, cutter insert, and screws,
before attempting to rotate or replace them. Using a shot of compressed air is also
helpful. Be sure to wear safety glasses when using compressed air.
 Loading...