Rev 20200515
Page 6
Innovative Renewable Energy Solutions
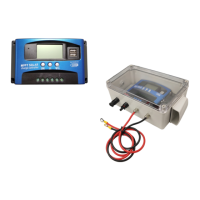
CONNECTIONS:
1. Always connect the baery rst, then solar panels. This is to prevent a voltage surge or spike from
damaging the sensive electronics in the charge controller.
2. Connect the solar panels second.
23V maximum solar panel Open Circuit Voltage (VOC) input for charging 12V baery/baeries.
46V DC maximum solar panel Open Circuit Voltage input (VOC) for charging 24V baeries.
See “Specicaons” for more details.
3. If applicable, connect “load” last.
4. Reversing the polarity will result in a damaged charge controller and will void the warranty.
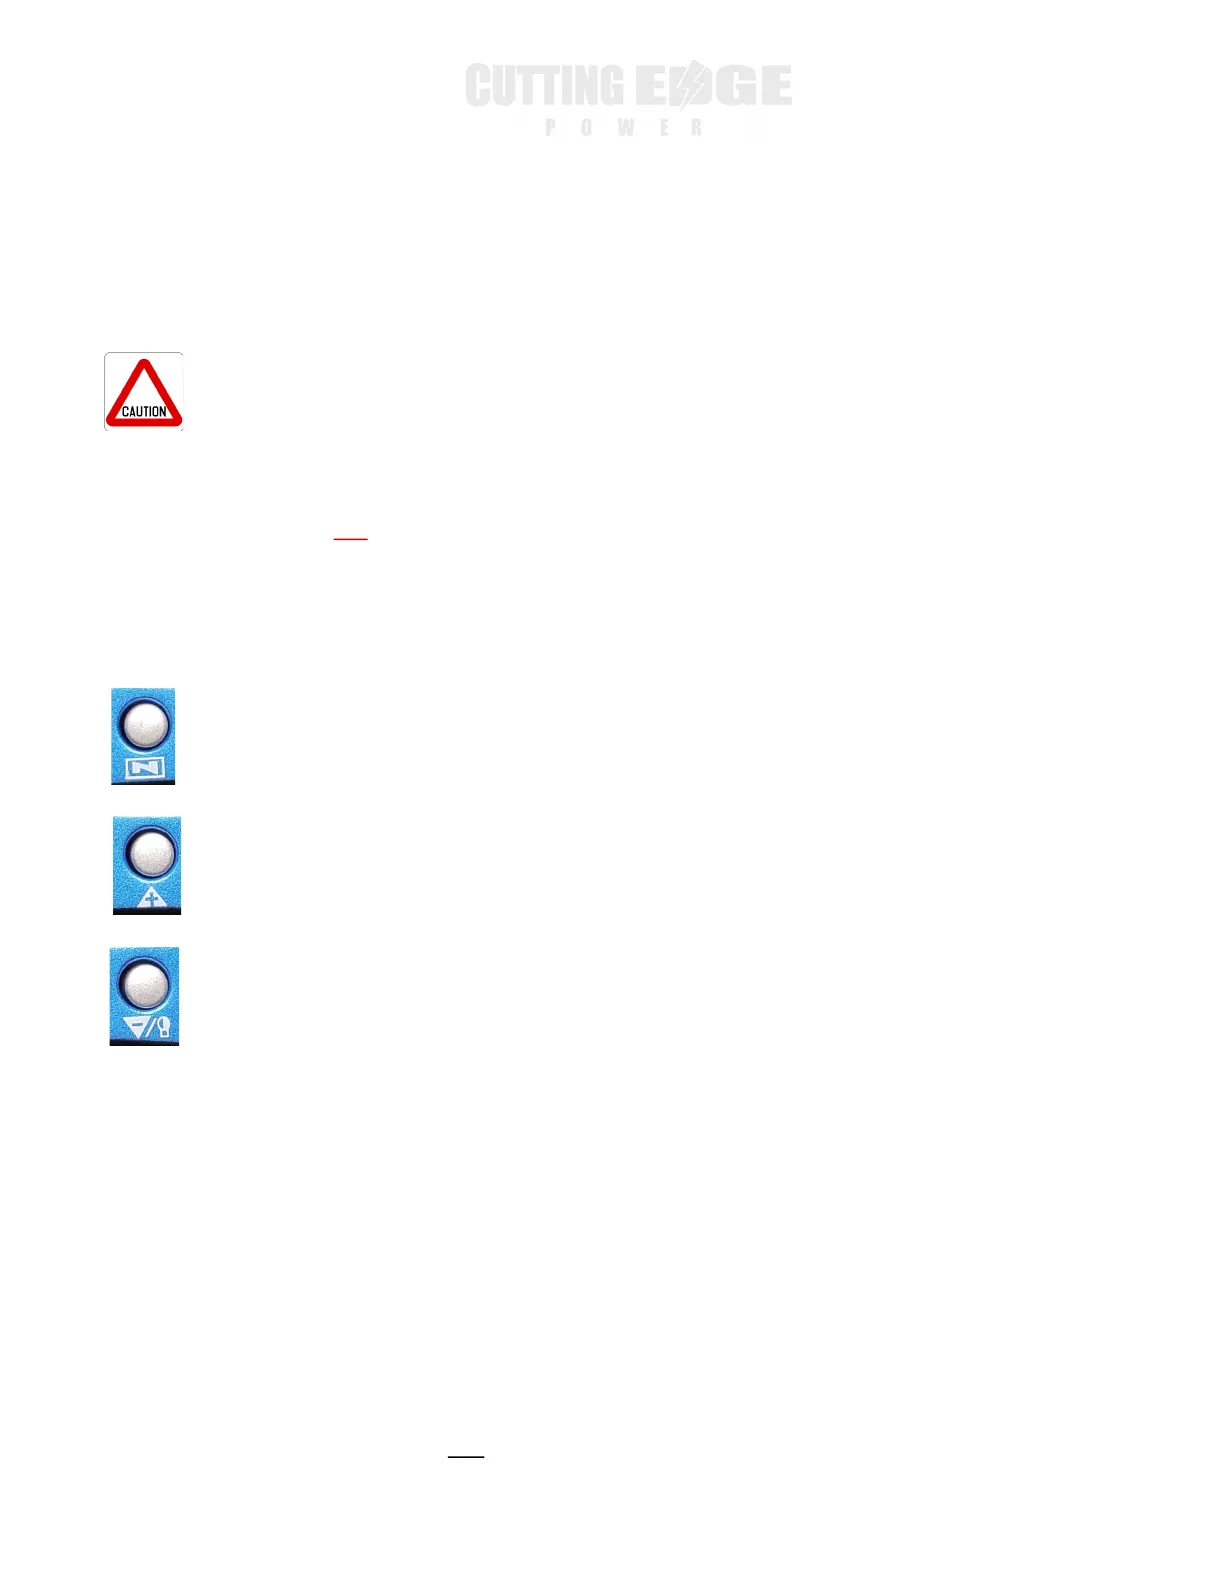
Menu buon: short press to scroll through sengs. Long press to modify sengs.
Up buon: Short and long press does nothing from home screen. Use to adjust sengs
aer long pressing the menu buon.
BUTTON GUIDE:
Down buon: Short press turns on/o the “load” output. Use to adjust sengs aer long
pressing the menu buon.
Long press at home screen to engage or disengage the “load” funcon.
WHAT THE HECK IS THE “LOAD” OUTPUT
FUNCTION?
The load funcon is typically used for lighng applicaons, hence the light bulb icon. It can commonly be
set to turn on a load output aer dusk (when the charge controller detects 8V or less, it assumes it’s night
me). The me aspect (24h, 1-15h, 0h) is the me the load output will remain engaged. Aer this me is
elapsed, the load output will be disengaged.
Important: The load voltage sengs and me sengs must be sased in order for the load output to
engage.