Shenzhen Zhiyong Electronics Co., Ltd
connect the BNC output port of the probe and input terminal of the oscilloscope using the standard
BNC cable.
Turn on the voltage switch, the indication light should be lighted green.
Press the button to select the proper range according to the value of the current under test.
Attention: Different range corresponds to different attenuation ratio
Press the auto zero button to realize zero set. The buzzer will buzz shortly for twice if auto zero set
successfully, or it will buzz for once, meaning auto zero set fails. One thing need attention is that, the
external magnetic field could have slight effect on the AC zero position of the probe, so user better
not move the probe after zero set complete.
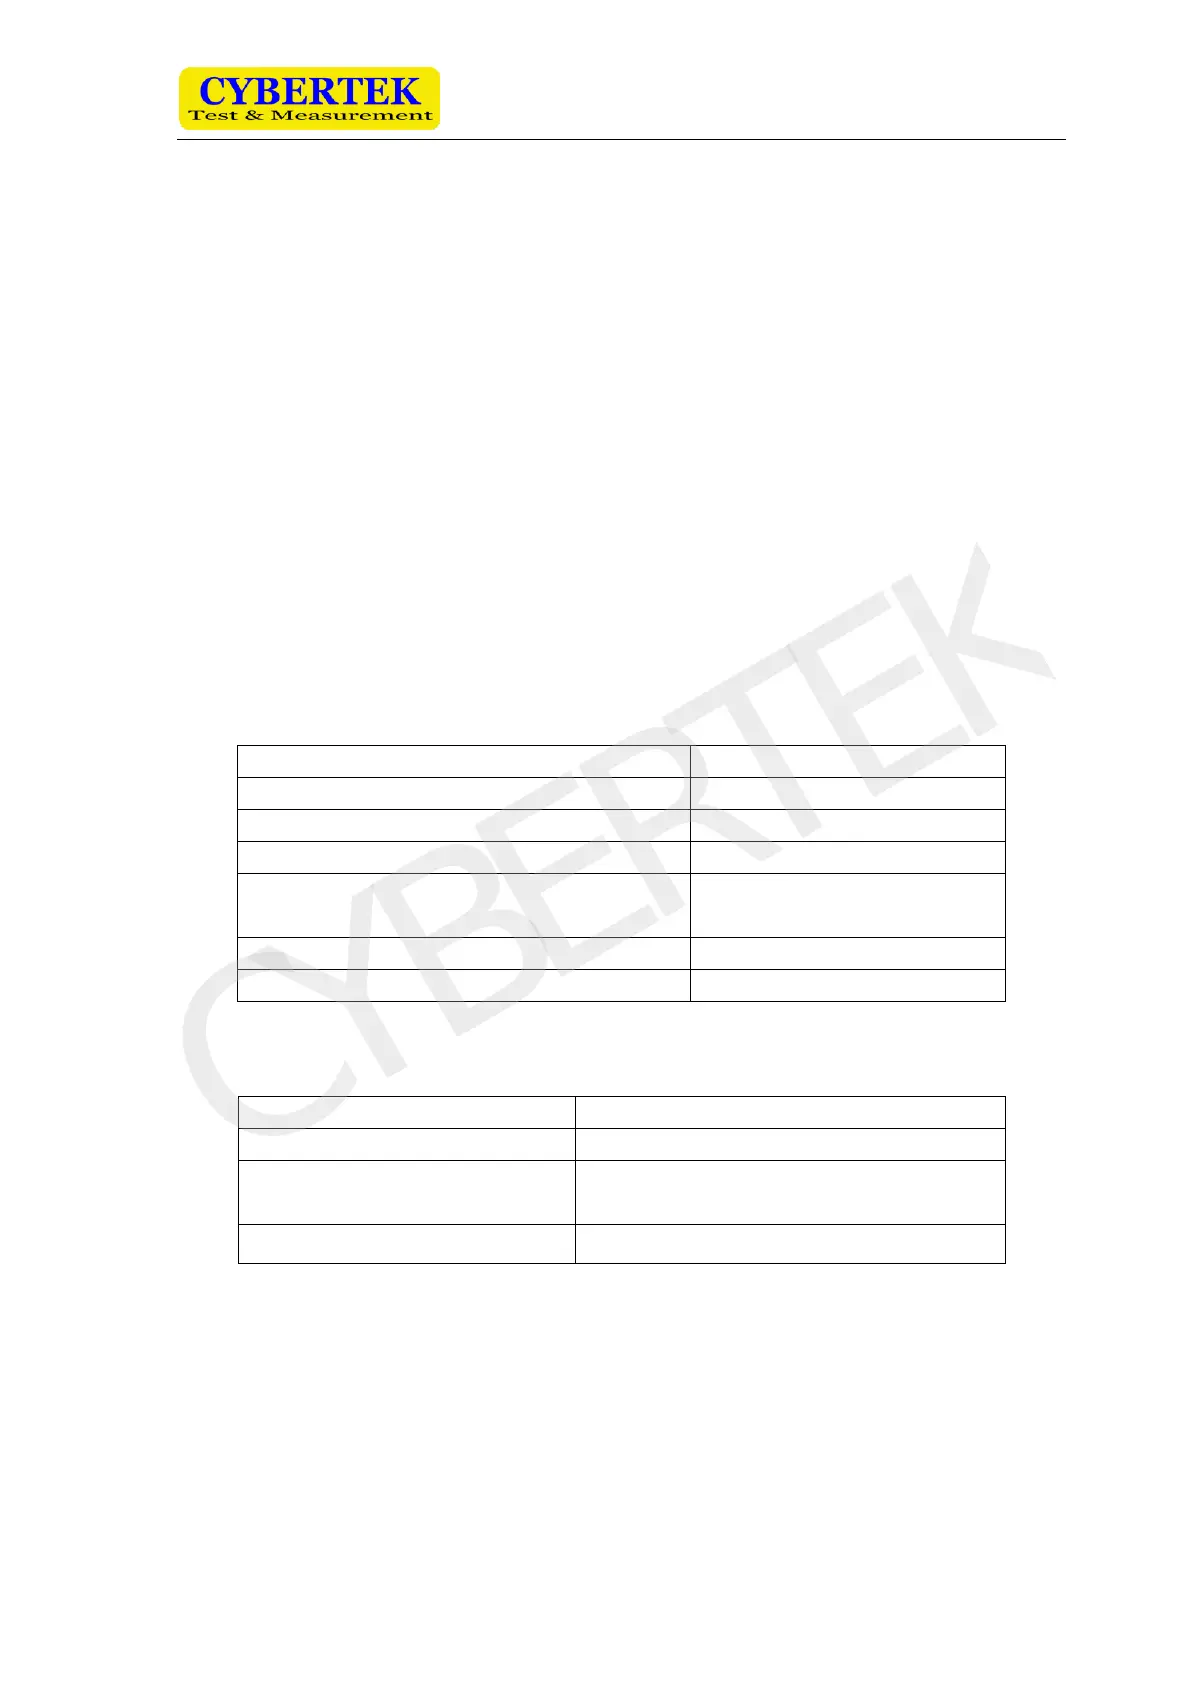
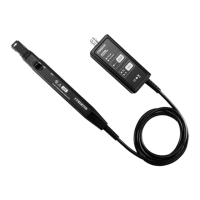
Open the clamp of the current probe and fix the conductor under test
Attention: there’s direction indication on the clamp, the same current direction will generate positive
output, and otherwise it will generate negative output.
Properly set the vertical sensitivity of the oscilloscope to generate stable wave form. When
oscilloscope is set DC CM, user can observe both DC and AC component, but if there’s only AC CM,
only AC component will be seen.
5.Mechanic Specification
Max size of conductor under test
Length of the connecting cable between
clamp and box
Length of double-terminal BNC cable
6.Environmental Specification
Operating relative humidity
0℃~+40℃,Humidity 95%RH;
+40℃~+50℃,Humidity 45%RH
7.Maintenance
In the product warranty period, if the product is used normally, the malfunction is caused
by the quality problem and is not dismantled, our company will provide free repairing
service.
Clamp: the clamp should be clean and dry. If there’s a need of cleaning up, please use soft cloth
together with alcohol to erase the dirt. Do not put the clamp in wet environment.
Hand shank: Please clean up the hand shank using clean cloth or sponge. Do not use water to